Best Yae Miko Genshin Impact build: Artifacts, weapons, more
 HoYoverse
Yae Miko, the Lady Guuji of the Grand Narukami Shrine, packs a big punch with the power of Electro. Here’s her best build in Genshin Impact, including the top artifacts, weapons, and more you need to grind for.
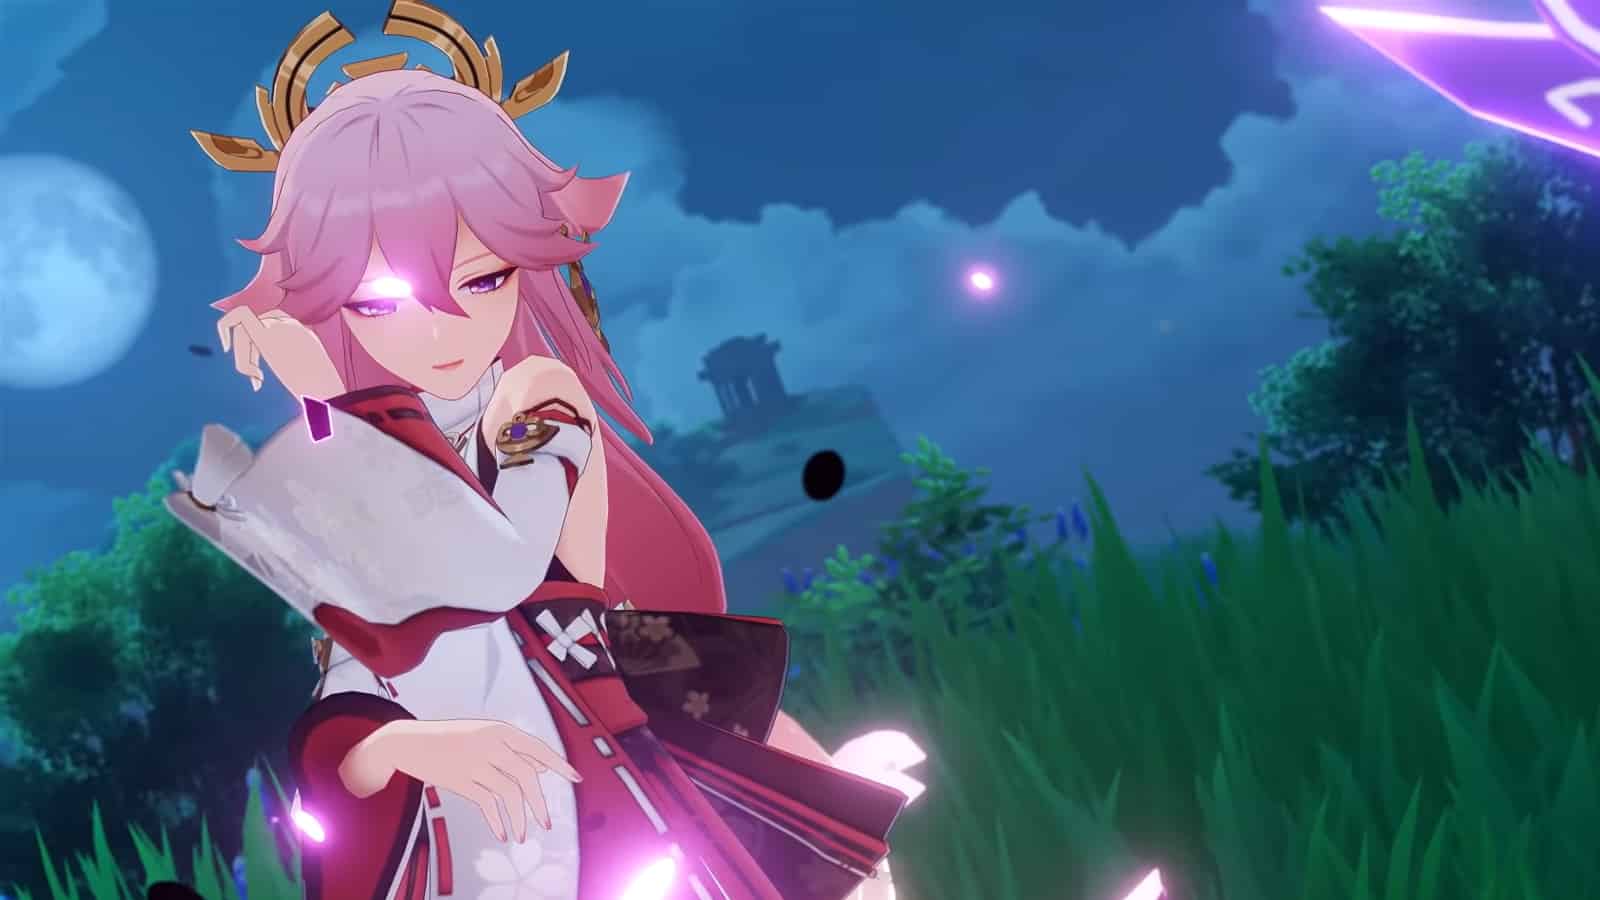
Yae Miko was one of the most highly-anticipated Genshin Impact characters ever before the Lady Guuji of the Grand Narukami Shrine to their roster was introduced in the Version 2.5 update.
As a close ally to Inazuma’s Raiden Shogun, Yae Miko also has a number of powerful Electro attacks that make her an excellent addition to many team comps. In fact, the mysterious five-star Catalyst user can make short work of grouped enemies thanks to her AoE abilities.
Genshin Impact is featuring reruns of both Yae Miko and Xiao until March 12, 2024. If you’re looking for the best Yae Miko build and wish to know which Artifacts, weapons, and Ascension materials you’ll need, then be sure to check out our guide.
Contents
- Yae Miko abilities
- Yae Miko constellations
- Best Yae Miko artifacts
- Best Yae Miko weapons
- Yae Miko Talent Level-Up and Ascension materials
- Yae Miko Genshin Impact trailer
- Best Yae Miko team comp
Yae Miko abilities in Genshin Impact
 HoYoverse
Normal Attack: Spiritfox Sin-Eater
- Normal Attack: Yae Miko summons kitsune spirits, initiating three attacks that deal Electro DMG.
- Charged Attack: Yae Miko consumes stamina to unleash an Electro DMG attack after a brief charge time.
- Plunging Attack: While airborne Yae Miko plunges towards the ground, dealing AoE Electro damage to all nearby enemies upon impact.
Yae Miko’s attack string is a bit different from most Catalyst users. Her Charged Attack deals a significant amount of damage, especially to grouped enemies. It does take a bunch of stamina, though, so it’s worth doing one or two Normal Attacks before charging so you can regen some.
Yae Miko Elemental Skill: Yakan Evocation – Sesshou Sakura
Yae Miko’s Elemental Skill sees the Lady Guuji reposition, leaving a Sesshou Sakura behind. The Sesshou Sakura strikes one enemy, causing them to take Electro damage.
The more Sesshou Sakura that are on the field, the more damage this attack does. A maximum of three Sesshou Sakura can be present on the battlefield at one time.
Yae Miko Elemental Burst: Great Secret Art – Tenko Kenshin
Yae Summons a lightning strike from the sky, dealing AoE electro damage. When the burst is used, Yae will unseal nearby Sesshou Sakura, destroying their outer forms and transforming them into Tenko Thunderbolts that descend from the skies.
These newly formed Tenko Thunderbolts also deal further AoE Electro damage. Each Sesshou Sakura destroyed by Yae Elemental Burst will create one Tenko Thunderbolt. This makes it crucial to chain together her Skill before deploying her Burst for maximum damage.
 miHoYo
Yae Miko constellations
If you’re lucky enough to unlock multiple copies of Yae Miko, then you’ll have access to some of her fantastic constellation buffs:
- Level 1 — Yakan Offering: Every time Great Secret Art: Tenko Kenshin triggers a Tenko Thunderbolt, Yae Miko will restore 8 Elemental Energy for herself.
- Level 2 — Fox’s Mooncall: Sesshou Sakura start at Level 2 when created, their max level is increased to 4, and their attack range is increased by 60%.
- Level 3 — The Seven Glamours: Increases the level of Yakan Evocation: Sesshou Sakura by 3. Maximum upgrade level is 15.
- Level 4 — Sakura Channelling: When Sesshou Sakura lightning hits opponents, the Electro DMG Bonus of all nearby party members is increased by 20% for 5s.
- Level 5 — Mischievous Teasing: Increases the level of Great Secret Art: Tenko Kenshin by 3. Maximum upgrade level is 15.
- Level 6 — Forbidden Art: Daisesshou: The Sesshou Sakura’s attacks will ignore 60% of the opponents’ DEF.
Best Yae Miko artifacts in Genshin Impact
The best Yae Miko build will make use of the Gilded Dreams Artifact set. The 4-piece set will increase her Elemental Mastery by 80 and improve the Aggravate Elemental Reaction if Yae Miko is placed into a Dendro team.
Alternatively, you can use the 4-piece Golden Troupe set for builds focused on the usage of her Elemental Skill as sub-DPS.
| Artifact | Set Bonuses |
 Gilded Dreams |
2-Piece Set: Elemental Mastery +80
4-Piece Set: Within 8s of triggering an Elemental Reaction, the character equipping this will obtain buffs based on the Elemental Type of the other party members. ATK is increased by 14% for each member whose Elemental Type is the same as the equipping character, and EM is increased by 50 for every member with a different Elemental Type. Each of the buffs will count up to 3 characters. This effect can be triggered once every 8s and even when not on the field. |
 Golden Troupe |
2-Piece Set: Elemental Skill DMG +20%
4-Piece Set: Increases Elemental Skill DMG by 25%. Additionally when not on the field, Elemental Skill DMG will be further increased by 25%. This effect will be cleared 2s after taking the field. |
Best Yae Miko weapons in Genshin Impact
The best Yae Miko weapon, without a doubt, is Kagura’s Verity. The five-star Catalyst, which launches alongside Yae Miko, lets her stack an ATK buff up to three times based on casting her Elemental Skill. Given she has three charges of her spell, it’s practically made for he
However, it can be a high investment to roll on a character and weapon banner — for such a specific Catalyst — at the same time. So, you can make use of other five-star picks like Skyward Atlas or Lost Prayer to the Sacred Winds. For a four-star budget option, The Widsith is great.
Find a list of Yae Miko’s best weapons in Genshin Impact below.
| Weapon | Details |
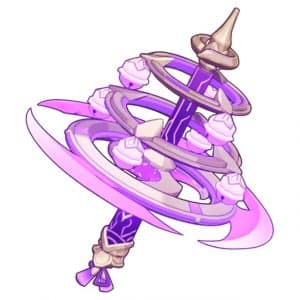 Kagura’s Verity Kagura’s Verity |
Gains the Kagura Dance effect when using an Elemental Skill, causing the Elemental Skill DMG of the character wielding this weapon to increase by 12% for 16s. Max 3 stacks. This character will gain 12% All Elemental DMG Bonus when they possess 3 stacks. |
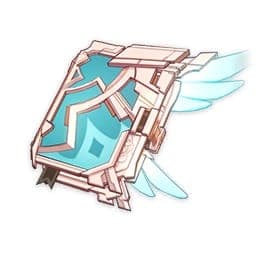 Skyward Atlas Skyward Atlas |
Increases Elemental DMG Bonus by 12%. Normal Attack hits have a 50% chance to earn the favor of the clouds. which actively seek out nearby opponents to attack for 15s, dealing 160% ATK DMG. Can only occur once every 30s. |
 The Widsith The Widsith |
When a character takes the field, they will gain a random theme song for 10s. This can only occur once every 30s.Recitative: ATK is increased by 60%. Aria: Increases all Elemental DMG by 48%. Interlude: Elemental Mastery is increased by 240. |
Yae Miko Talent Level-Up and Ascension materials
Yae Miko Talent and Ascension materials can be found in Inazuma and Mondstadt, which means you’ll need to progress through the story in order to fully level her.
In order to level up and ascend Yae Miko, you’ll need to fight the Bathysmal Vishaps – Enkanomiya’s first boss added in Version 2.4. This boss drops the Dragonheir’s False Fin and other rare items, like Vajrada Amethyst fragments.
Travelers will also need to farm plenty of Sea Ganodermas (dotted across Inazuma) and Handguards (obtained by fighting Nobushi). Finally, her Weekly Boss material is from none other than the new Raiden Shogun fight.
As Yae Miko excels as an Electro damage dealer, you’ll want to max out her Normal Attack and Elemental Skill to help generate elemental reactions. Once that’s maxed out, simply pump the rest of the levels into her Burst.
Yae Miko Talent Level-Up Materials
| Talent Level-Up Materials | |||
| Talent Level-Up Materials | Teachings of Light x9 | Guide to Light x63 | Philosophies of Light x114 |
| Common Ascension Materials | Old Handguard x18 | Famed Handguard x66 | Kageuchi Handguard x93 |
| Weekly Boss Materials | The Meaning of Aeons x18 | ||
Yae Miko Ascension Materials
| Ascension Level | Mora Cost | Materials | |||
| 1 | 20,000 | Vajrada Amethyst Sliver x1 | – | Sea Ganoderma x3 | Old Handguard x3 |
| 2 | 40,000 | Vajrada Amethyst Fragment x3 | Dragonheir’s False Fin x2 | Sea Ganoderma x10 | Old Handguard x15 |
| 3 | 60,000 | Vajrada Amethyst Fragment x6 | Dragonheir’s False Fin x4 | Sea Ganoderma x20 | Kageuchi Handguard x12 |
| 4 | 80,000 | Vajrada Amethyst Chunk x3 | Dragonheir’s False Fin x8 | Sea Ganoderma x30 | Kageuchi Handguard x18 |
| 5 | 100,000 | Vajrada Amethyst Chunk x6 | Dragonheir’s False Fin x12 | Sea Ganoderma x45 | Famed Handguard x12 |
| 6 | 120,000 | Vajrada Amethyst Gemstone x6 | Dragonheir’s False Fin x20 | Sea Ganoderma x60 | Famed Handguard x24 |
Yae Miko Genshin Impact trailer
Yae Miko’s full trailer, The Mocking of a Tenko, went live on February 16, on the same day as her launch.
It gives an insight into Yae Miko’s backstory as not only Lady Guuji but also the editor-in-chief of Yae Publishing House. Oh, and there’s a look at her hard-hitting Electro attacks, too.
Best Yae Miko team comp
The best Yae Miko place for Yae Miko would be on a Dendro Aggravate team alongside teammates like Alhaitham, Nahida, and Zhongli. Nahida would quickly apply Dendro to nearby enemies, with Alhaitham adding Quicken.
Yae Miko would then trigger the Aggravate Elemental Reaction with her totems. Zhongli can be used as Support, but you could also replace him with Fischl to further the Aggravate damage.
You could alternatively use Yae Miko in an Overloaded team consisting of Raiden Shogun, Kazuha, and Bennett. This would increase the team’s Electro Resonance, with Raiden regenerating more energy for Yae Miko’s Elemental Burst.
Yae Miko is a great addition to most teams that need a spark of Electro and can fulfill a neat role as any team’s Sub DPS.
Want more allies to pair her with? Check out our other Genshin Impact character guides below:
Best Albedo build | Best Aloy build | Best Ayaka build | Best Barbara build | Best Childe build | Best Eula build | Best Ganyu build | Best Hu Tao build | Best Itto build | Best Jean build | Best Kazuha build | Best Keqing build | Best Klee build | Best Kokomi build | Best Mona build | Best Qiqi build | Best Raiden Shogun build | Best Shenhe build | Best Venti build | Best Xiao build | Best Yoimiya build | Best Yun Jin build | Best Zhongli build