Valorant Fracture map guide: layout, callouts, strategies, more
 Riot Games
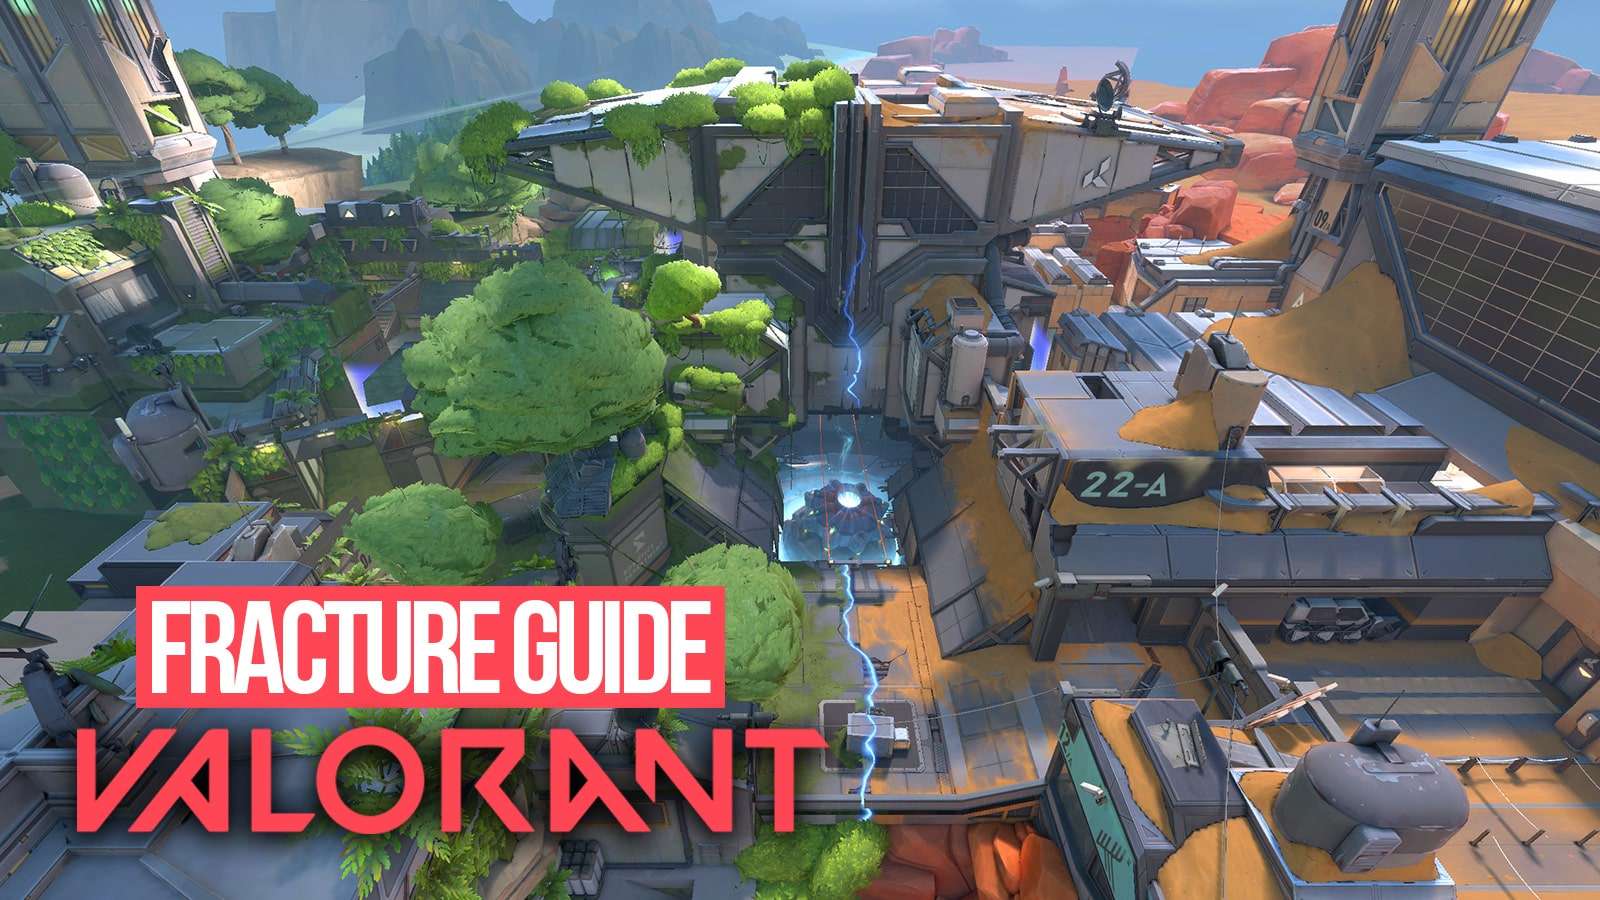
With the arrival of Valorant’s seventh map, ‘Fracture,’ in Episode 3 Act 2, we have a comprehensive guide to help you navigate and master this new addition.
Valorant’s map pool is once again expanding, this time with the release of Fracture, the seventh map to be added to the game, which arrived with Episode 3 Act 2.
Previously known as ‘Canyon’, Fracture is unlike any other map we’ve seen in Valorant (or any other FPS for that matter.) With an H-shaped layout, Fracture allows attackers to spawn on both sides of the map, and defenders spawn right in the center.
Contents
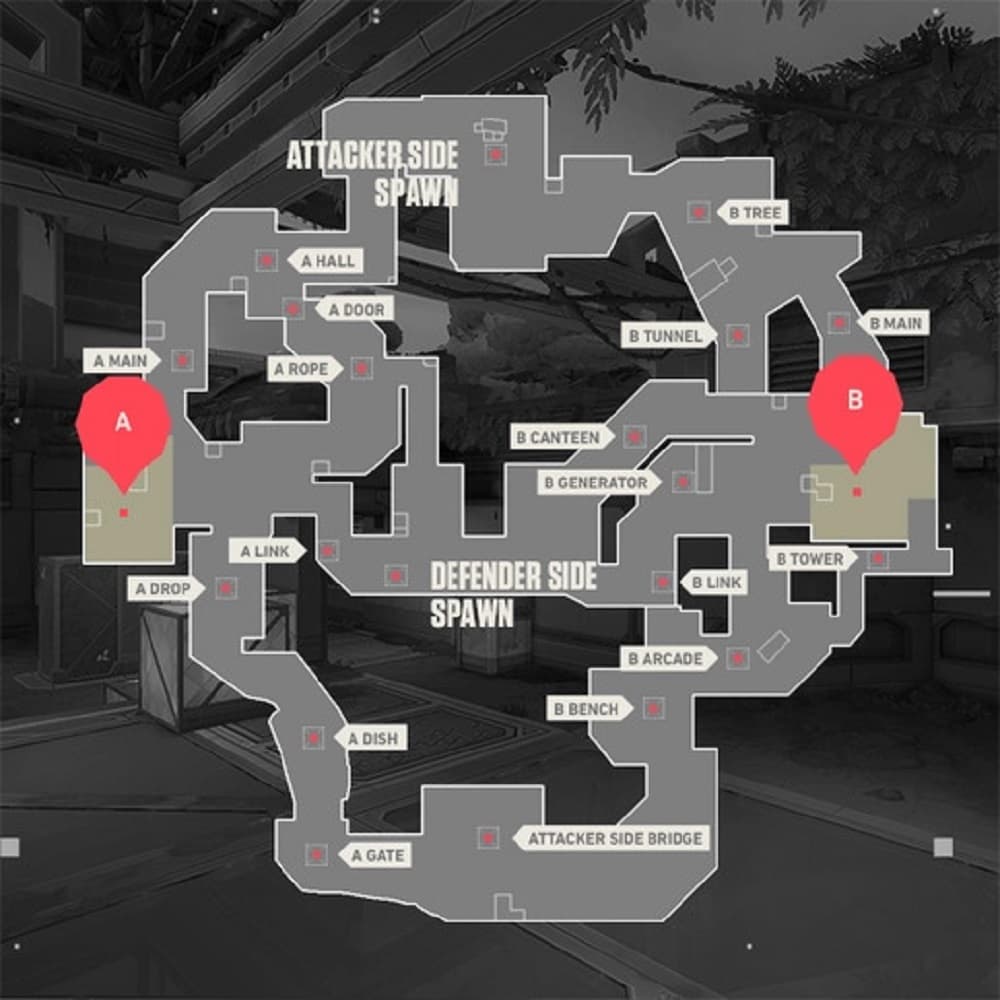
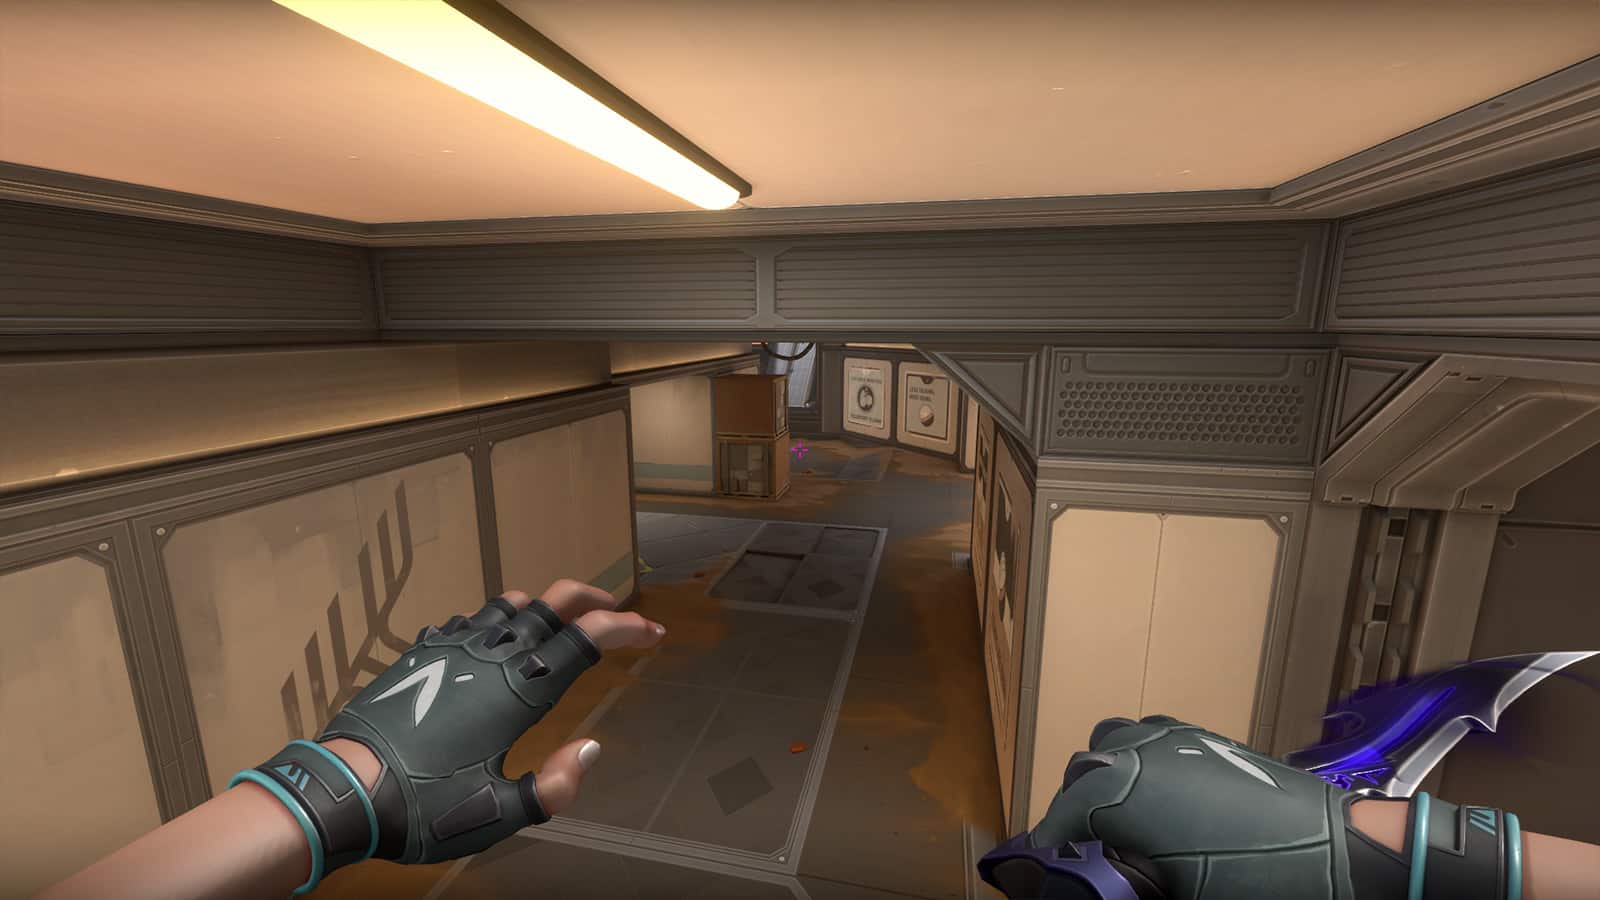
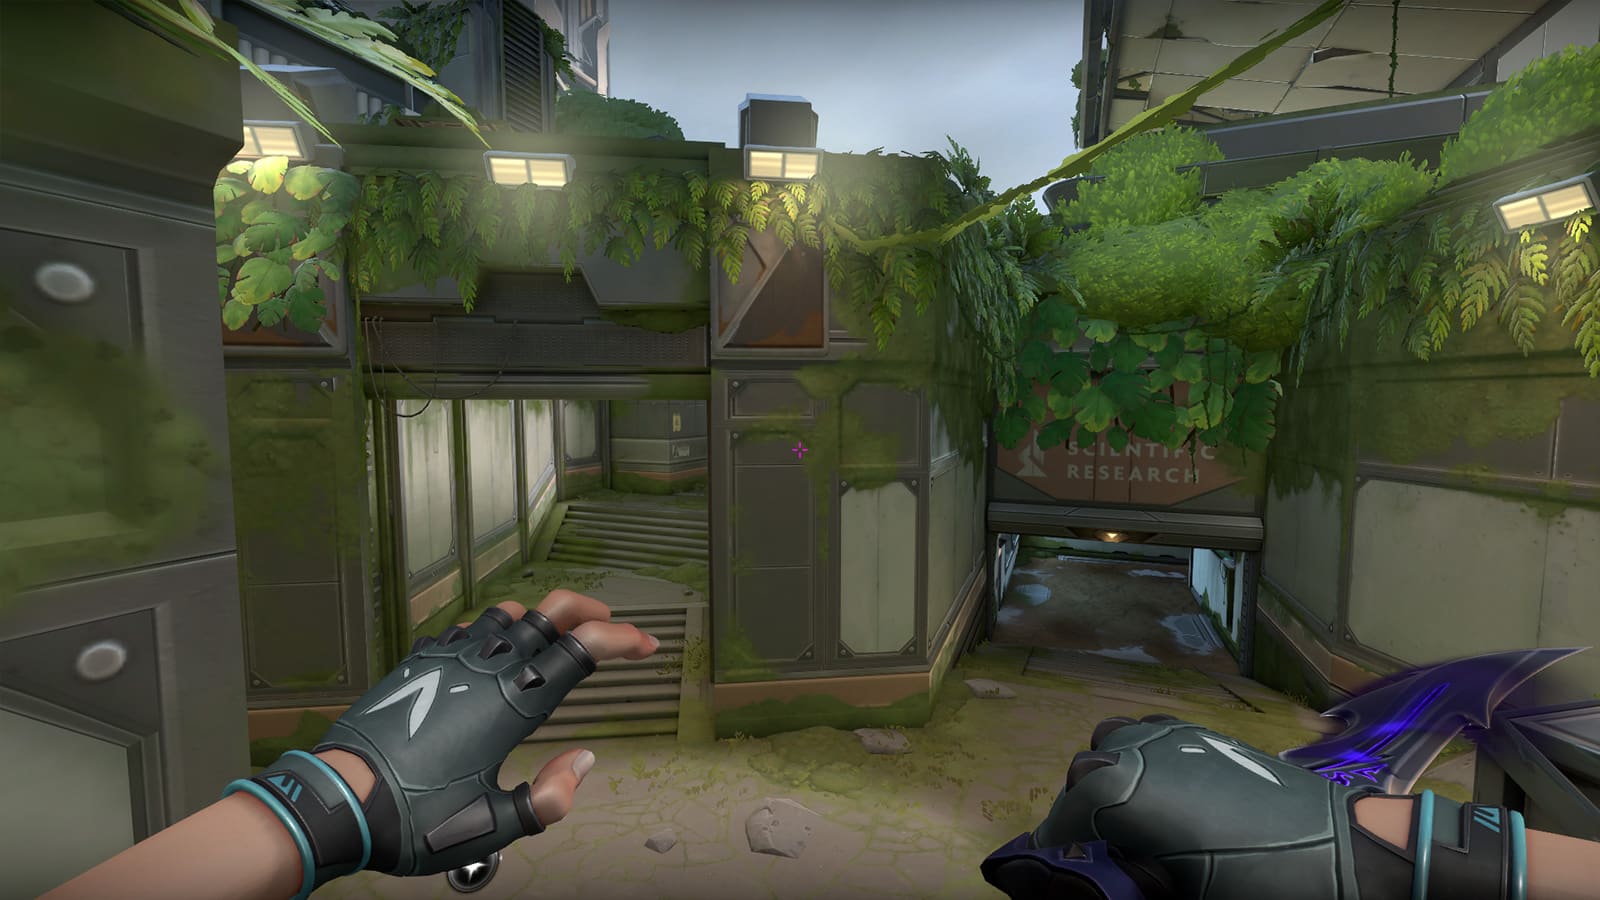
All Reactor Site locations and callouts on Fracture
 Riot Games
This unique map will blow the minds of some players, and will surely take some getting used to, as there’s not only one direction you need to be wary of the attackers pushing from.
Besides being unique with attackers being able to push from any side of the map, there are a lot of corners and sneaky angles you’ll need to be wary of.
With four ultimate orbs scattered across the map, agents like Skye, Reyna, Cypher, and Phoenix will be incredibly useful, as their ultimates only cost six points, meaning these agents have the potential to use their ultimate every round.
How to play as a Defender on Fracture
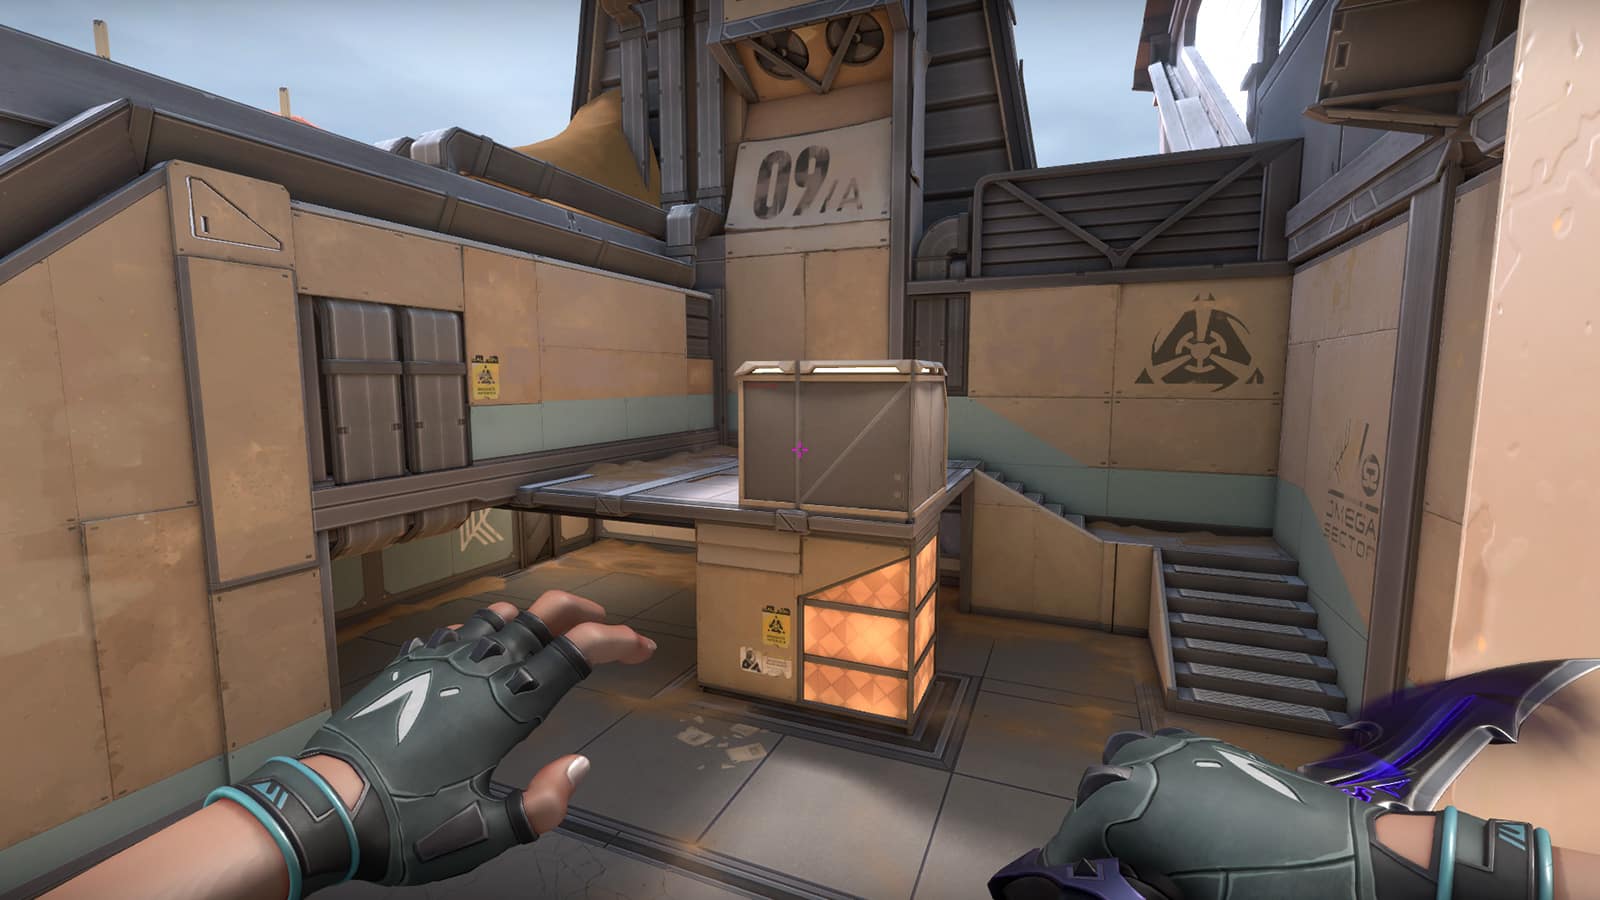
A Site
 Riot Games
A common theme you’ll see throughout this guide is the emphasis on retaking rather than holding the sites. Typically, Sentinels should use the majority of their utility to completely secure the site to delay the attacking push and allow your teammates to arrive in time.
As the attackers have more than one main entrance to the site, in most circumstances it’s best to back off and retake with your teammates if you can, before you get bombarded with all the utility.
If worst comes to worst and you’re unable to back up off-site when the enemies are attacking, your best option is to hide in a corner underneath. Sometimes they may forget to clear the entirety of under, leaving you in a good position to do some good damage for when the rest of your team arrives to clean up.
The best setup is to have someone lurking around A Dish, as one or two attackers may come from there. You should also have one person holding A Rope, where they can listen out for footsteps from A Hall and hold the door, as attackers can easily catch people defenders off guard if they get control of that area.
B Site
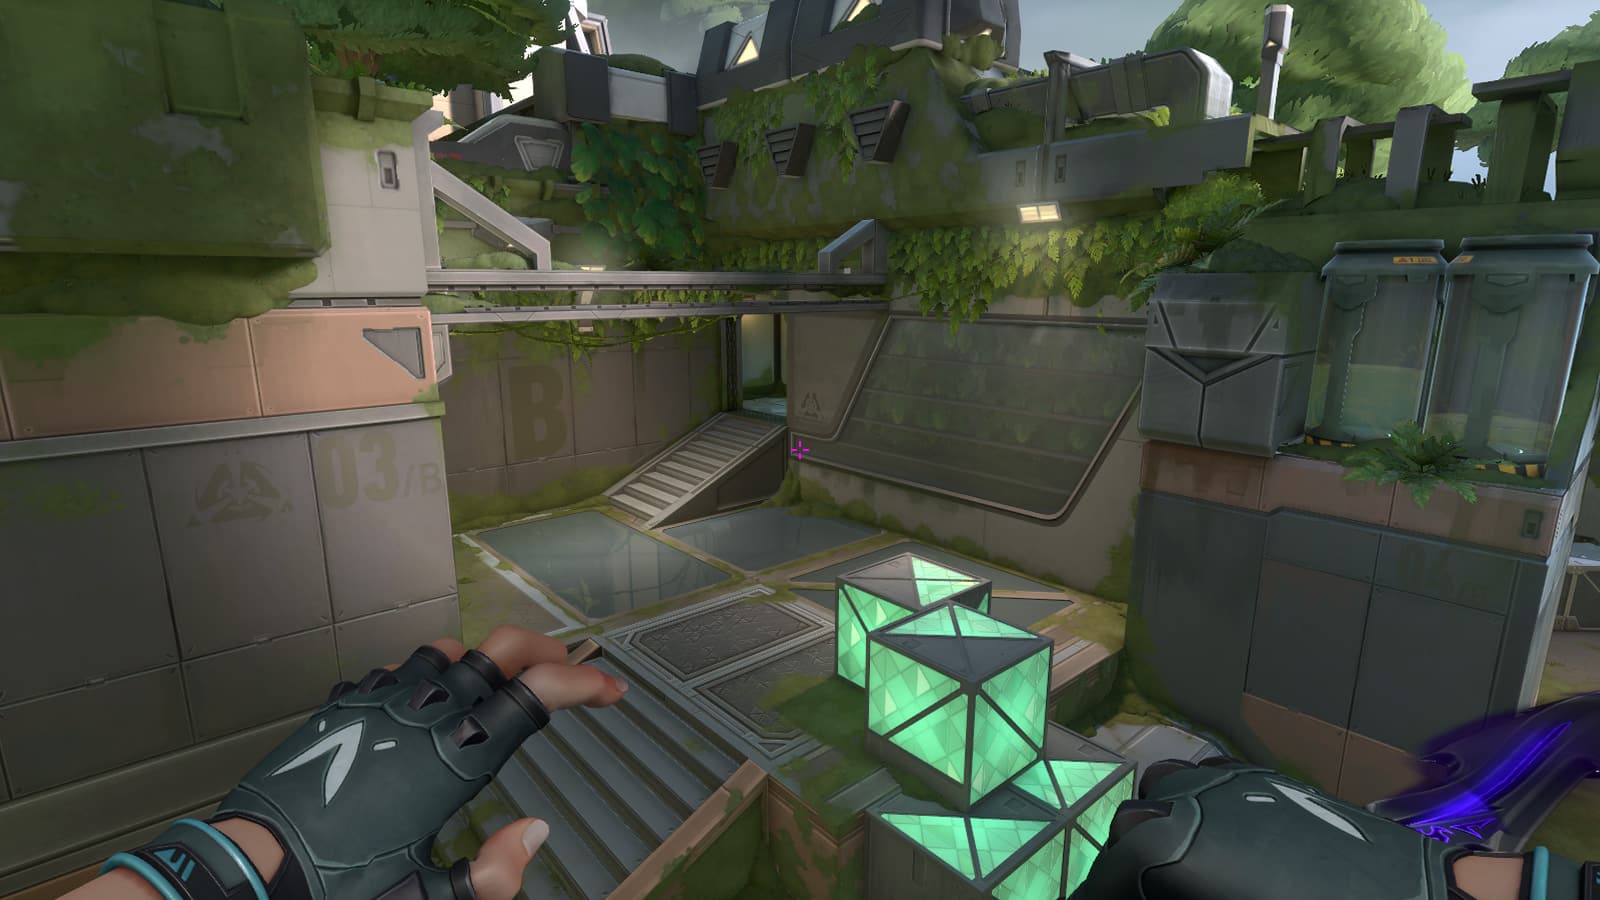
If you’re not very good at backing up from a fight, B Site may be for you. With so many different angles and hiding spots, it can sometimes be impossible for attackers to push onto the site when you’re holding a good crossfire with your team.
A great place for defenders to hold from is from B Tower, which quickly allows you to rotate between watching Arcade and Underpass, to watching a push from B Main onto the site. Be aware, some parts of the wall protecting you in B Tower are penetrable, so don’t think you’re completely in the clear when holding from there.
How to play as an Attacker on Fracture
A Site
While attacking A Site, the easiest push is of course from A Hall, while also sending one attacker to push from A Dish and hold for a rotation. Pushing from A Hall is quite straightforward. You should send two attackers out of the door together to take control of rope and defender spawn, while also sending two attackers out of A Main and onto the site.
If you successfully clear the site, your post plant is very straightforward, and defenders will have a tough time retaking.
You should have two attackers holding the main rotate point, that being Defender Spawn, while also having an attacker holding from Dish. Meanwhile, one of the attackers that pushed onto the site should head back to A Hall to cover the flank.
B Site
If you plan on attacking B Site from Arcade, your best option is to immediately take control of B Tower. As mentioned in the defense strategies for B Site, Tower is crucial to take control of in order to successfully attack the site.
While you’re pushing into B Tower, it’s best to have the rest of your team pincer and push from the other side of the site to take full control. Remember to also make use of the underpass/tunnel to rotate around the site.
While Fracture is completely different from anything we’ve ever seen, the most important thing is to coordinate correctly with your team by listening to callouts. A well-coordinated attack from both sides of the map will result in an easy take and full control of the site.
On defense, remember to not rotate off the site too quickly. With so many options for rotations, it’ll be very easy to be baited to leave the site you’re defending.
So there you have it, that’s everything to know about the Fracture map in Valorant. If you’re looking to become a Future Earth champion, be sure to check out our list of guides:
Best Valorant Agents | Best Sentinels | Best Duelist | Best Initiators | Best Controllers | How to fix Valorant version mismatch error | How to get a riot gun buddy in Valorant | What is Econ Rating? | How to get free loot drops | Is Valorant on Mac? | How many people play Valorant? | When is Valorant on Mobile coming out? | All Valorant skin bundles | Best Valorant crosshair settings | How to change Valorant username | When is the next Valorant Night Market? | Where to buy Valorant gift cards