Best stances in Star Wars Jedi Survivor
 Respawn Entertainment
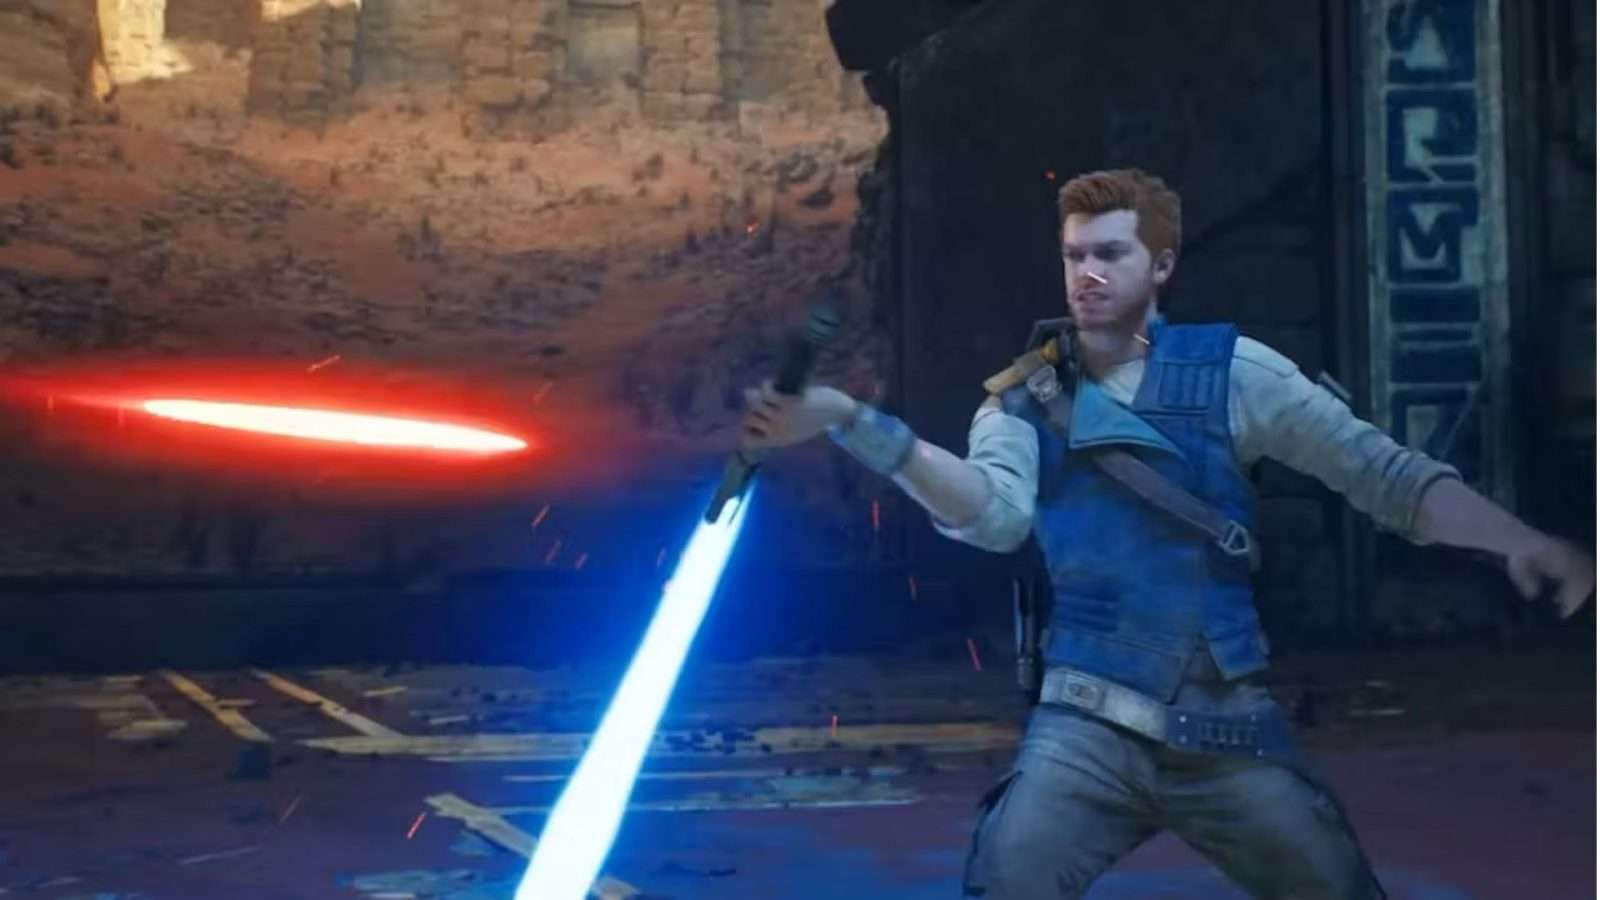
There are a handful of stances for players to use in Star Wars: Jedi Survivor that change up the way Cal’s combat arsenal works. Here’s a rundown of every single stance in the game and which ones are the best to combine.
Star Wars Jedi: Survivor lets fans tailor their playstyles thanks to the introduction of stances. These change the way Cal moves and wields his weapons in combat, and you can equip two stances at once to create some really powerful combinations.
While it’s a great addition, it is quite a significant combat change compared to Fallen Order which you may find overwhelming at first. We’ve got you covered though with a full rundown of every available stance in the game and the skills that come with each one.
Here’s everything you need to know about the best stances in Star Wars Jedi: Survivor.
Every stance in Star Wars Jedi: Survivor & Perks
In total, there are five different stances in Star Wars Jedi: Survivor and two can be equipped at once. Players are encouraged to try every single stance out and find the ones that optimize their gameplay. Eventually, you are likely to find the two that work best and stick with them, and that’s exactly what we’ve done with this guide.
To assist you and break things down, here is every skill for every stance in Star Wars Jedi: Survivor. We are using PlayStation controls for the input, but that can obviously be swapped depending on your platform of choice.
 Respawn Entertainment
Single Blade
- Lunging Strike: Hold Triangle to perform a long-reaching thrust attack – 1 Skill Point
- Improved Footwork: Lunging Strike now reaches further – 1 Skill Point
- Twofold Reflection: Press L1 just before contact to reflect up to two blaster projectiles in a row – 1 Skill Point
- Cyclone Smash: Hold Square after a basic attack to perform a powerful overhead swing – 2 Skill Points
- Charged Throw: Hold L1 and Triangle for a stronger lightsaber throw that hits for more damage and moves a short distance through the target – 2 Skill Points
- Aerial Assault: Press Triangle while in the air to attack straight down at a target below – 2 Skill Points
- Dash Strike: Hold L1, then press Square to dash and strike a target out of normal melee range – 2 Skill Points
- Aerial Dash Strike: Unlock the ability to perform Dash Strike while airborne – 1 Skill Point
- Aerial Ace: Triangle Aerial Assault does more damage and staggers enemies hit by it – 1 Skill Point
Double-bladed
- Gathering Tempest: Hold Square to deal fast strikes toward a single enemy – 1 Skill Point
- Vortex Dive: Hold L1 and press Square to dive forward while spinning the lightsaber – 1 Skill Point
- Double Orbit: Press Triangle again to perform a second lightsaber throw around Cal – 1 Skill Point
- Endless Hurricane: Continue pressing Square to add additional attacks to the end of the double-bladed attack chain – 1 Skill Point
- Repulsing Burst: Press Triangle while airborne to slam down, dealing damage in an area – 2 Skill Points
- Rising Storm: Hold Triangle to perform an attack that pulls enemies in a small area and takes Cal into the air – 2 Skill Points
- Multifold Reflections: Hold L1 right before blaster shots connect to reflect them back towards nearby targets – 2 Skill Points
- Controlled Throw: Hold L1 and Triangle to throw the lightsaber. Keep Triangle held to maintain the lightsaber’s position and use the left analog stick to direct it around – 2 Skill Points
 Respawn Entertainment
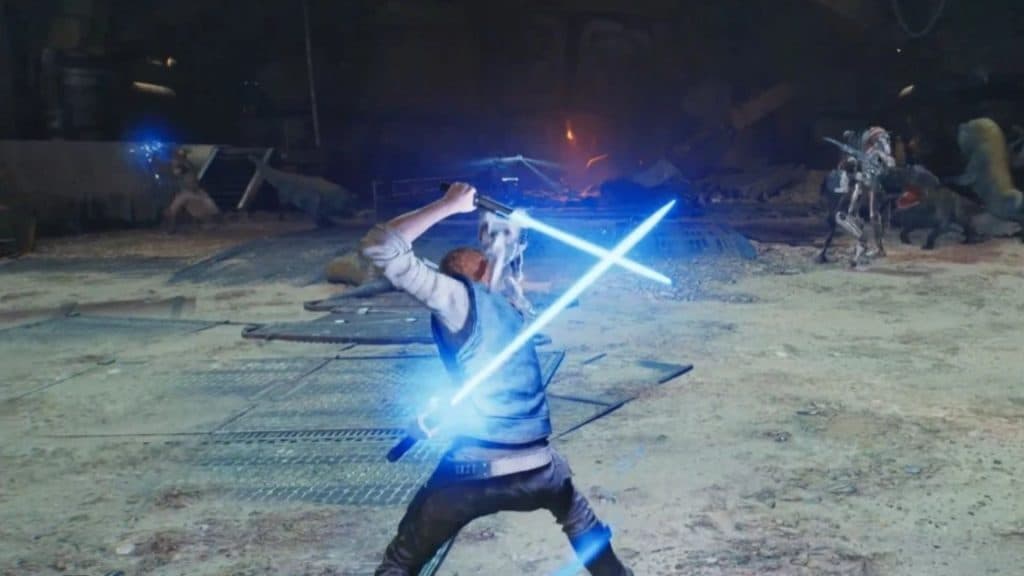
Dual Wield
- Backstep Slash: Hold L1 and then press Square to attack and leap backwards, creating distance from the target – 1 Skill Point
- Uncoiled Strikes: Delay Square input to perform a flurry of quick, targeted swings – 2 Skill Points
- Serpent’s Bite: Hold Square through the flurry to execute a strong final overhead swing – 1 Skill Points
- Focused Parry: Perform a spinning strike on releasing Triangle – 1 Skill Point
- Precision Release: Release Triangle right as an enemy hits to perform an even more devastating follow-up attack and stagger nearby enemies – 2 Skill Points
- Split Reflection: Press L1 right before a blaster bolt hits to split the incoming bolt and reflect at an additional target – 2 Skill Points
- Twin Vipers: Hold L1 and Triangle then press Triangle again to throw the second blade at a target to double up damage – 2 Skill Points
- Dancing Blades: Hold L1 and Triangle to throw both lightsabers that bounce between multiple targets – 3 Skill Points
Blaster
- Flying Lunge: Hold Square to close the distance to your enemy with a leaping thrust – 1 Skill Point
- Blaster Cooldown: Gain additional ammunition each time you strike an enemy with the lightsaber – 1 Skill Point
- Improved Clip: Increase maximum blaster ammunition by three – 1 Skill Point
- Efficient Heat Transfer: Reduces time required to fully charge a blaster shot – 2 Skill Points
- Point Blank: Press Triangle just before an enemy hits to blast them away – 1 Skill Point
- Energizing Flurry: Hold L1 and press Square to perform a sequence of quick swings that rapidly replenishes ammunition if they connect – 3 Skill Points
- Quick Draw: Hold L1 and Triangle to focus and target multiple enemies at once with the blaster – 3 Skill Points
Crossguard
- Rending Strike: Hold Square to perform a single, high damage swing with a long windup – 1 Skill Point
- Impact: Press Triangle while airborne to slam into the ground, causing a shockwave – 2 Skill Points
- Greater Impact: Triangle Increased shockwave range – 1 Skill Point
- Greater Cleaving Swing: Reduces focus attack charge-up time – 1 Skill Point
- Reaching Cleave: Increases range of Cleaving Swing – 1 Skill Point
- Sundering Swipe: Hold L1 and press Square to perform a wide, sweeping lightsaber attack – 2 Skill Points
- Charged Reflection: Press L1 right before a bolt makes contact to send back a charged bolt that hits the target and nearby enemies – 1 Skill Point
- Rolling Thunder: Hold L1 and Triangle to throw the lightsaber in a line through multiple targets – 2 Skill Points
 Respawn Entertainment
Best stances to equip in Star Wars Jedi: Survivor
For our money, Single Blade and Dual Wield should be the go-to for most Star Wars Jedi: Survivor players due to the versatility, power, and speed they offer.
The Single Blade stance lacks the power of Crossguard, but more than makes up for it with faster, rapid strikes. This allows you to deal a lot of damage, but it can also interrupt your own combos to throw in a parry or dodge. Lots of enemies in Survivor are fast and aggressive, which is counterproductive to the Crossguard stance.
We believe that it’s backed up very nicely by Dual Wield as an all-out damage output method. If you’ve got three or more enemies in the vicinity, then the Dual Wield stance comes into its own. Unlike Double-bladed which is faster and more conservative, Dual Wield can wipe out lots of opponents in a flash. You can still jump and dodge too, so it’s not like you’re left with no defense whatsoever either.
That’s everything you need to know about Star Wars Jedi: Survivor and its stances. For more useful guides on Respawn Entertainment’s newest Star Wars game, check out more guides below:
How gardening works in Star Wars Jedi: Survivor | All lightsaber colors in Star Wars Jedi: Survivor | How to open the door to Vashtan Wolfe in Star Wars Jedi: Survivor | How to increase health & force in Star Wars Jedi: Survivor | How to disable fall damage in Star Wars Jedi: Survivor | Star Wars Jedi Survivor: How to beat Rancor | Star Wars Jedi: Survivor – Holotactics guide | What does the Mysterious Key do in Star Wars Jedi: Survivor? | How to get a red lightsaber in Star Wars Jedi: Survivor | Fastest ways to earn XP in Star Wars Jedi: Survivor | Where to find Priorite Shards in Star Wars Jedi