Elden Ring: How to complete Millicent’s quest
 FromSoftware
Millicent’s quest is an important side story in Elden Ring that comes with some excellent rewards. Here’s how to complete it in every step.
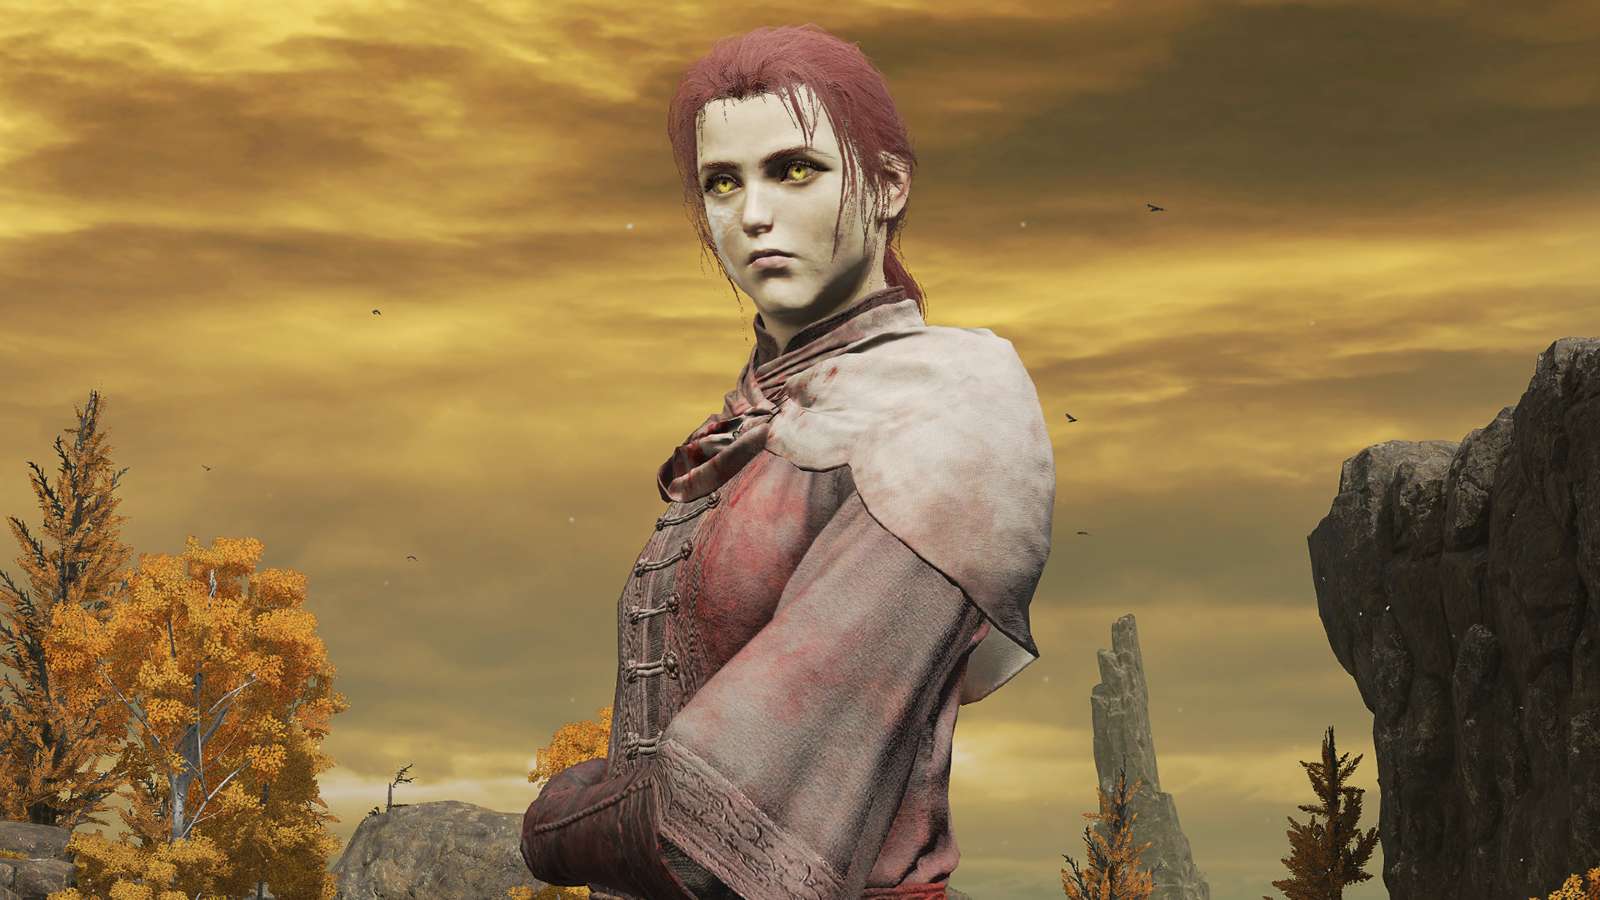
Millicent is an NPC in Elden Ring and like so many other characters in the game (and the wider Souls series), Millicent’s quest is a tragic one. The character is heavily connected to the fearsome boss, Malenia, and bears the same curse. However, with your help, Millicent’s story in Elden Ring can end with her reaching her full potential, or it can be cut short prematurely, changing the course of the story. She can also make a valuable ally during several key boss battles.
As with other NPCs in Elden Ring, completing Millicent’s questline can result in some nice rewards, some of which are essential for certain overpowered builds in the game, Millicent’s Prosthesis and the Rotten Winged Sword Insignia. These are both powerful talismans, but you can only unlock one per playthrough. Here’s every stage of Millicent’s quest in Elden Ring, how to complete them, as well as the alternative endings for this character’s long and complicated story.
We’ll keep the guide spoiler-free, until the final section, so feel free to skip this bit if you don’t want to know the outcome of siding with Millicent.
 FromSoftware
Millicent’s quest beginnings: Caelid
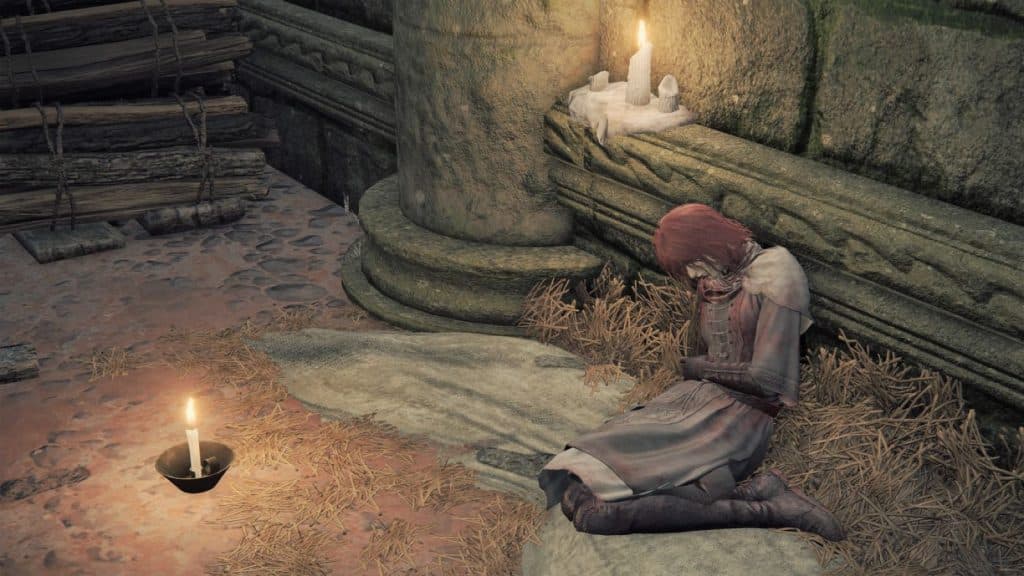
Depending on who you meet first, you’ll either become aware of Millicent’s quest by seeing her lying in pain at the Church of Plague in Caelid or you’ll start the quest by meeting Gowry, a red-robed monk sitting in a shack as you enter the region. You can’t do much with Millicent until you’ve spoken to Gowry. Millicent herself will tell you to keep your distance as she’s suffering from Scarlet Rot and doesn’t want to spread it to you. Therefore, speak to Gowry and he’ll tell you how to help Millicent.
You’ll need to head deeper into Caelid and locate Commander O’Neil in the Swamp of Aeonia. O’Neil is tough to kill, but when you do he’ll drop the Unalloyed Gold Needle. With the Needle in your possession, return to Gowry and he’ll either repair the Needle for you or instruct you to light three torches in Sellia, Town of Sorcery. This all depends on if you’ve already unlocked the area where Millicent is. If not, use Torrent to climb the branches and light all three torches, then return to Gowry. If any barriers were blocking your way to Millicent, they’ll now be gone.
Once Gowry has repaired the Needle, go to Millicent and give it to her. This will instantly heal her pain and she’ll thank you for your help and give you the Prosthesis-Wearer Heirloom as a reward. After this, Millicent will travel to Gowry’s shack to learn more about her mysterious savior, but when you return there you’ll only find her, not him. Exhaust her dialogue, leave, then return to find Gowry again and exhaust his dialogue to continue the quest.
If you travel to the Altus Plateau through the Ruin-Strewn Precipice in Liurnia of the Lakes, you’ll be able to summon Millicent to aid you against the boss Magma Wyrm Makar. She’s traveling this way too, so this will give you a clue as to where the quest is headed next. If you summon them, she’ll also happily fight alongside Great Horned Tragoth and Blackguard Big Boggart, if you befriended the latter by buying his prawns and resolving his dispute with Rya amicably.
 FromSoftware
Altus Plateau
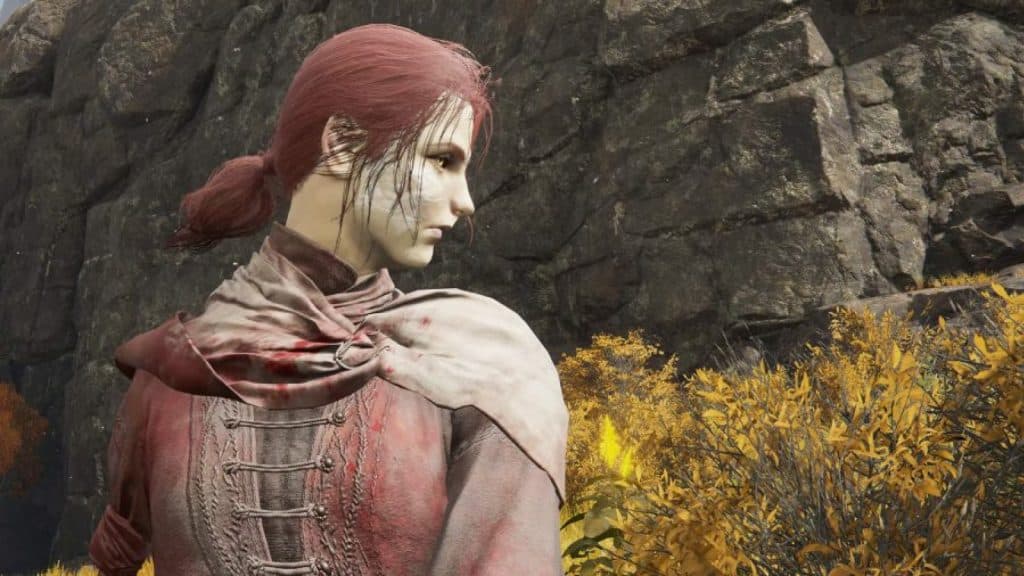
Millicent will then travel to the Altus Plateau, not far from the Erdtree-Gazing Hill Site of Grace, continuing the quest she was on before she got sick. Millicent is searching for the demi-god Malenia and will tell you about her fascination with the Shardholder. Exhaust her dialogue when you see her to further the questline. From here, you’ll need to head to The Shaded Castle which is located in the north of the Altus Plateau in the green area. It takes some reaching but once you’re there you can activate the Site of Grace to save making the journey again.
The castle is home to a powerful boss known as Elemer of the Briar, the Bell Bearing Hunter you may have come across at different points of the game. The good news is you don’t need to take on Elemer yet, just search the castle for a chest that contains the Valkyrie’s Prosthesis item and bring it back to Millicent and exhaust her dialogue again.
Now travel to the Dominula, Windmill Village. A cliffside hamlet where the women appear to have murdered all the men in a creepy Pagan-inspired ritual. You can get here most easily by using the portal located near the Forest-Spanning Greatbridge Site of Grace. The dancing denizens will ignore you at first, but will eventually attack when you get deeper into the village. When you get to the top of the village you’ll notice a summon sign for Millicent, summon her if you like, but it’s not mandatory for the quest.
Either with Millicent’s help, or solo, kill the Godskin Apostle boss and activate the Site of Grace. Killing this boss will reward you with the Godskin Peeler item. You may need to re-load or warp away from the area and return, but when you do you’ll find Millicent waiting for you, once again, exhaust her dialogue to further the quest’s story.
 FromSoftware
The Haligtree
Millicent will now move to her next location, but you’ll be able to summon her as an ally against the Draconic Tree Sentinel and Black Blade Kindred bosses if you’ve been following her questline correctly. This isn’t necessary to further the quest, but it’s a nice way to call on an ally and keep the character’s story fresh in your mind. When you rest at the Ancient Snow Valley Ruins Site of Grace, you’ll notice Millicent resting here too. Exhaust her dialogue for her to continue her journey after your campfire chat.
To see Millicent again, you’ll need to gain access to the Haligtree, which is an optional area and part of a lengthy side quest all of its own. In a nutshell, you’ll need to do the following to reach it:
- Obtain the right half of the Haligtree Medallion from Albus in the Village of the Albinaurics.
- Kill at least two demi-god Shardbearers.
- Obtain the left half of the Haligtree Medallion from Castle Sol after defeating the powerful boss.
- Use the Haligtree Medallion to access the Lift of Rold.
- Use the Lift of Rold to reach the Consecrated Snowfield.
- Solve the puzzle at Ordina, Liturgical Town, then enter the portal to the Haligtree.
Make your way through the Haligtree until you reach the Prayer Room in Elpael Brace. Once you’ve rested here Millicent should appear leaning against a pillar. Exhaust her dialogue and keep moving. When you reach the poison swamp area, you’ll see an Ulcerated Tree Spirit boss, defeat it then reload or teleport from and back to this location. Now it’s time for the endgame of the quest and you’ve a choice to make.
 FromSoftware
Millicent’s quest: Final steps
You’ll now see two summon signs on the ground once the Ulcerated Tree Spirit is dead and you’ve returned to the area. You can now either be summoned by Millicent to aid her in a battle against her four corrupted sisters, or you can invade and kill her yourself.
Should you choose to invade Millicent, you’ll need to defeat her in battle. Once she’s dead, you’ll be able to take Millicent’s Prosthesis from her body, a talisman that boosts Dexterity and attack power with successive attacks. However, if you choose to help your ally in fighting off her sisters, you’ll unlock two other items, the Rotton Sword Insignia, and the Unalloyed Gold Needle.
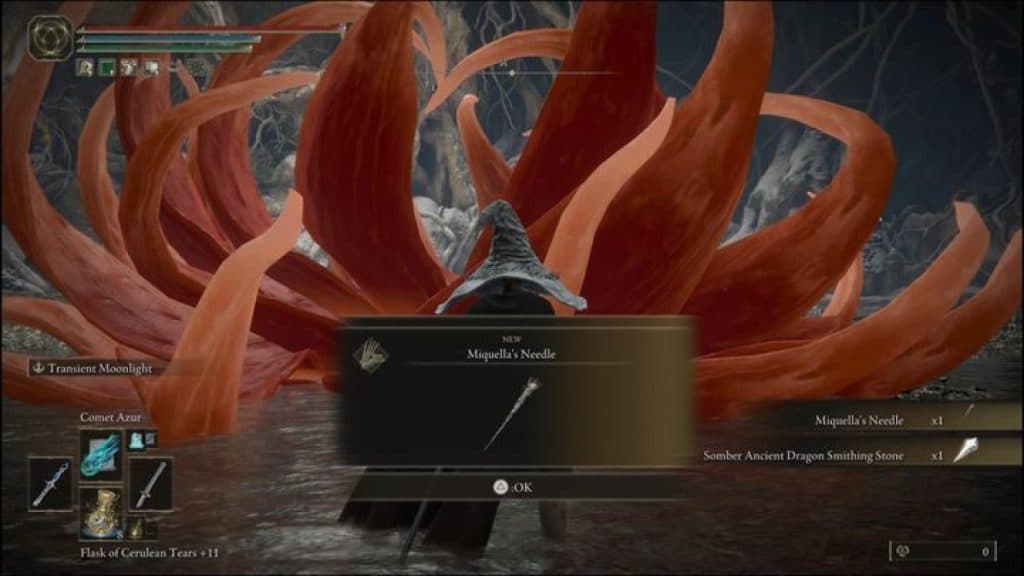
The Rotten Sword Insignia greatly boosts attack power with successive strikes, making it a very useful item for Dexterity builds. The Unalloyed Gold Needle can be used after the boss fight with Malenia to obtain Miquella’s Needle, an item that can be used to reverse the Frenzied Flame ending should you change your mind.
In truth, both the Rotten Sword Insignia and Millicent’s Prosthesis are useful items, but you can only unlock one per playthrough. So, we’d suggest siding with Millicent in your first playthrough to obtain the Rotten Sword Insignia but betray her in a second playthrough to obtain Millicent’s Prothesis. Of course, you can do this in the opposite order, it all depends on the ending you’re trying to get.
You can also get another player to drop one of the items for you, meaning you can obtain both in a single playthrough. The buffs from both items stack with each other and when used in conjunction, making the Rotten Sword Insignia and Millicent’s Prosthesis a powerful combination when used together.
Remember, you can’t simply kill Millicent at the start of the quest to obtain any of these items. You’ll need to follow the quest through and make your decision at the end. This includes the Unalloyed Gold Needle, which can’t be used to obtain Miquella’s Needle until after it’s been in Millicent’s possession. So, you can’t get it repaired by Gowry and then use it after the fight with Malenia. It can only be used this way after Millicent’s quest has ended.
However, if you already have both items, have no need for Miquella‘s Needle in your playthrough, and don’t want to replay the quest. You can always put Millicent out of her misery when you meet her. Just remember she’s a useful ally in several boss battles and completing her quest doesn’t require any additional effort.
 FromSoftware
Millicent’s quest ending explained
Spoilers for Millicent’s quest are below.
After helping Milicent fend off her sisters the tragic truth will be revealed. Millicent was never cured of Scarlet Rot. It was only ever held at bay by the Unalloyed Gold Needle while she gestated a new Scarlet Aeonia, essentially causing a new wave of Scarlett Rott which Gowry’s kind all worship as a blessing.
Realizing this after seeing her sisters, Millicent chooses to remove the Needle, dying of Scarlet Rot but ending the threat. Her powers however have been transferred to the Needle, allowing you to use it on the Aeonia that Malenia leaves behind to create Miquella’s Needle.
If you return to Gowry to confront him about his deception, the monk will express his frustration that Millicent saw through his plot and prevented it. At this point, feel free to slay him for his treachery and his true form will be revealed. You’ll obtain the Flock’s Canvas Talisman for your efforts and Gowry’s Bell Bearing. Take the Bell Bearing to the Roundtable Hold to continue to access Gowry’s shop.
If you betrayed Millicent and killed her, Gowry will already be dead when you return to him and you can still retrieve both items.
For more in-depth Elden Ring content, make sure you check out our Elden Ring page for all the latest news and guides.
Elden Ring Stonedigger Troll | Elden Ring Margit the Fell Omen | Elden Ring Tree Sentinel | Elden Ring Grave Warden | Elden Ring Pumpkin Head | Elden Ring Soldier of Godrick | Elden Ring Godrick the Grafted | Elden Ring Red Wolf of Redagon | Elden Ring Rennala | Elden Ring Flying Dragon Agheel | Elden Ring horse guide | How to beat Radahn | How to Beat Godfrey