How to use Cinematic Mode on PSVR2: Enable 120Hz, HDR & more
 Dexerto
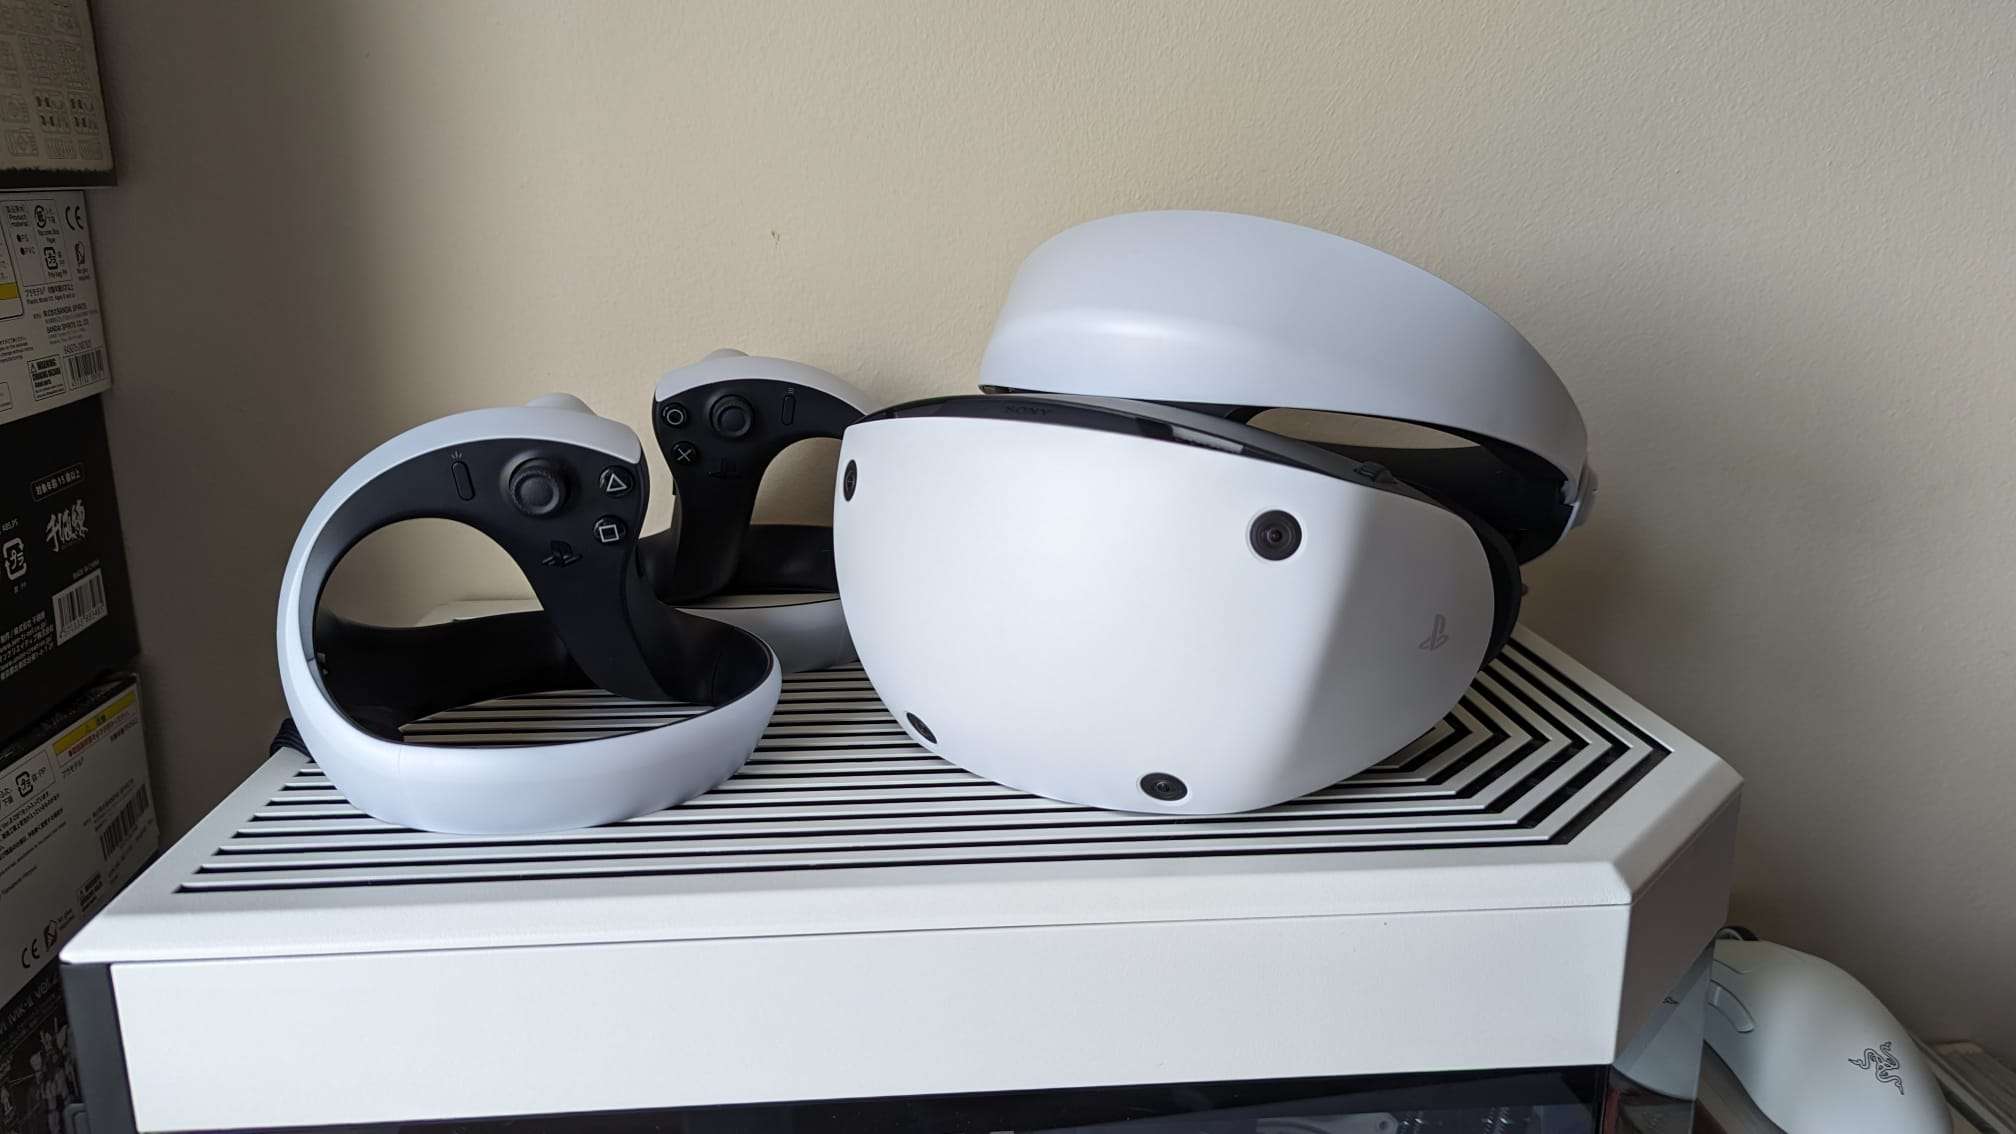
 Do you want to use PSVR2’s Cinematic Mode? Rest easy; we’ve decoded the manual so you don’t have to.
The PS VR2 is one of the most powerful VR headsets you can buy right now. Coupled with the PlayStation 5, it takes the immersive gaming experience a few notches higher thanks to its big-budget AAA library.
This powerful VR gaming headset has a few tricks up its sleeve, and the most exciting one is named cinematic mode. This mode converts your existing non-VR games into immersive experiences with a click of a button.
The catch here is that you do not get the actual 3D VR experience, but cinematic mode makes it feel like you’re playing games on a giant 2D screen. It’s your personal gaming theatre, delivered via the headset. Strap in and enjoy the ride.
How to set up Cinematic Mode using PlayStation VR2
To use Cinematic Mode, all you need to do is connect the headset to the PS5 via USB-C. Once attached, turn the headset on and you will automatically enter Cinematic Mode. This should bring up the PS5’s normal UI, and you have additional settings for the PSVR2. Here, you can adjust the headset to your liking, and tinker about with settings should you need to. You’ll be able to access brightness settings for comfort, in addition to adjusting surroundings and more. If your PSVR2 is blurry, we’ve got a fix for that, too.
Then, you will be able to use the PSVR2 in Cinematic Mode. Note that you will have to use your regular DualSense controller in this mode however, as you will not be able to use the Sense controllers in content that is not made for VR. Though, you do lose out on some things such as foveated rendering, which is a very cool rendering trick.
Then, you’ll be able to get the PSVR2’s OLED Screen to output HDR content, or set the refresh rate at up to 120Hz.
How to change Cinematic Mode settings on PSVR2
To access your settings for Cinematic Mode on PSVR2, you need to navigate over to the following:
- Settings > Accessories > PlayStation VR2
From there, you will be able to access a screen named “Cinematic Mode”. Here, you will be able to control the size of the screen itself, in addition to the audio source position, so it can stay in line with the direction of the headset itself. However, do note that in order to do this, be sure to enable 3D Audio for headphones under the “Sound” options in the settings menu.
With Cinematic mode enabled, you can switch between 120Hz video output, or enable HDR output in the settings. Since only a handful of PlayStation VR2 games use 120Hz options, we would recommend trying out a cinematic title with HDR on. Trust us, it looks pretty spectacular.
With that, you should be all ready to go with using your PSVR2 in Cinematic Mode, so you can enjoy it while someone else can use the TV.
Wanting more PSVR 2 tips? Be sure to check out our starter guide.
Also, make sure to check out our other guides:
Best Bluetooth earbuds for phones & gaming consoles | The best PS5 controllers | The best mobile games to play in 2023 | Best gaming keyboards | Best CPU for gaming | The best CPU for gaming in 2023 | Best budget gaming desk | Best power bank for steam deck | Best 1440p Monitor for PS5 | Best gamecube controller for Switch and PC