How to fix blurry PS VR2 image: Finding the sweet spot, adjusting visibility, more
 Sony
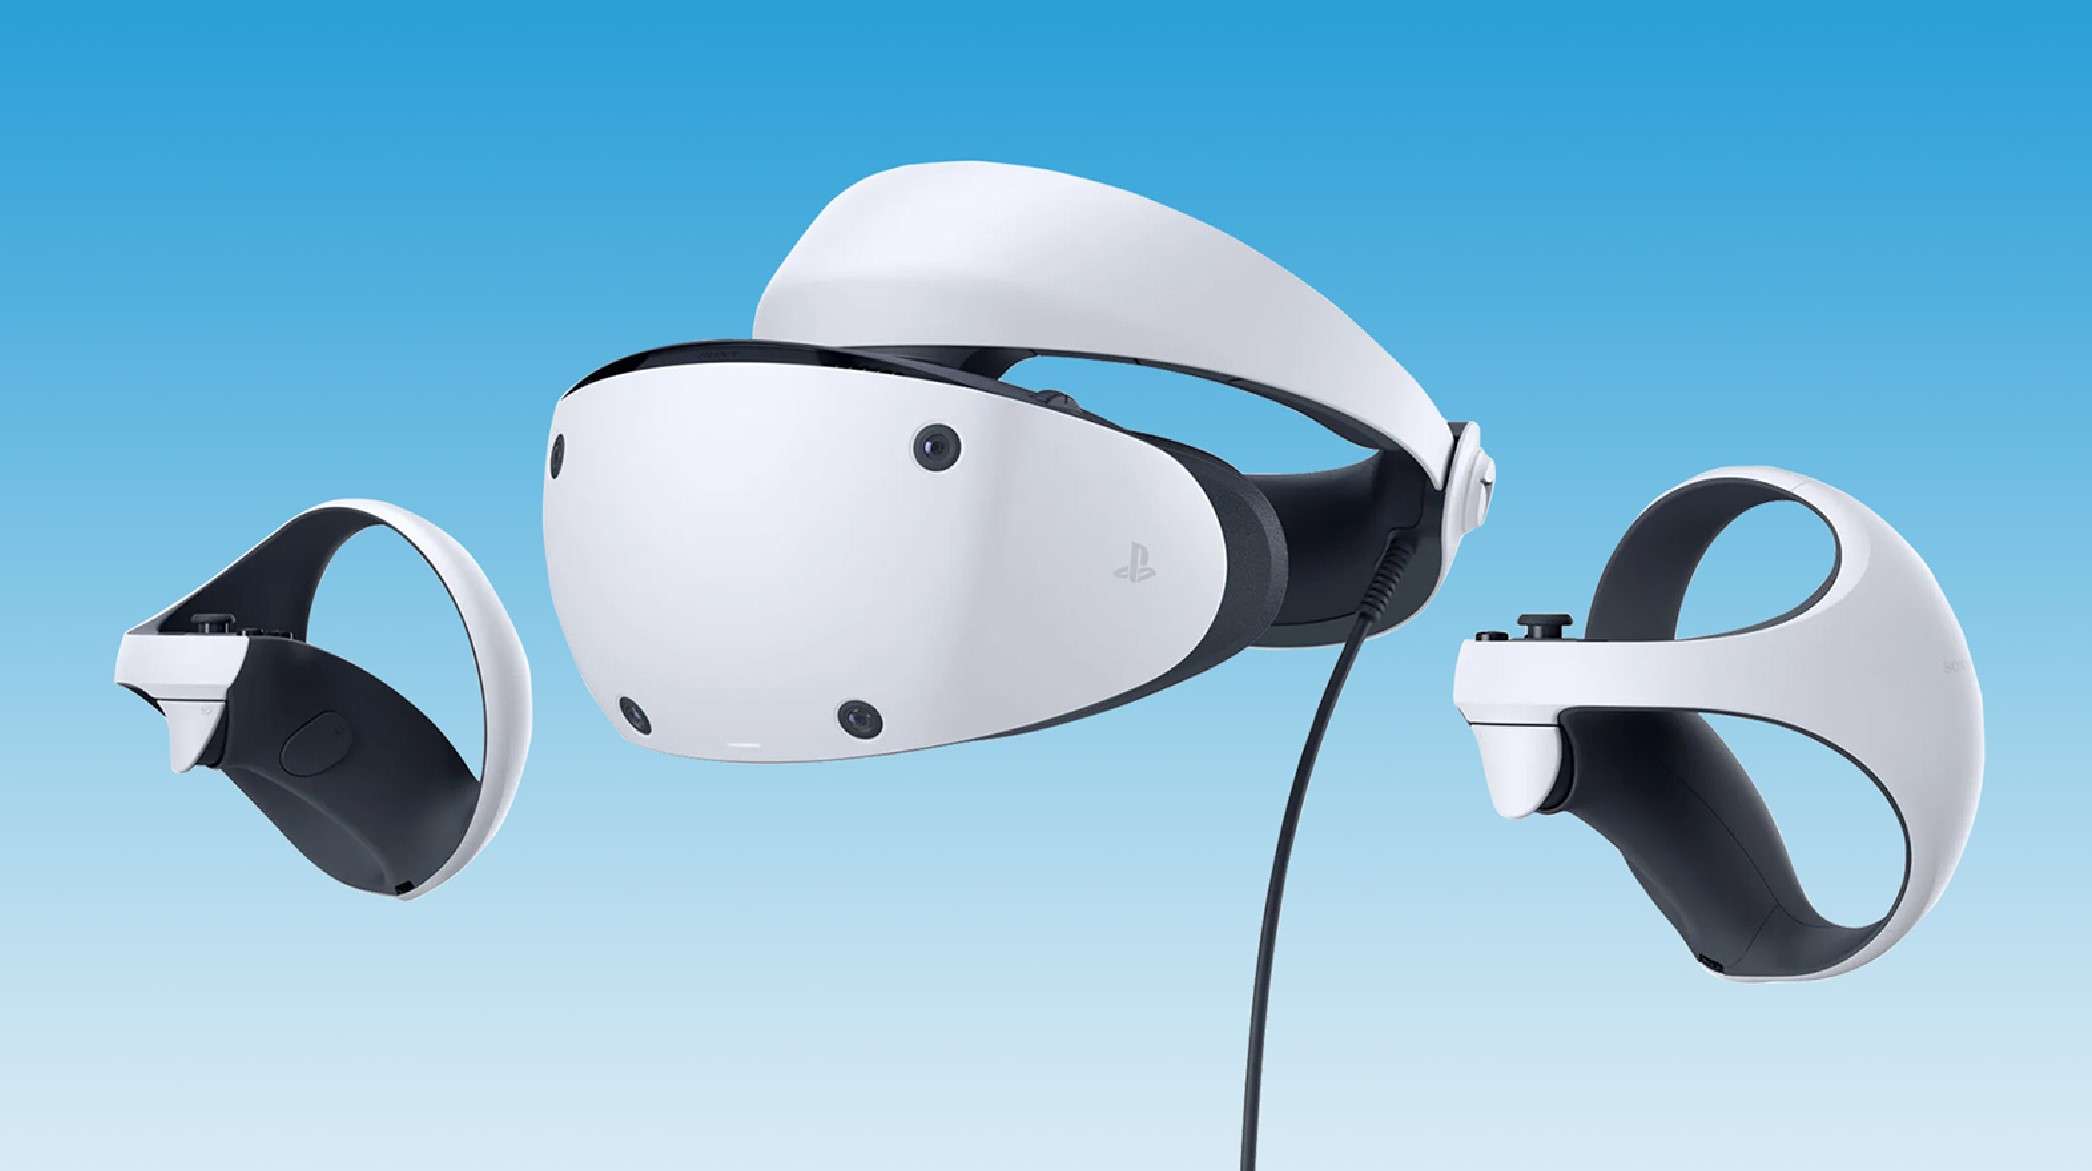
SonyAre you finding your PS VR2 image quality a little blurry? We’re about to unload a treasure trove of tips to help you banish those blurs and lock onto the perfect focus.
Whether you’re a VR rookie or a seasoned expert, getting your PS VR2 adjusted just right will take a hot minute. With its top-of-the-line specs and display, finding the perfect angle for the best visual quality is no walk in the park.
But there are many tricks up our sleeves. From keeping your lenses clean to tweaking a host of settings on your PS5, there’s a lot you can do to up your VR game. So, prepare for a deep dive into clearing up any blurry visuals on your PS VR2 headset.
Contents
- Why is your PS VR2 image blurry?
- Changing position of the PS VR2 headset
- Adjusting Visibility (IPD)
- Eye tracking
 Sony
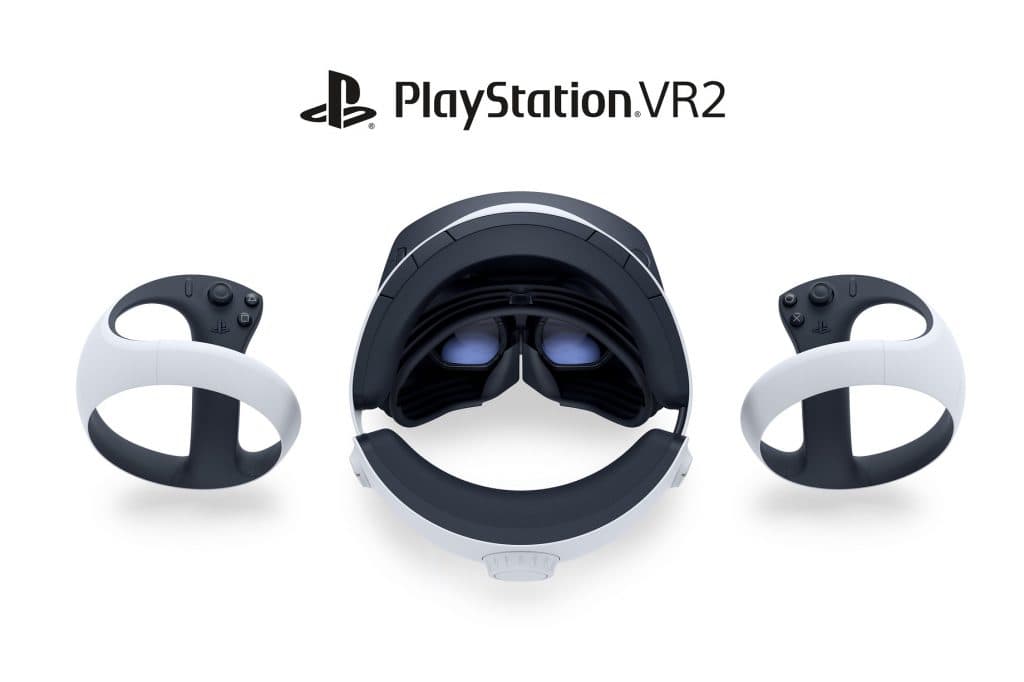
SonyWhy is your PS VR2 image blurry?
There’s no one clear answer for why your PS VR2 might appear blurry at any given moment. A multitude of factors contribute to the overall image quality, be it the headset’s position, your eye-tracking calibration settings, or anything else in-between.
If things haven’t been configured correctly or you’ve thrown the headset on hastily to begin a session, there’s a good chance your PS VR2 won’t be displaying the sharpest image possible. It can even come down to a simple matter of keeping the lenses clean.
Ultimately, if your PS VR2 appears blurry, there’s no need to worry. Below are a few suggestions on steps you can take to restore some clarity and get a clear image once again.
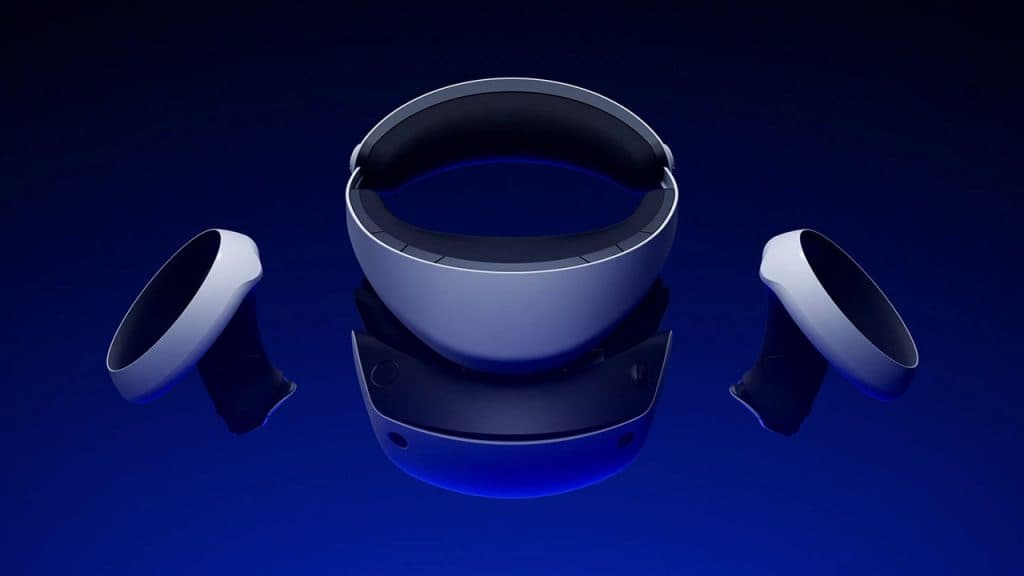
Changing the position of your PS VR2 headset
Arguably the most important step in reducing blurriness with the PS VR2 is finding the sweet spot. Every VR device has a sweet spot but for Sony’s new rig, it’s a little trickier to find than usual.
It requires a delicate touch as you slowly move the headset into an optimal position. This means moving the resting spot up and down your face, and pulling the lenses in and out until it fits just right.
A great way to test if the PS VR2 is sitting in the right spot on your head is to try and read the first pop-up text as you switch your Sense controllers on. Here, you’re presented with a small line of text that stays centered as you look around your surroundings. If this text is blurry, you need to adjust your headset right away until it becomes clear.
 Sony
SonyUp, down, left, right, and even diagonally across, take some time to make minor adjustments until this text is clearly readable no matter which direction you’re facing. Once you’ve nailed that step, follow below for a means of ensuring the image quality remains consistent.
Adjusting Visibility (IPD)
With the PS VR2 unit in a good position on your head, the next steps are all done in the settings menu. By double-tapping the PlayStation button on either Sense controller, you can quickly bring up the PS VR2 settings list.
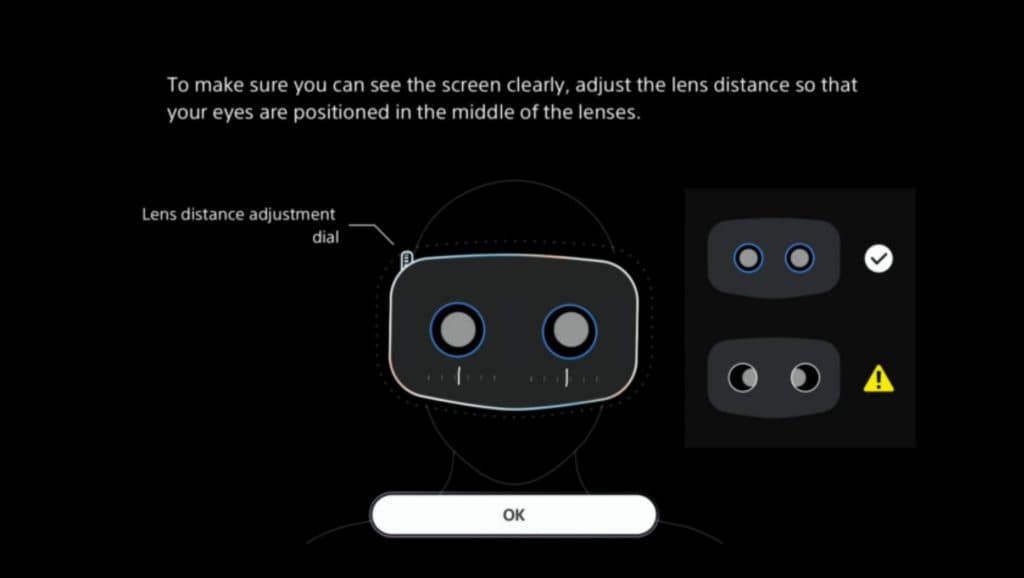
From here, the first option you want to select is ‘Adjust Visibility’ under the General settings section. This will help recalibrate your interpupillary distance (IPD). On this screen, you’ll get a clear view of how your PS VR2 headset should be resting. You want both eyes to be centered and for text to be clear. Turning the lens adjustment dial on top of the headset will help position both pupils near the center.
 Sony
SonyRecalibrating eye tracking
Once locked in there, head back into the settings and find the ‘Eye Tracking’ option to adjust one final option. With your PS VR2 headset in the right position and your IPD settings now locked in, all that’s left is to redo your eye tracking test. Simply follow the red dot as closely as possible on both the black and white screens and from there, you should be all set.
By carefully following the above steps, your PS VR2 unit should display a clear image both in-game and in the menus. Text should be easily readable both up close and afar, and you shouldn’t be straining your eyes to focus on anything in your surroundings. If that is the case, however, simply restart from the top and be sure to carefully go through your settings once again to dial in the sweet spot.
The good news is that once you’re comfortable with your PS VR2 image quality and blurriness has been stamped out, you likely won’t have to repeat this process again anytime soon. Each time you put on the headset, the image should appear just right with your previous settings locked in.
Also, make sure to check out our other guides:
Best Bluetooth earbuds for phones & gaming consoles | The best PS5 controllers | The best mobile games to play in 2023 | Best gaming keyboards | Best CPU for gaming | The best CPU for gaming in 2023 | Best budget gaming desk | Best power bank for steam deck | Best 1440p Monitor for PS5 | Best gamecube controller for Switch and PC