How to use Apple Game Porting Toolkit: Play Diablo IV on macOS
Wondering how to play the latest games on MacOS, even without a native port? Apple’s game porting toolkit will let you play games that are not natively supported. Here’s how to do it.
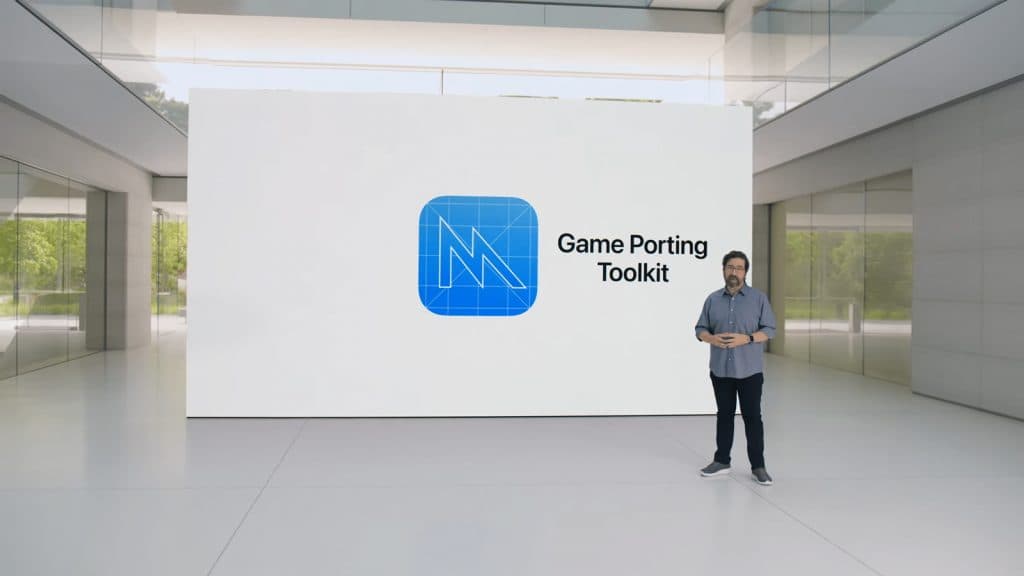
Gone are the days when Macs were only considered good for work – after all, all work and no play makes the Mac a dull boy. Along with the announcement of the M3-powered Mac at WWDC 2023, Apple unleashed the hidden gaming prowess of Macs with the help of the Game Porting Toolkit.
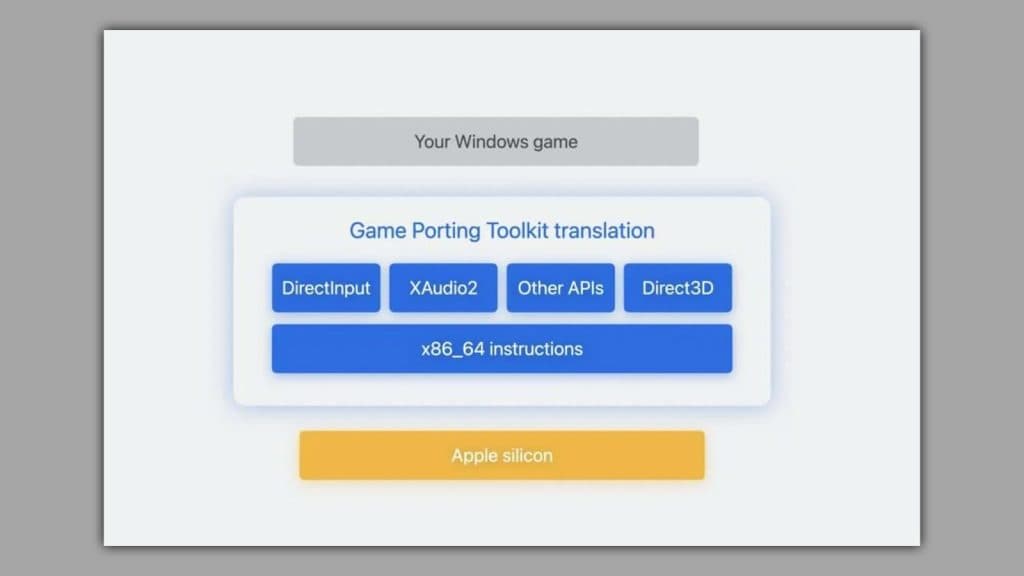
The toolkit builds a bridge between Windows and macOS, like Valve’s Proton for Linux, letting you run some Windows games on your Mac. While it sounds fun, it’s not as straightforward as we’d like.
We’ve compiled this detailed guide to help you with the intricate details. So, if you’re ready to unleash your Mac’s inner gaming potential, we explain all.
It’s not perfect
 Apple
AppleHowever, despite how easy this is to follow and set up, you have to level your expectations. Apple doesn’t want this to be a consumer tool like Proton. They’re still not interested in anything that isn’t a native port to the Mac.
The Game Porting Tool is meant to be a method in development to confirm what work needs to be done with the tools provided. It just so happens that you can also do this yourself if you have the know-how.
You will notice that some high-end AAA games might run worse than you’d expect, and we urge you not to use this method as a determining factor when purchasing a game.
How to use the Apple Game Porting Toolkit
First off, make sure you sign into a free Apple Developer account. Log in with your usual details, agree to the terms and conditions, and then we can proceed.
MacOS Sonoma has launched officially, and everything you need prior to downloading the software below will be included in the latest update. Just be sure you’ve updated to Sonoma before beginning.
Once you’re updated, head to the downloads section of the Apple Developer website. We’ve linked the two pieces of software you’ll need:
- Command Line Tools for Xcode 15
- Game porting toolkit beta
Command Line Tools provides your Mac with the necessary tools to interact with the terminal and the porting toolkit.
Once you have all that, mount the Game porting toolkit by double-clicking it. You’ll need this to start installing some software. If a window pops up after mounting, just ignore it, as none of the files will do anything right now.
Hit Command+Space to bring up the Spotlight menu. Then search for Terminal.
This will bring up a command line window where we’re going to start inputting some lines of code. First, we need to update Rosetta 2. This is Apple’s other translation layer to convert old Intel macOS apps to Apple Silicon apps. Enter the following:
softwareupdate –install-rosetta
Next, enter a “shell”, which will let macOS know how we want to work. This will activate Rosetta as well.
arch -x86_64 zsh
Now install Homebrew. This is a package manager that will handle a lot of the heavy lifting for you.
/bin/bash -c “$(curl -fsSL https://raw.githubusercontent.com/Homebrew/install/HEAD/install.sh)”
Now we need to instruct it where to point to for installing our files:
(echo; echo ‘eval “$(/usr/local/bin/brew shellenv)”‘) >> /Users/$USER/.zprofile
eval “$(/usr/local/bin/brew shellenv)”
You can also double-check if you’re on the right path after doing this with which brew. If you’re showing anything other than /usr/local/bin/brew, go back and try again.
We now need to install stuff from the Github repository from Apple, and can start doing that with:
brew tap apple/apple http://github.com/apple/homebrew-apple
Installing the tool
Finally, after all of this, we can begin installing the Game Porting Kit. Enter the following command:
brew -v install apple/apple/game-porting-toolkit
Set your machine aside or carry on with some work, as this will take a while. On our M1 Pro MacBook Pro with a 1TB SSD, this took over an hour. There are a lot of files to work through.
We can now prepare to install some games by using the following commands:
ditto /Volumes/Game\ Porting\ Toolkit-1.0/lib/ `brew –prefix game-porting-toolkit`/lib/
cp /Volumes/Game\ Porting\ Toolkit*/gameportingtoolkit* /usr/local/bin
This will not only copy over all the scripts needed to run the Game Porting Toolkit, but will copy over the files needed from the mounted file from earlier.
Setting up Game Porting Kit
To set up your first file, whether for Steam or Battle.net, you want to use:
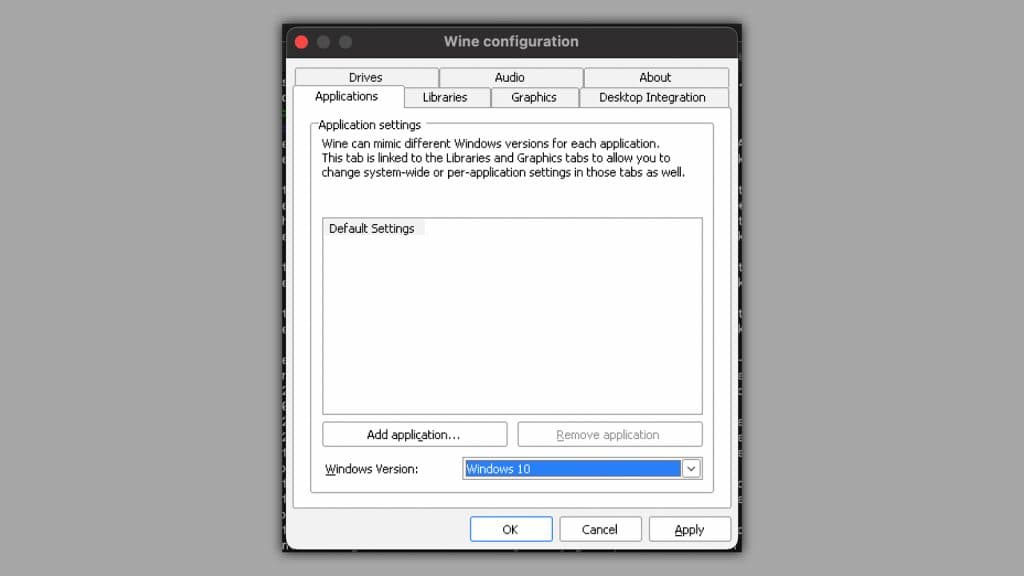
WINEPREFIX=~/my-game-prefix `brew –prefix game-porting-toolkit`/bin/wine64 winecfg
If you’re going to be running more than one launcher this way, we recommend that you name this something other than “my-game-prefix”. For instance, with Battle.net we used “battlenet”.
A new window will pop up and from the drop down, choose Windows 10. Hit “Apply” and close the window with “OK”.
To install Steam or Battle.net, you’re going to need to grab the Windows installation files and pop them wherever you see fit. We’re going with the downloads folder, so if you put it anywhere else, make the changes yourself.
Once downloaded, launch the Steam.exe file with:
gameportingtoolkit ~/steam ~/Downloads/SteamSetup.exe
Then you can begin to run Steam with:
gameportingtoolkit ~/steam ‘C:\Program Files (x86)/Steam/steam.exe’
Mac Game Porting Toolkit Steam loads with a black screen fix
Steam is a bit finicky at the moment when trying to load up the first time. Once you’re logged in, there shouldn’t be any trouble. This could take a few attempts.
We used this code to fix the issue, and it still took a few goes:
MTL_HUD_ENABLED=1 WINEESYNC=1 WINEPREFIX=~/my-game-prefix /usr/local/Cellar/game-porting-toolkit/1.0/bin/wine64 ‘C:\Program Files (x86)\Steam\steam.exe’
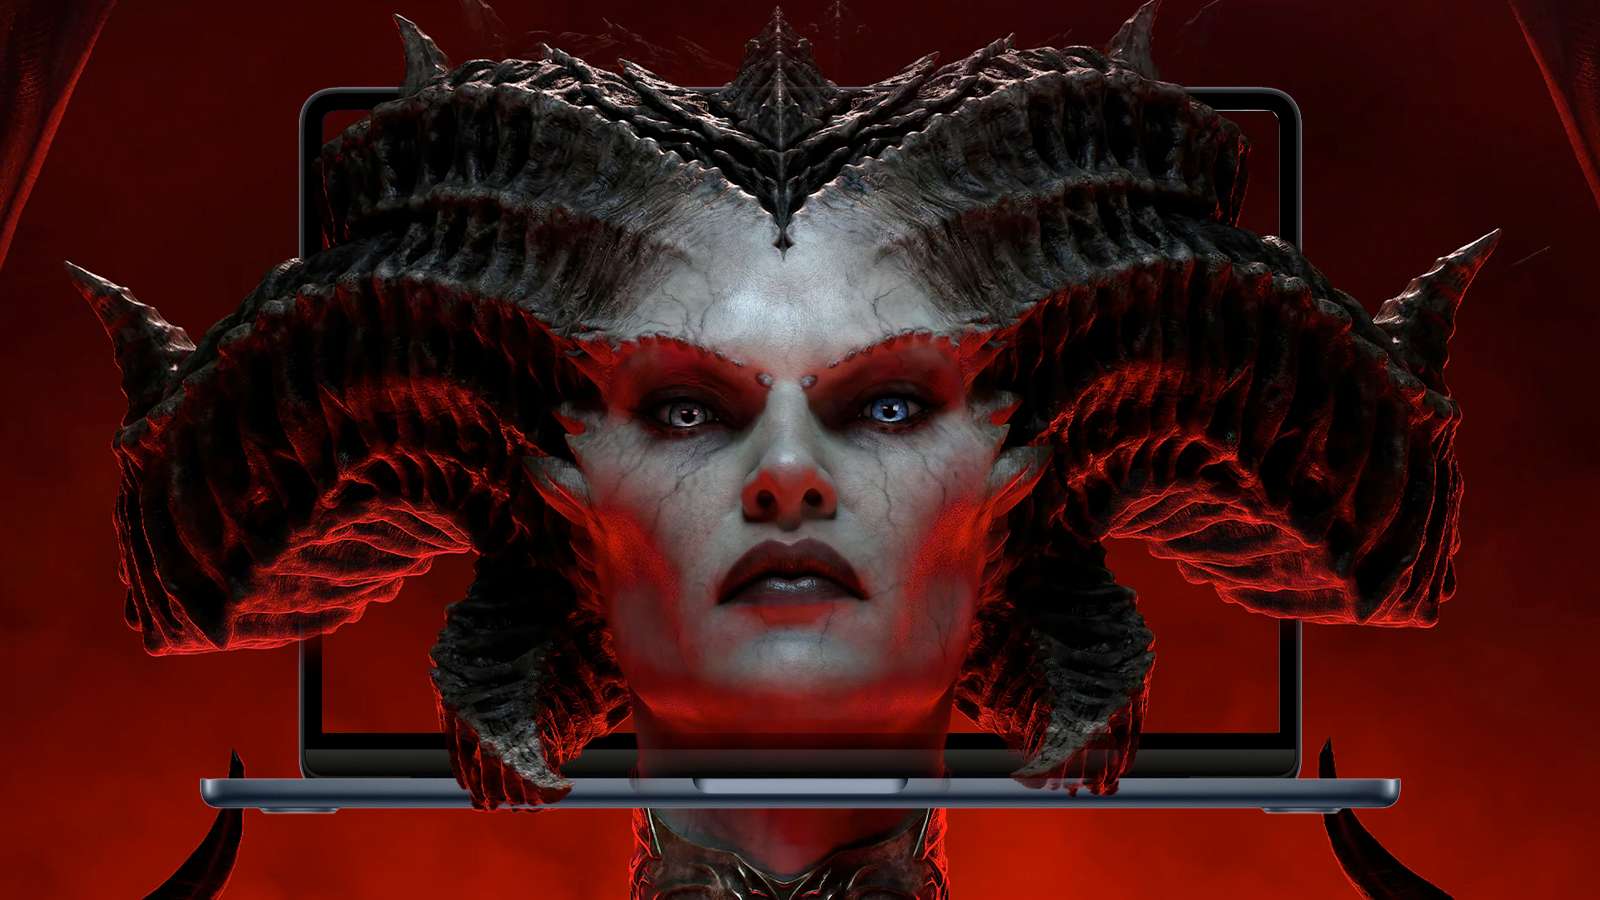
How to use Battle.net and run Diablo 4 on macOS
The way that the Game Porting Tool sets things up is similar to Proton. It effectively creates a new instance of Windows each time, file tree and all. You can’t just install Battle.net into the same place as your Steam folder. So we need to create a new one.
This is the same process again, but rename the prefix to differentiate it from Steam.
WINEPREFIX=~/battlenet `brew –prefix game-porting-toolkit`/bin/wine64 winecfg
Set things to Windows 10 and continue. However, DIablo IV requires an updated system to run, so be sure to run these codes one at a time:
WINEPREFIX=~/battlenet `brew –prefix game-porting-toolkit`/bin/wine64 reg add ‘HKEY_LOCAL_MACHINE\Software\Microsoft\Windows NT\CurrentVersion’ /v CurrentBuild /t REG_SZ /d 19042 /f
WINEPREFIX=~/battlenet `brew –prefix game-porting-toolkit`/bin/wine64 reg add ‘HKEY_LOCAL_MACHINE\Software\Microsoft\Windows NT\CurrentVersion’ /v CurrentBuildNumber /t REG_SZ /d 19042 /f
WINEPREFIX=~/battlenet `brew –prefix game-porting-toolkit`/bin/wineserver -k
After inputtingn those codes, you can run this:
gameportingtoolkit ~/my-game-prefix ~/Downloads/Battle.net-Setup.exe
Install things as normal and you can begin to download and play Diablo IV on your Mac. Whoopi, we did it.
Launch Game Porting Toolkit apps from the desktop
If you want to convert the scripts we’ve just run into something that works by double-clicking from the desktop, we need to take either one of these lines:
gameportingtoolkit ~/my-game-prefix ‘C:\Program Files (x86)/Steam/steam.exe’
Next, open TextEdit (CMD+Space, search for TextEdit) and copy the following into it:
#!/bin/bash
arch -x86_64 gameportingtoolkit ~/my-game-prefix ‘C:\Program Files (x86)/Steam/steam.exe’
Save it as steam.sh and then right-click it on the Desktop. Choose Open With… and then at the bottom of the window, use the drop-down list to change it from recommended apps to all apps. This will let you search for Terminal. Check the box underneath to launch with Terminal each time.
Battle.net has a small issue where it wants you to reinstall the launcher each time. To get around this, you can just use the following line of code to launch the game’s particular launcher instead:
arch -x86_64 gameportingtoolkit-no-hud ~/my-game-prefix ‘C:\Program Files (x86)\Diablo IV\Diablo IV Launcher.exe’
This will load up the Diablo IV launcher, similar to how it works on the Steam Deck.
Copy this in to launch Diablo IV from the desktop without the Terminal:
#!/bin/bash
arch -x86_64 gameportingtoolkit-no-hud ~/my-game-prefix ‘C:\Program Files (x86)\Diablo IV\Diablo IV Launcher.exe’
How to upgrade Game Porting Toolkit
Upgrading the Game Porting Toolkit is actually the easiest bit of the whole process. You’ll need to use the following commands in the terminal environment.
Before anything, make sure you’ve set yourself into the correct terminal environment. Remember, we’re working under an emulation layer, so we need to repeat as above:
arch -x86_64 zsh
Then, once we’ve done that proceed to use brew update and then once that’s finished, it should list everything that needs upgrading. Use brew upgrade and it’ll pull in everything that needs to be updated – including Game Porting Toolkit.
This will take a while, as the upgrade process will refresh all software it has under its umbrella.
We’re also not finished yet, as we need to grab the latest .dmg file from Apple’s Developer site.
Head here and grab the latest version (at the time of writing 1.02, but this will apply to everything going forward). Mount it by double-clicking and proceeding through the on-screen instructions.
Once mounted, we need to use ditto to copy all the files into place. It’s the same command as above:
ditto /Volumes/Game\ Porting\ Toolkit-1.0/lib/ `brew –prefix game-porting-toolkit`/lib/
cp /Volumes/Game\ Porting\ Toolkit*/gameportingtoolkit* /usr/local/bin
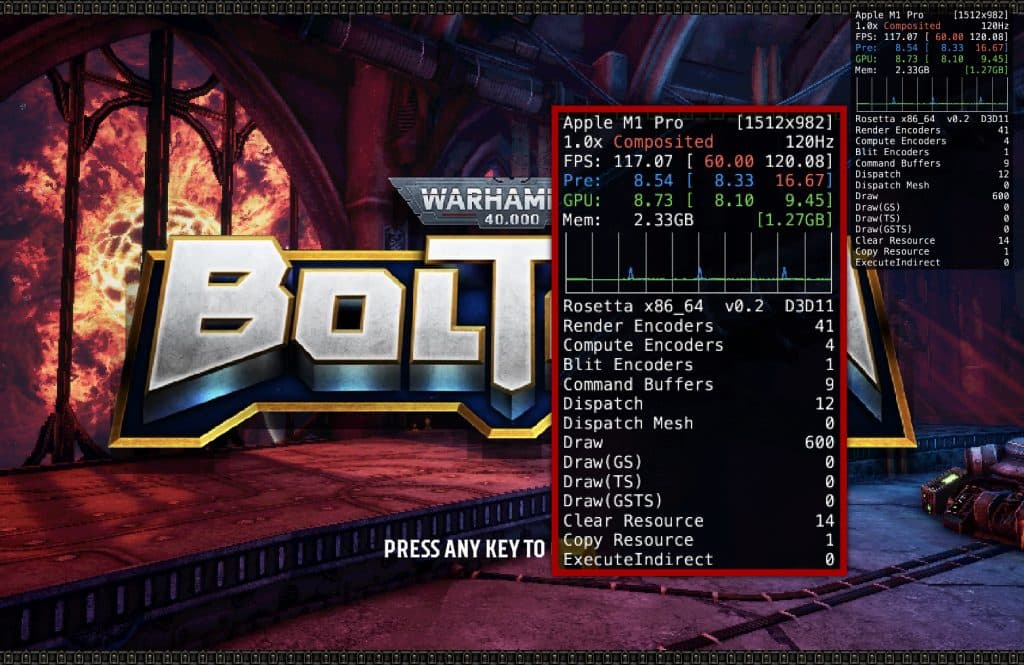
If it isn’t mounted, you’ll be met with an error. Once completed, launch your games as usual and if you did it right you’ll notice two things:
- Your games will actually load
- The graph will list it as version 0.2
One thing to note is that the ditto code could change in the future once Apple begins labeling Game Porting Toolkit with the right file names.
Game Porting Toolkit installation error fix
If you’ve skipped updating Homebrew – you might already have it installed – be sure to update it with:
brew update brew -v install apple/apple/game-porting-toolkit
This will update Homebrew, and then start the installation process for you.
If you’re still having errors, you might already have another version of Homebrew installed. In this case, you can just delete it by heading to Homebrew’s installation location and deleting any files in there. Once done, be sure to reinstall it all.
It’s a lengthy process, but it’s incredibly cool to see titles natively running on MacOS.