Rainbow Six Thunderbird guide: loadouts, tips & tricks for North Star defender
 Ubisoft
Thunderbird is certainly going to find a way into Rainbow Six’s meta.
Rainbow Six Operation North Star has introduced new defender Thunderbird to Team Rainbow. The Nakoda nation medic has a yin-yang kit full of healing with her Kona Stations and a lethal arsenal of weaponry. Here’s how you can master her.
Much like how Flores was Rainbow Six’s 30th attacker, Thunderbird brings Team Rainbow’s defender count up to 30 in Operation North Star.
She brings a new style of healing to the defense with her Kona Stations stimming allies up. She’s a lot more flexible than Doc — the default defensive healer in Rainbow Six — and has a lethal arsenal at her fingertips to take down enemies.
Before you get your hands on her, be sure to read up on our guide to the best Thunderbird tips and tricks in Rainbow Six so you can master her in no time.
 YouTube: Ubisoft
Thunderbird loadout: weapons and gadgets
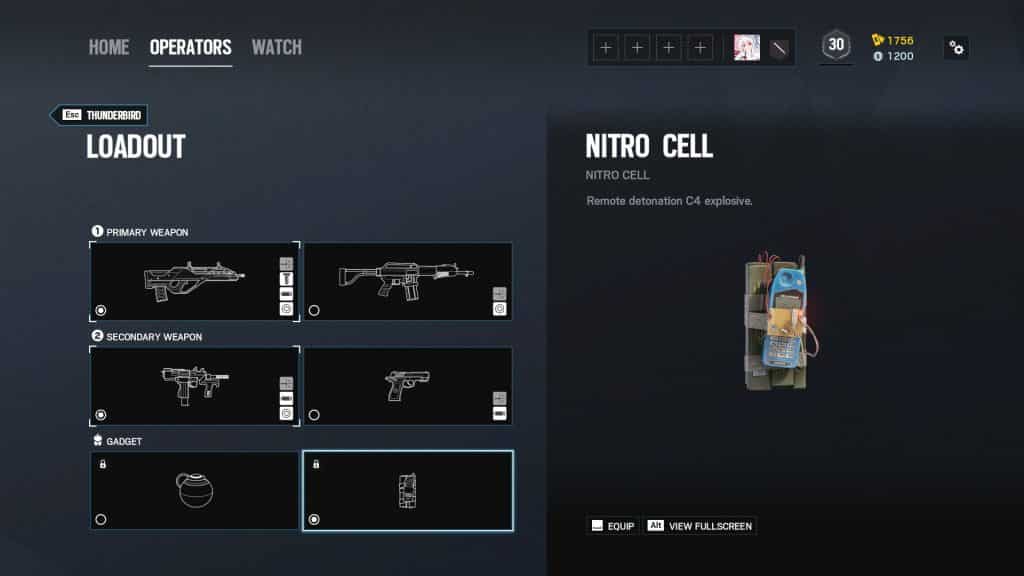
Like most other operators, Thunderbird has access to two primary weapons, two sidearms, and two secondary gadgets to go alongside her Kona Station.
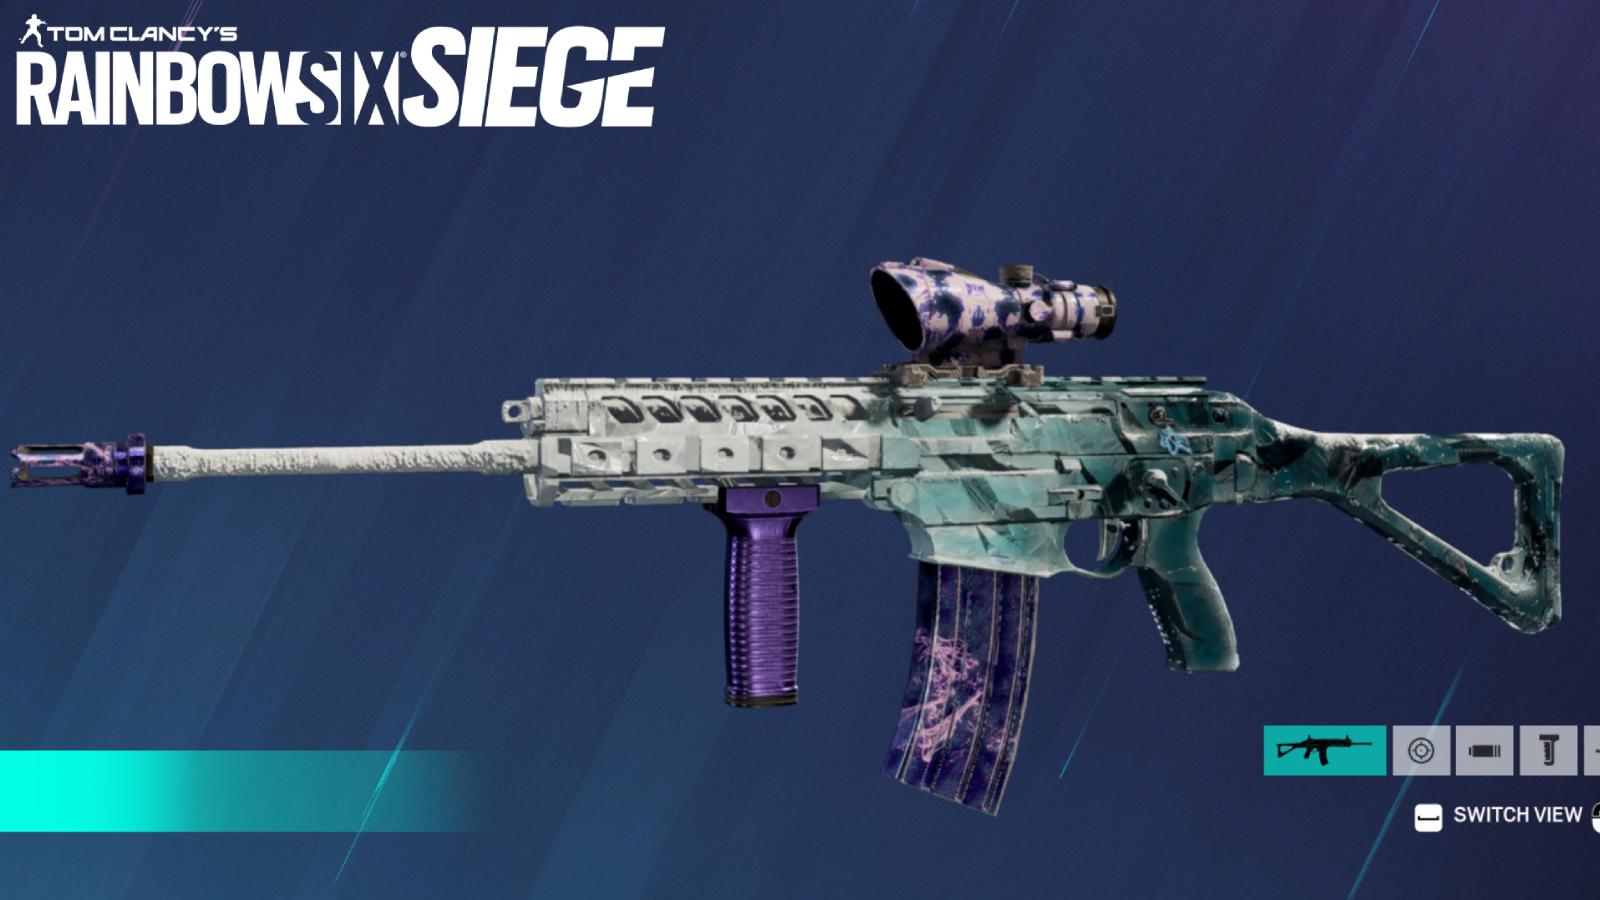
Her primary guns are some of the strongest on defense. Wielding Finka’s Spear .308 assault rifle, Thunderbird can run around (with three speed, mind you) to mow down attackers as they try and push around the map. Close quarters combat more your thing? She also has Caveira’s SPAS-15 shotgun.
Thunderbird’s sidearms are just as good. The Bearing-9 (Echo, Hibana) and Q-929 (Lesion, Ying) both have their places. If you can control the wild recoil of the Bearing-9, go nuts. However, if you just want a hard-hitting accurate sidearm, the Q-929 is as reliable as ever.
Oh, and just to round it off, she can choose between the ever-potent Impact Grenades and Nitro Cells for her secondary gadget. If you need to make rotates, get yourself some impacts. Else, always opt for the C4.
Primary weapons
- Spear .308
- Sights: Red Dot, Holo, Reflex
- Barrel: Suppressor, Flash Hider, Compensator, Muzzle Brake
- Grip: Vertical
- Under Barrel: Laser
- SPAS-15
- Sights: Red Dot, Holo, Reflex
- Under Barrel: Laser
Secondary weapons
- Bearing-9
- Sights: Red Dot, Holo, Reflex
- Barrel: Suppressor, Flash Hider, Compensator
- Under Barrel: Laser
- Q-929
- Barrel: Suppressor, Muzzle Brake
- Under Barrel: Laser
Secondary gadgets
- Impact Grenade
- Nitro Cell
 Ubisoft
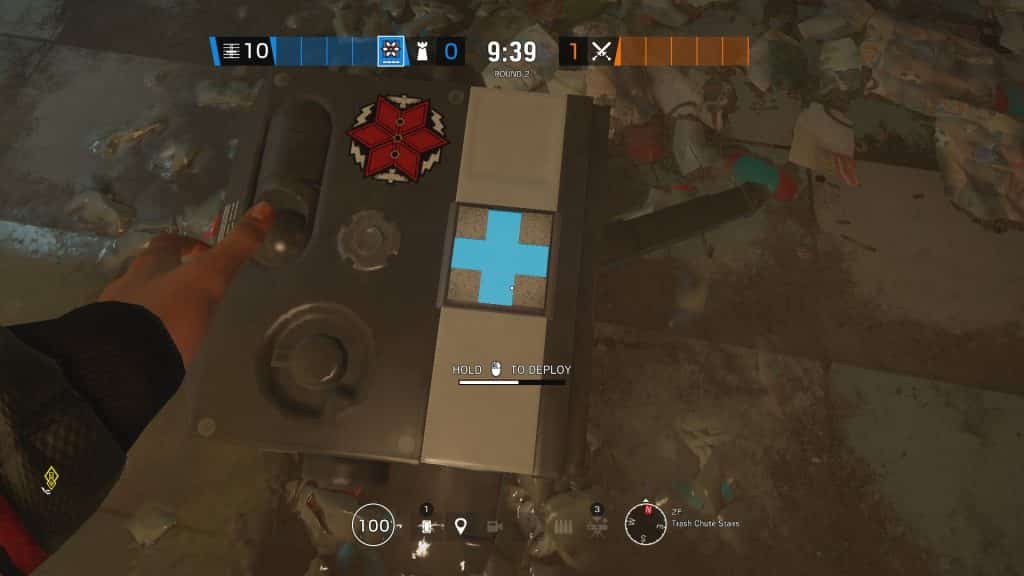
Keep your Kona Stations in safe places
We’ve just sung the praises of Thunderbird’s amazing arsenal of weapons allowing her to roam around the map as a three-speed and put the pressure on. However, that makes it even more important that you keep your three Kona Stations safe.
There are two ways of doing this. One, you leave them on site, and rotate through to get stimmed up and ready to pounce. Or two, you use them, and then pick them up so attackers can’t abuse them after you leave. Remember, they heal indiscriminately.
Don’t forget to drop your Kona Station for revives
The Kona Station can also be used to revive allies. This makes it really good for dropping hands-off revives if you swing around to help a friendly on the ground. If you have your stations dotted around the map in safe areas as above, teammates can get easy revives off.
- Read More: Rainbow Six Favela rework full walkthrough
If you don’t have to bend down to pick up a teammate, it frees you up to look for the re-trade, or keep moving around the map. Plus, they get bonus health thanks to the 30 HP stim, instead of the regular 20 HP on a revive. It’s an all-around win.
 Ubisoft
Use her kit aggressively off-site, then retreat back for late round
We’ve touched on this point a bit, but it’s truly the ultimate way to play Thunderbird. You have to take advantage of her three-speed and roam. Drop a Kona Station or two in a bomb site, and take one for the road as a deployable health pack.
Once you’ve used her kit aggressively to find picks, you can retreat back to site, place down that spare Kona Station, and bunker down with the rest of your team. It’s a pretty faultless strategy.
If you follow these tips and tricks, you’ll be well on your way to mastering Thunderbird in Operation North Star.