How to change your FOV in The Last of Us Part 1 remake
 Naughty Dog
With The Last of Us Part 1 remake, players are able to widen their Field of View (FOV) in order to see more of Naught Dog’s stunning game all at once. Here’s how it’s done.
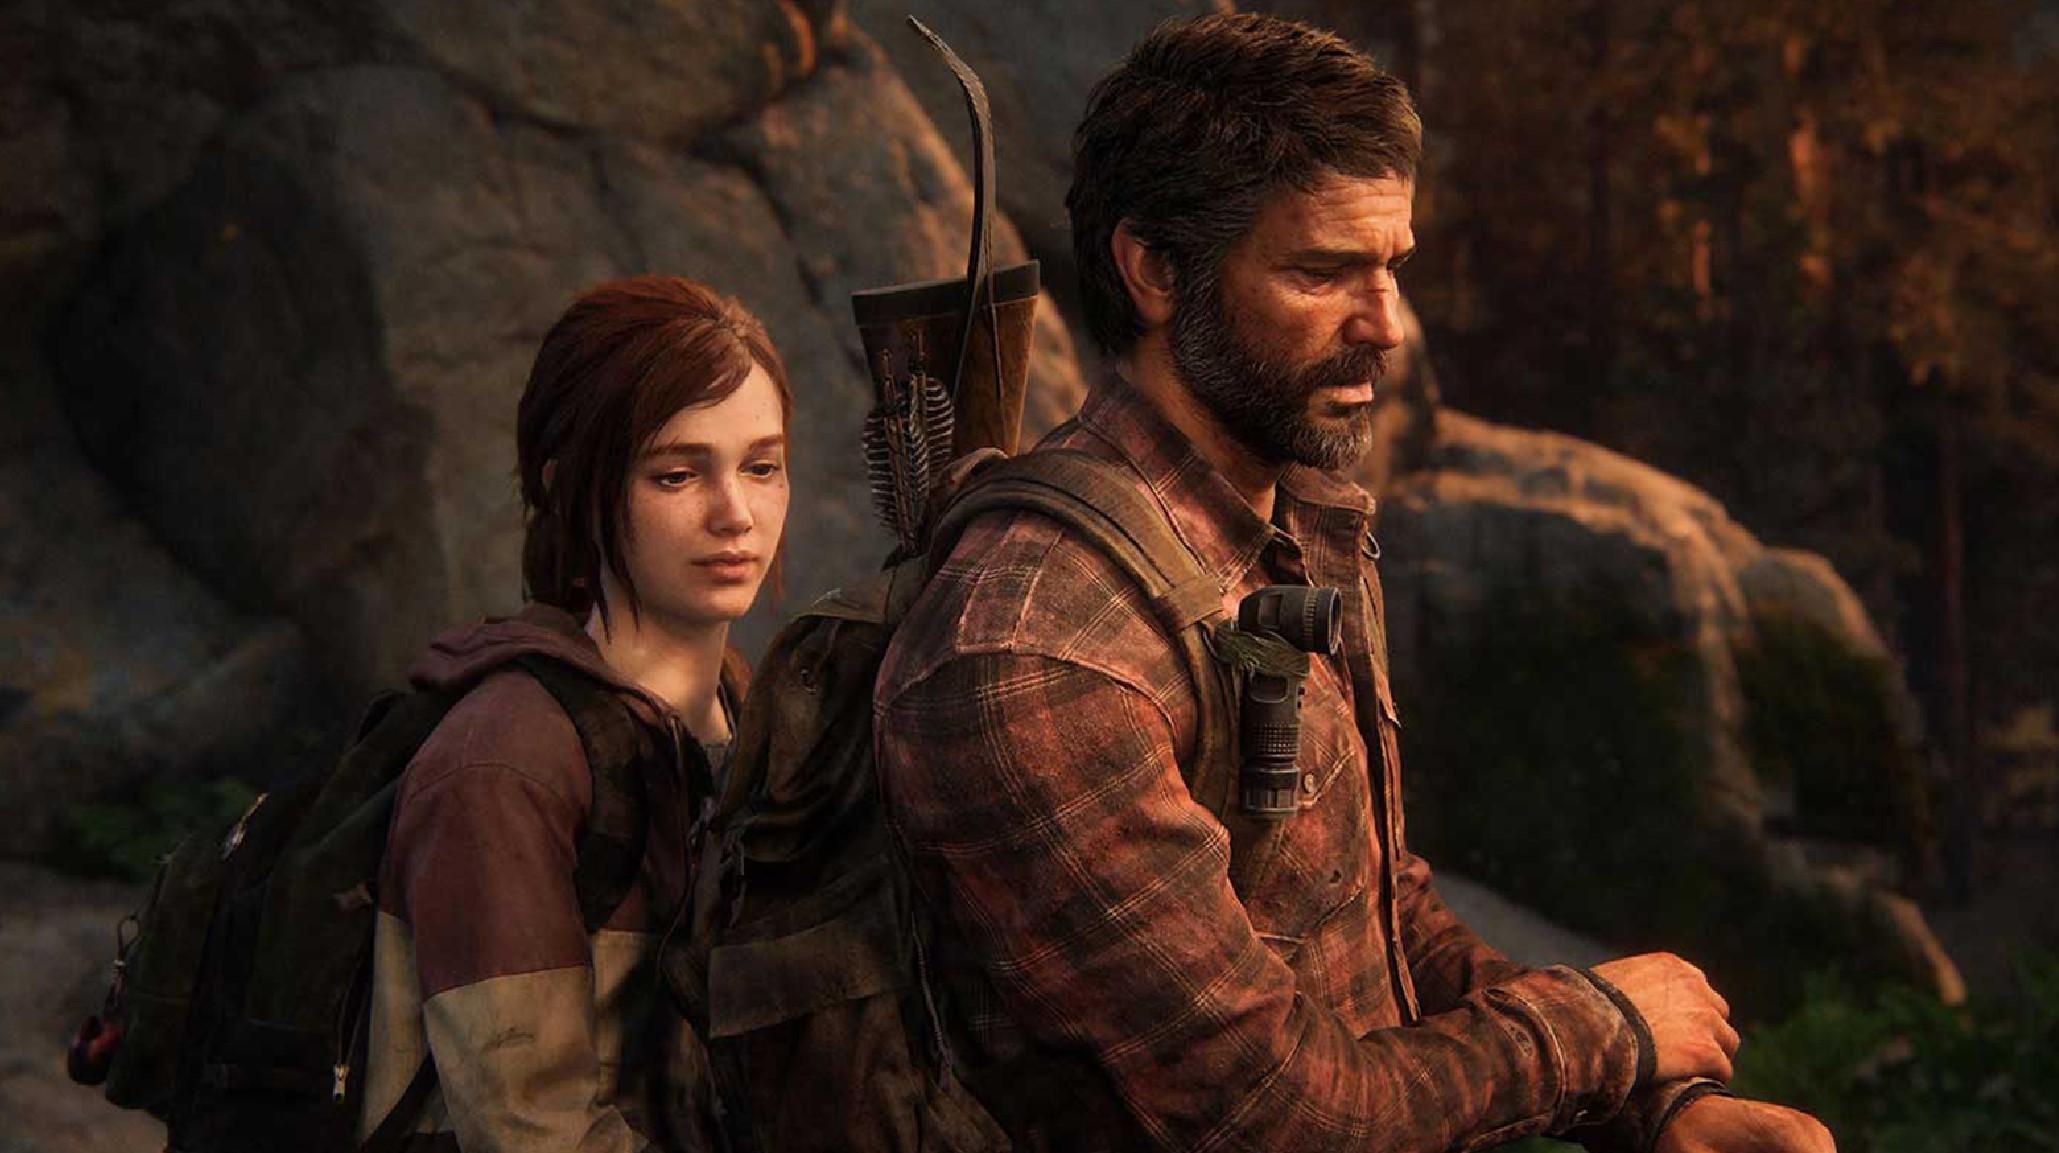
Nine years since it first hit store shelves, a full-fledged PS5 remake of The Last of Us is now available. While it’s unquestionably a huge leap forward for one of the most highly-regarded titles ever, many remain on the fence as to whether it’s worth the price of a full new game.
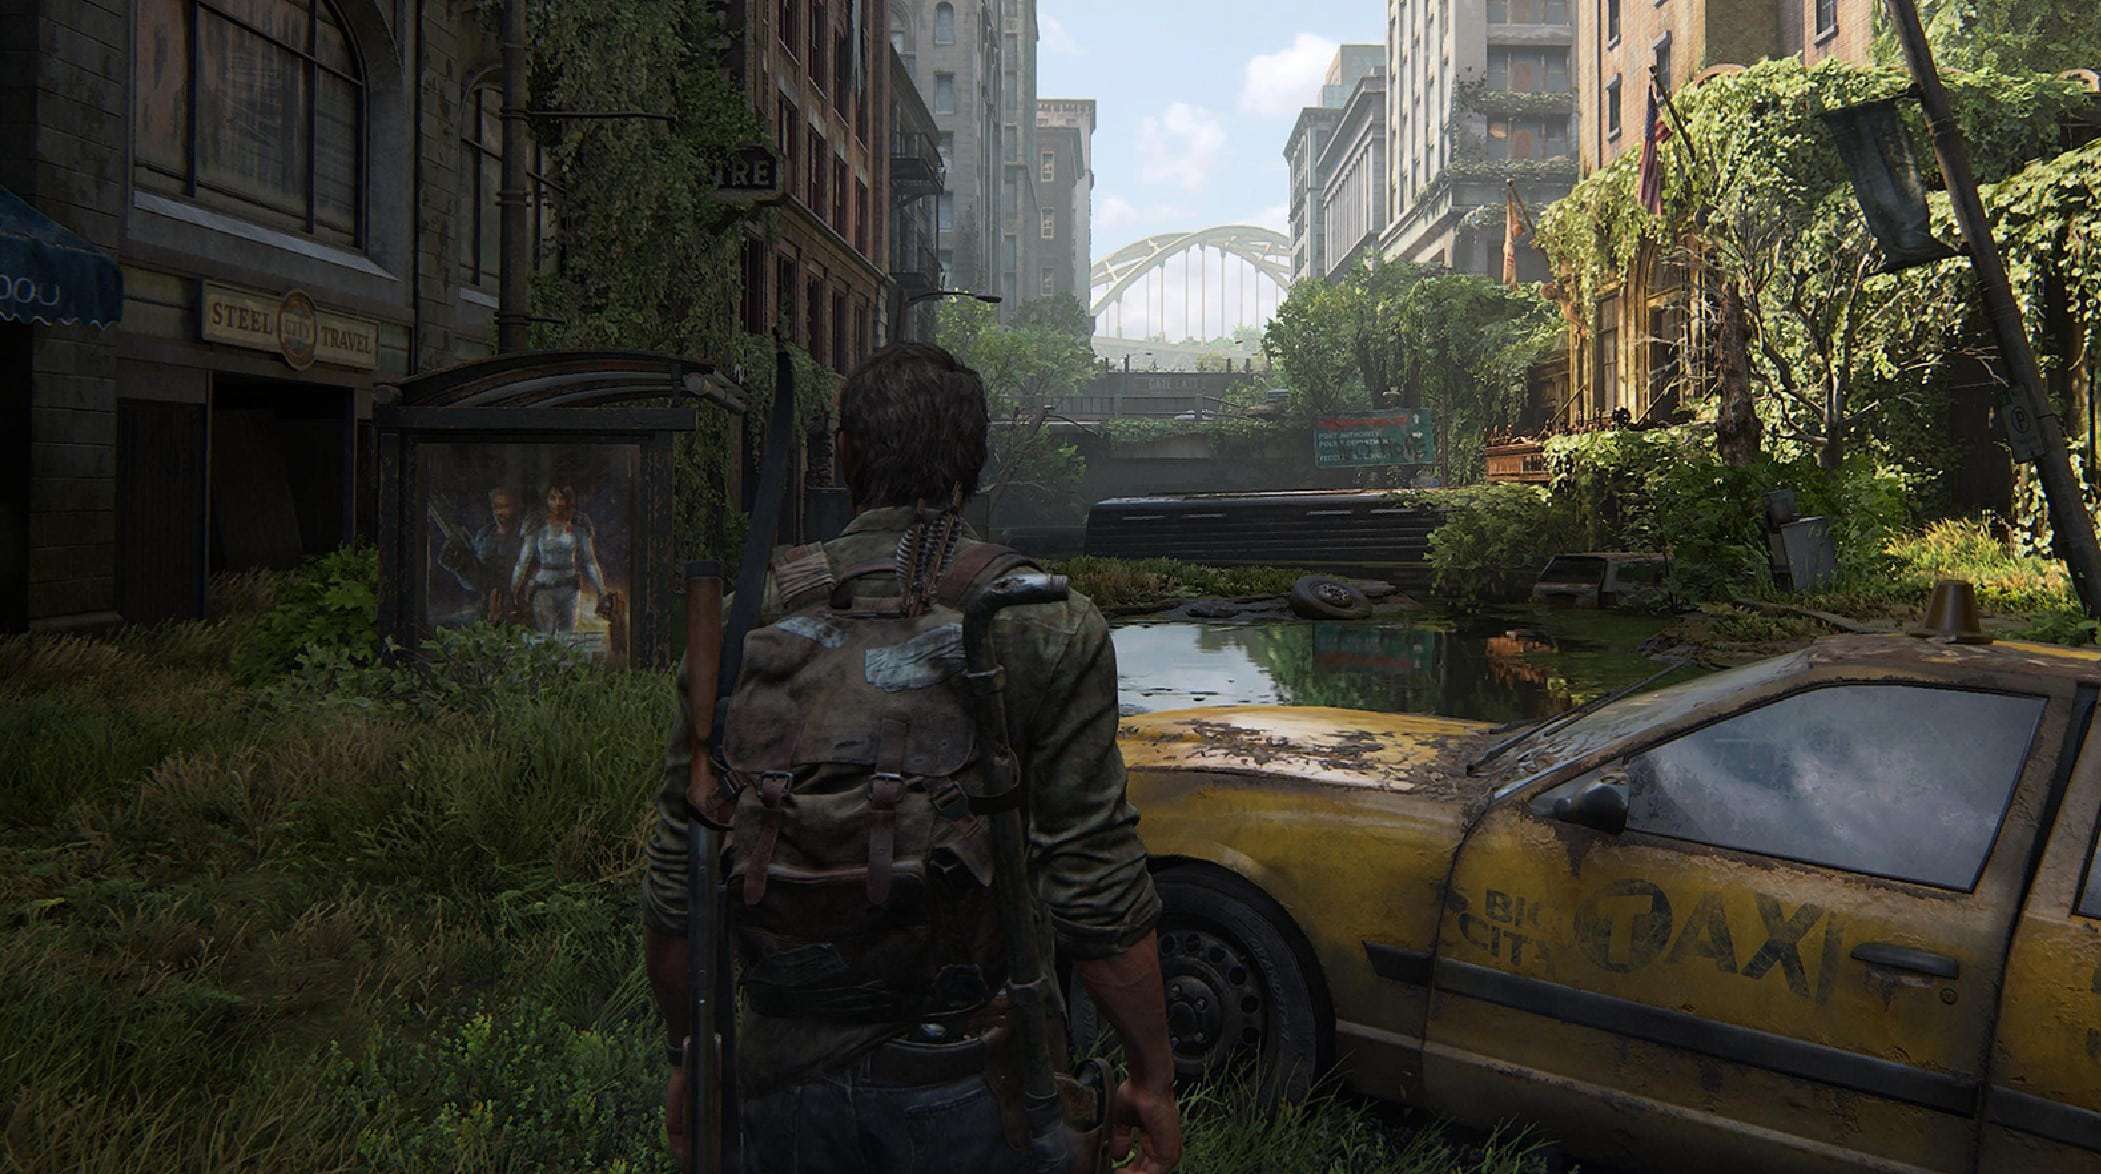
Regardless of where you stand on the matter, there’s no denying The Last of Us Part 1 is among the best-looking games available today. And to help you appreciate the effort that little bit more, there’s even an FOV slider among the industry-leading accessibility features.
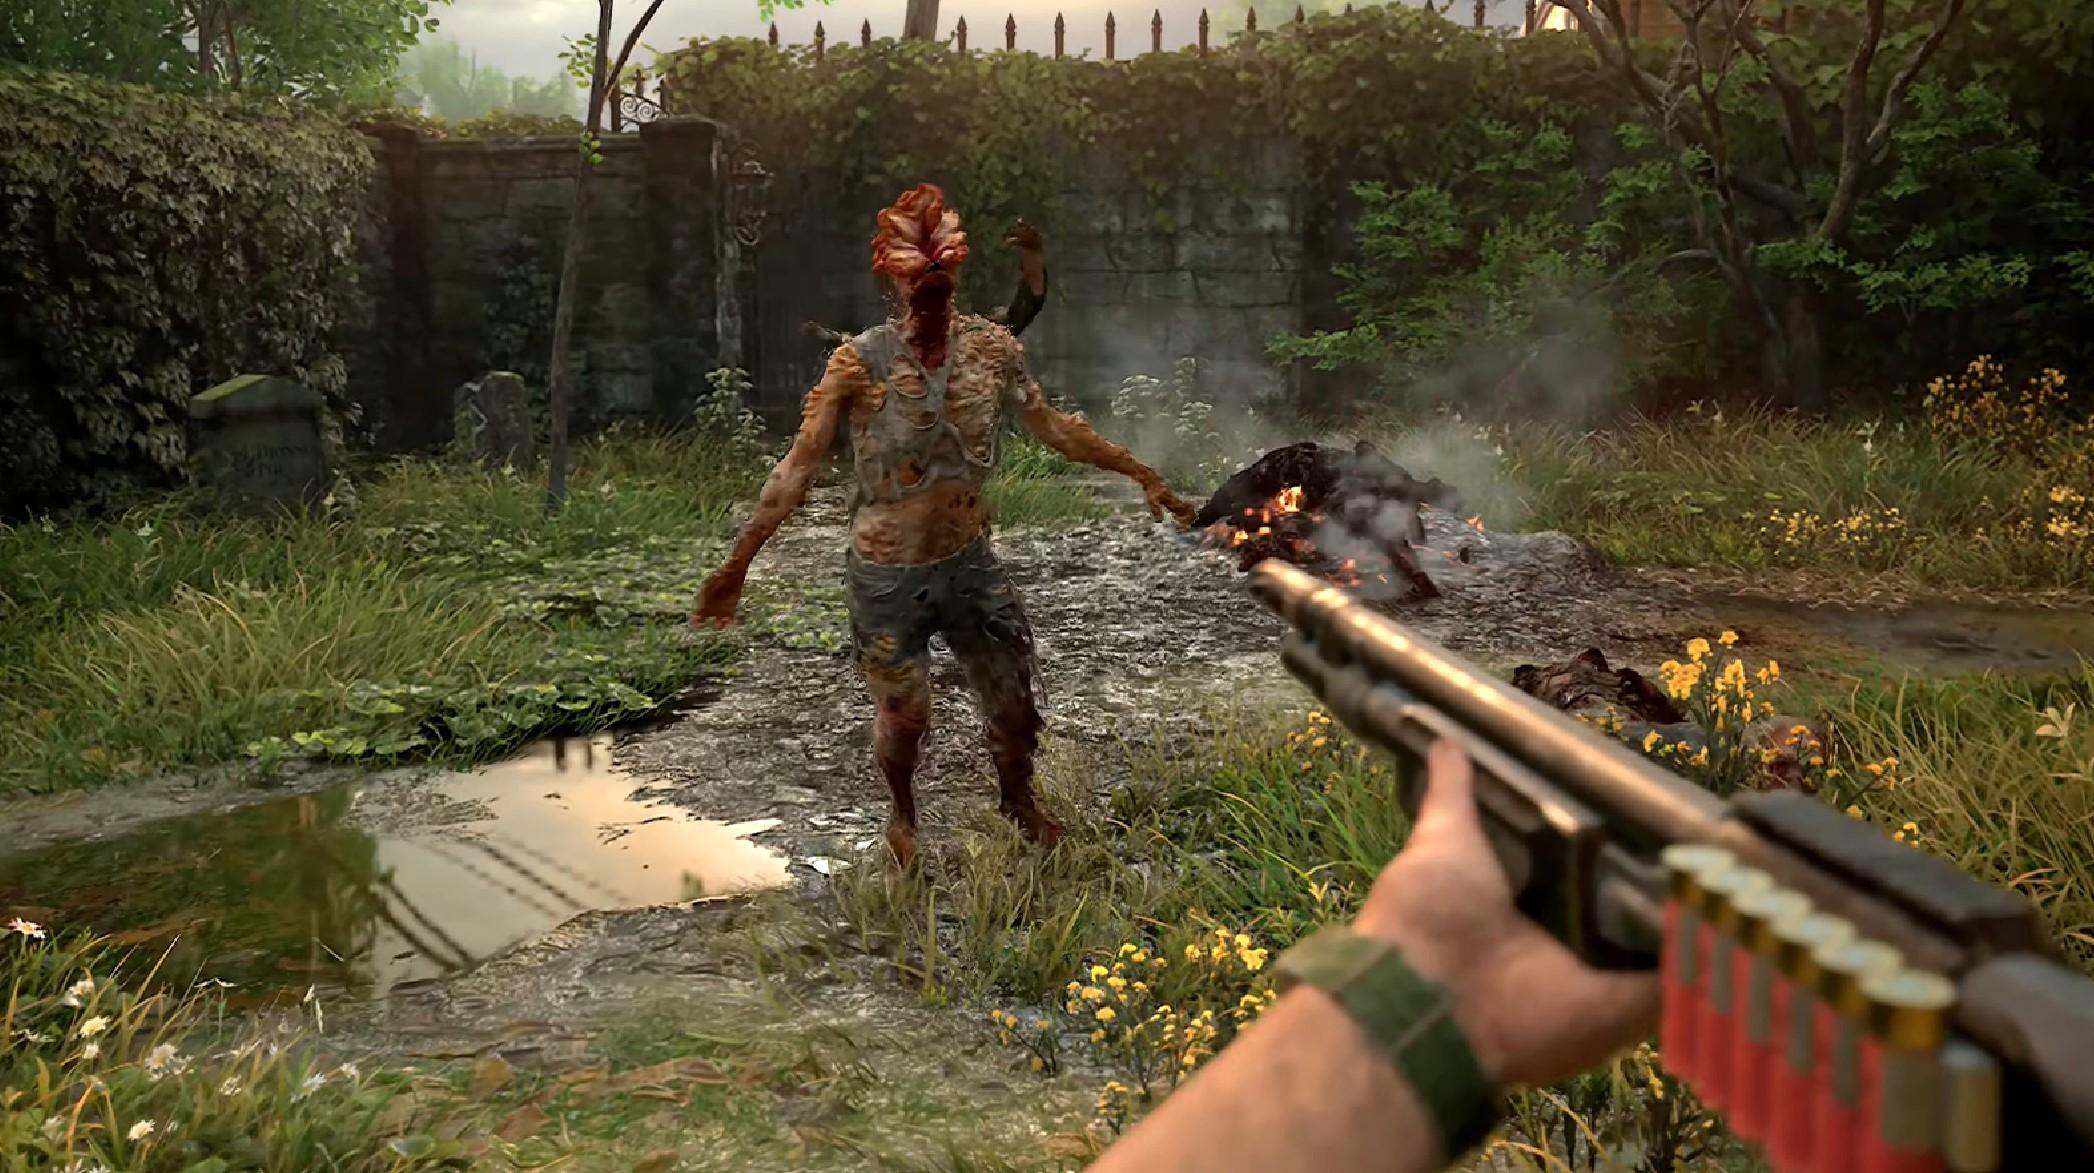
By tweaking this setting and expanding the FOV, you’re able to perceive more of the richly detailed world at every turn. Not only that, but it’s certainly handy in combat too, with enemies flanking from all directions.
So if you’re eager to change your FOV but unsure where to look, here’s all you need to know.
How to change your FOV in The Last of Us Part 1
With dozens of options to tweak and a wide range of accessibility features on offer, there’s plenty to sift through in The Last of Us Part 1. So to jump right to the desired FOV slider, you’ll first need to pause the game after starting up.
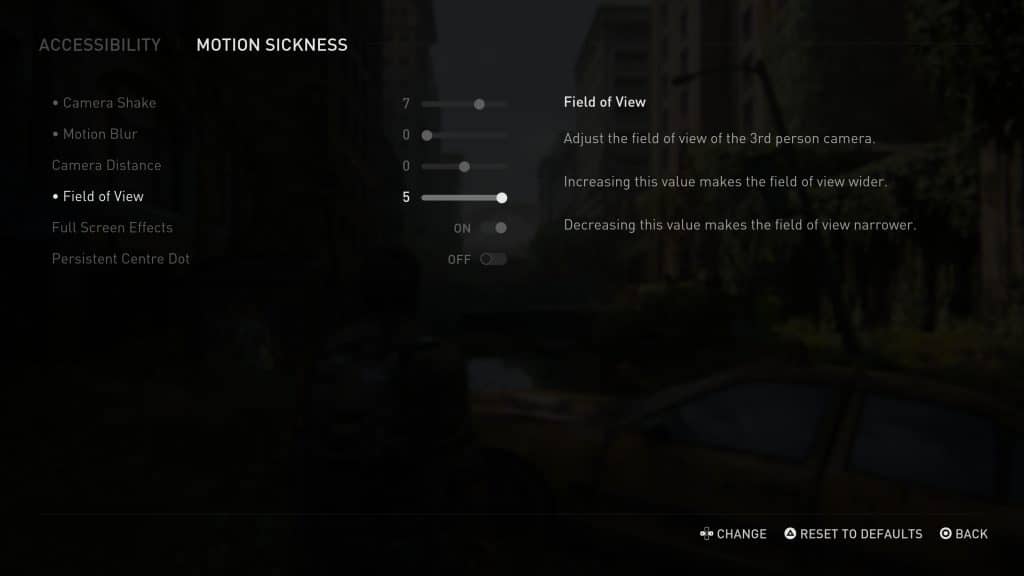
Through the Options menu, look towards the bottom to open the sprawling list of accessibility features. From here, select the Motion Sickness category and you’ll find the FOV slider.
 Naughty Dog
By decreasing its value, you’ll squeeze the camera closer to Joel. But by increasing its value, you’ll push the camera further back and widen your overall view. While it’s ultimately down to personal preference, the higher your FOV setting, the more you’ll be able to see at any given moment.
Below is a step-by-step breakdown to simplify the process:
- Pause the game and open the Options menu.
- Look to the bottom and select Accessibility.
- Advance to the Motion Sickness category.
- Adjust the FOV slider to your preferred setting
- Enjoy a wider FOV than the default option provides.
If your FOV is maxed out and you’re still wanting more, there is always the option to adjust camera distance itself. Just above the FOV option, this additional slider could help fine-tune the experience for your liking.