FFXIV players discover strategy to bypass difficult mechanic in P10S
 Square Enix
Final Fantasy XIV players have discovered a new method to completely bypass a mechanic in one of the game’s more recent difficult raids.
Final Fantasy XIV’s raiding requires a lot from the player. Not only do you need to work together with 7 other players to defeat a difficult boss. But you need to do that whilst solving complex mechanics, completing your rotation, and meeting DPS checks along the way. That’s why many players can spend time out of the game just studying certain mechanics and how to complete them before heading into the actual game.
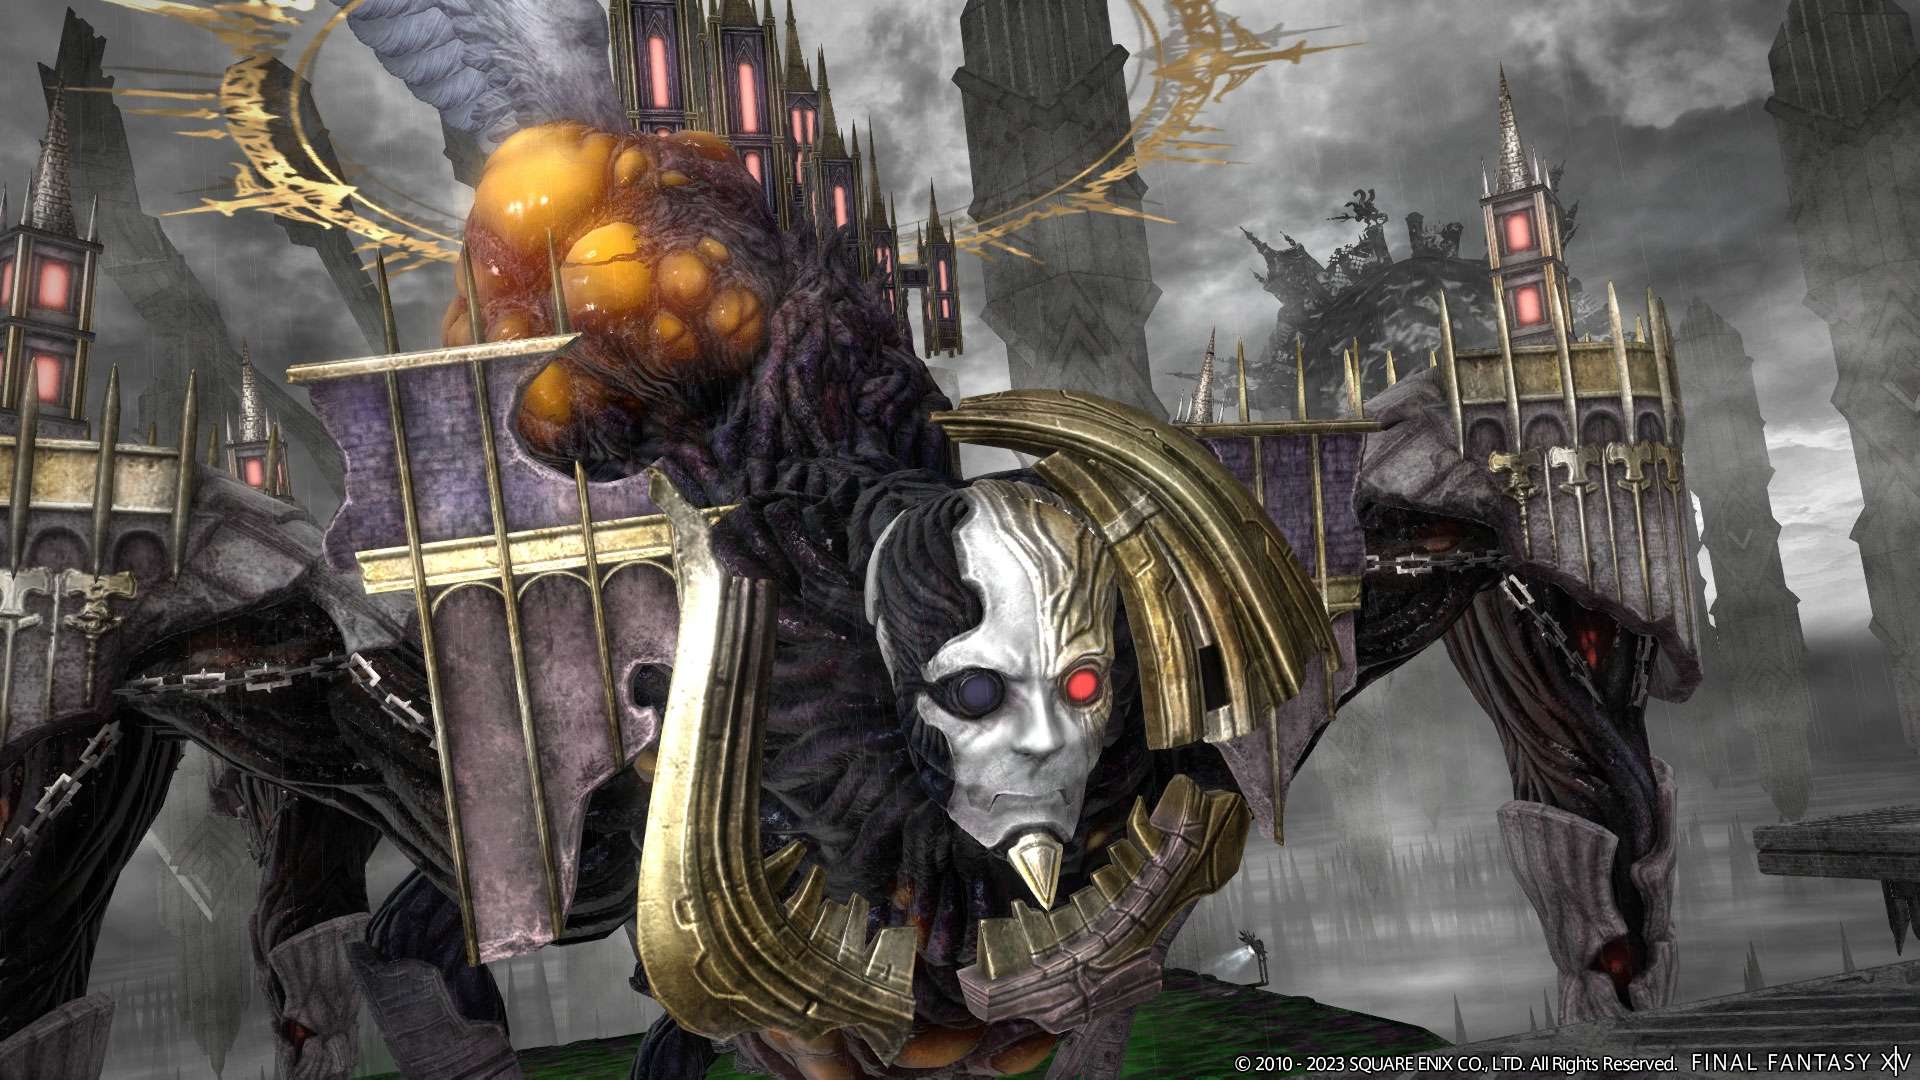
This is the case for the savage and ultimate difficulty fights, which are the hardest content available for high-end raiders. When players fail mechanics in this difficulty most of the time it results in an entire team wipe, with the group respawning back at the start of the fight. The most recent savage tier, Pandaemonium: Anabaseios is no different to these rules as well, with P10S (Pandaemonium 10: Savage) being one of the harder fights of the tier.
P10S sees players take on Pandaemonium themself and has many mechanics involving stacks, spreads, and a web-breaking mechanic. One of the more difficult mechanics of P10S is Harrowing Hells, which requires players to build a web at the back of the arena using the spreads beforehand, creating a barrier to be knocked back into. Failing to do so will result in all party members being knocked off the map, resulting in a team wipe. That was until a team discovered a way to bypass the mechanic with some ingenuity.
Final Fantasy 14 players discover way to bypass Harrowing Hells in P10S
YouTuber Hayclonic demonstrated a strategy that involved using the healer ability Rescue. This ability would pull any ally to the healer and would also stop the pulled player’s momentum. When Hayclonic’s party failed to create the barrier at the back of the arena, the two healers used rescue on one another when being knocked back, pulling them away from the edge.
Whilst the rest of the party ends up being knocked off the map by the attack, the healers can then use Limit Break 3, which will bring back all party members from the dead with no death penalty.
The downside to this strategy is that using healer LB means you won’t have a tank LB for Harrowing Hell or a DPS LB in order to meet the DPS check of the fight. So despite being a fantastic way to bypass the mechanic, might not always be the best option in every situation.