How to install Windows on Steam Deck: Dual boot & more
As great as the Steam Deck is, it can’t do everything. For that extra bit of functionality, you might need to install Windows. This guide shows you how.
The Steam Deck has cemented itself as a massive success for Valve, prompting a renaissance for handheld gaming with devices such as the Asus ROG Ally or Ayaneo Slide. Many people love the Steam Deck for its simplicity and ease of use, as well as the convenient access to a huge library of Steam games.
Not every game and application works on Steam Deck, however. The Steam Deck is basically a very small gaming PC using a unique version of Linux, and some titles do not play well with Linux. Thankfully, if you want to play some games not compatible with Steam OS, there is a solution, and it involves installing Windows.
Installing a new OS onto the diminutive handheld is not an easy process, especially if you are interested in having a dual-boot Steam Deck setup. It might require quite a bit of patience to get everything working the way you want. This guide has been created to show you how to get started.
You will need the following:
- A USB stick with 8GB of storage at least
- GParted ISO
- Windows ISO
- A USB-C hub (with Ethernet)
- Steam Deck Windows drivers
- Rufus and/or Etcher
If you want a dual-boot Steam Deck, you’ll need to follow this portion of the guide.
Create a Windows boot USB
This has gotten far easier in recent memory. All we need is Rufus and a Windows ISO. Rufus is a piece of software that will allow you to create bootable media for Windows. Etcher, our preferred method for creating SteamOS or other Linux boot drives, can’t process Windows.
This means that you will need to actually use a Windows PC to create the boot media, as Rufus is the easiest method. The alternative, non-Windows options for doing so aren’t very good, or haven’t been supported in a long time. On macOS, we couldn’t get things to load correctly whatsoever, and recent updates have culled Bootcamp (Apple’s olive branch to allowing Windows on Intel-based Macs.)
Download and install Windows on Steam Deck
Download the official Windows 10 or 11 ISO, and open Rufus. You can then navigate to where it was saved, plug in your USB, and proceed with the creation of your bootable device. It’ll take about 10-15 minutes, but once completed will be ready to go.
The next step is to plug this into your Steam Deck’s USB-C hub and also plug in the charger if it has power passthrough. You’ll want to ensure it’s charged during the process, as a power cut could cause the device to brick.
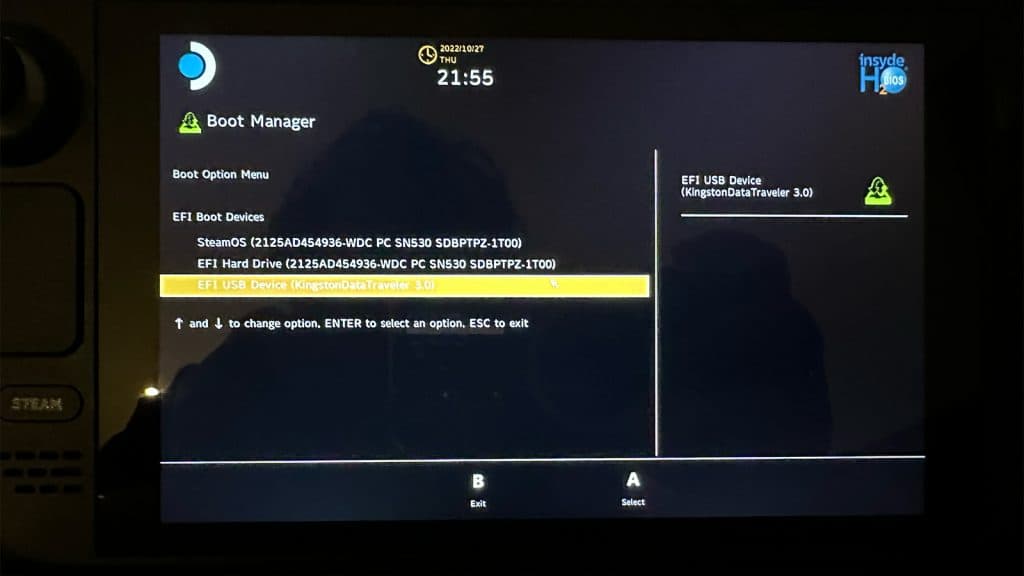
Now from here, we need to open the bootloader. This is the menu that will let us navigate to the USB and begin the Windows installation.
Press and hold the volume down button, and then tap power until you hear the chime. Let go of the volume button and you’ll be thrown into the bootloader. Here, navigate to the USB stick and the Steam Deck should flash, then begin loading up Windows.
If you don’t want to lose SteamOS, you’ll want to dual boot. However, if you don’t mind losing SteamOS and want a full Windows system on the go, overwrite the largest partition that is listed on the installation page. You’ll lose SteamOS, but gain access to Windows and all the advantages it brings with it.
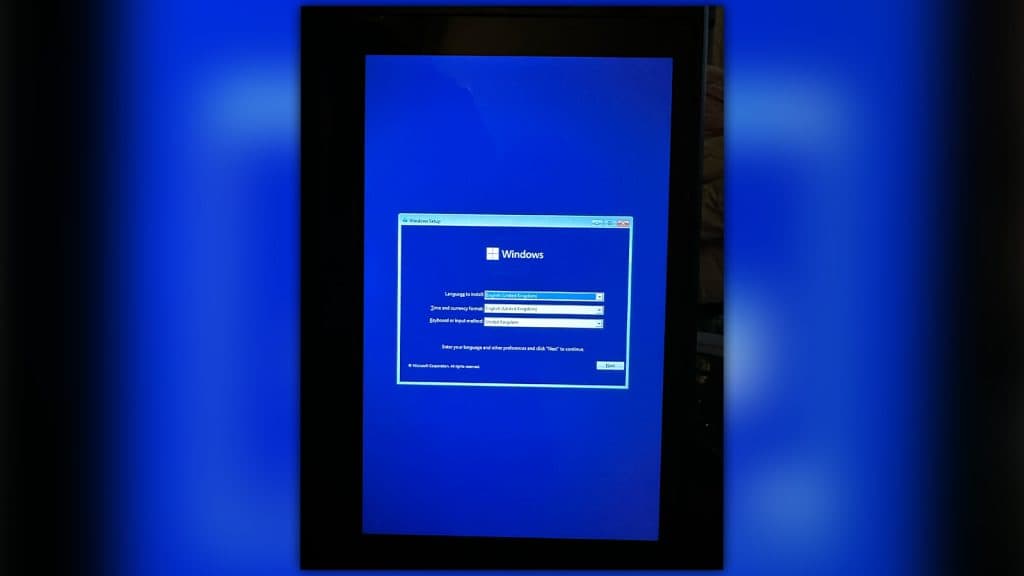
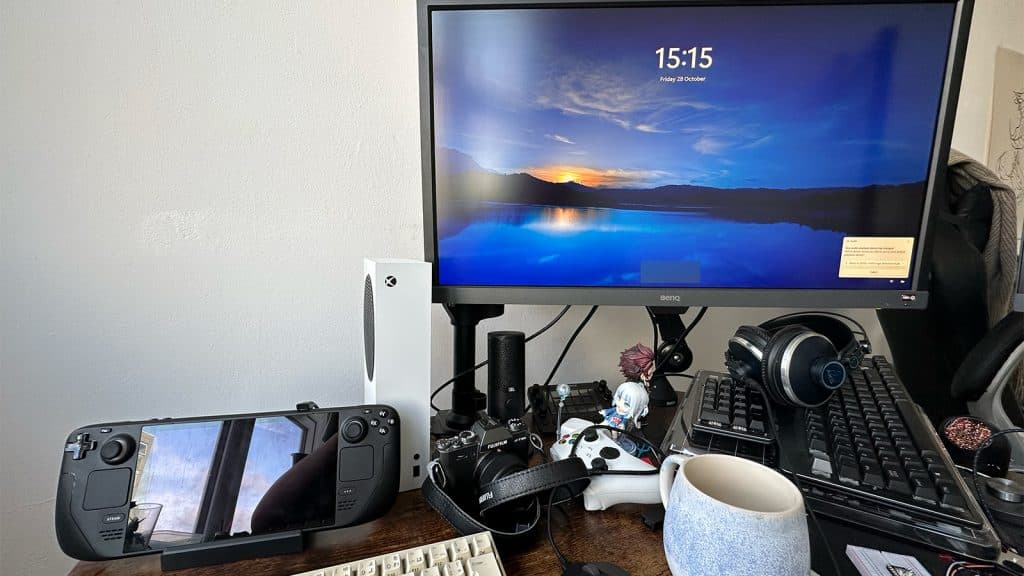
How to change Windows orientation
Out of the box, the Steam Deck’s screen will default to portrait. Head to Settings from the Start Menu, then Display and change orientation. The regular landscape option will return things to normalcy.
Steam Deck Windows drivers
Grab the drivers from here.
While the latest version of Windows (22H2) seems to have fixed the Bluetooth and Wi-Fi drivers out of the box, it’s still recommended you have a USB-C hub with Ethernet attached. However, Valve does supply the correct drivers and instructions on how to install them via their website.
If you have a spare USB stick or external drive, once you’ve completed your Windows install, slot it into the Steam Deck and copy over all the files. Then begin installing them one by one.
These include AMD’s drivers for the APU onboard, as well as sound and other connectivity options.
How to use Steam Deck controller on Windows
Is your Steam Deck embedded controller not working on Windows or Game Pass? Well, that’s because it won’t work on a fresh install. The trackpads will work, but won’t click until you install Steam.
Steam will recognize the Deck and should offer to load up presets from the Steam Controller.
You’ll need to grab community software to bring everything together, which can be acquired from Github.
Here, install everything that’s required from the page, which includes:
- ViGEm Bus driver
- Microsoft Visual C++ Redistributable Package
- Steam Windows Controller Driver(SWICD)
- Tetherscript Virtual HID Driver Kit (keyboard and mouse emulation)
Before proceeding with the installation of the drivers, close down Steam if you have installed it already. Once loaded, you can access the settings after loading it up by navigating to the lower right of the taskbar. It’ll be in the small collapsable menu in the corner.
How to dual boot Windows on Steam Deck
We recommend upgrading your drive before doing this. A 1TB drive will do wonders for you. No one wants to run Windows off an SD card, so be sure to take the harder route, so you don’t have impossibly slow load times.
To reinstall SteamOS to have a full fresh start, you can grab the SteamOS file from Valve and burn it to a USB stick (8GB or over) using either Rufus or Etcher.
Following the same method as above, get into the bootloader and then choose the USB. You’ll enter the LiveUSB environment, where you can choose to completely reinstall SteamOS. This will set you at square one.
If you’ve upgraded your drive and have SteamOS currently sitting on your device, you’re going to want to follow from here.
Creating partitions with GParted
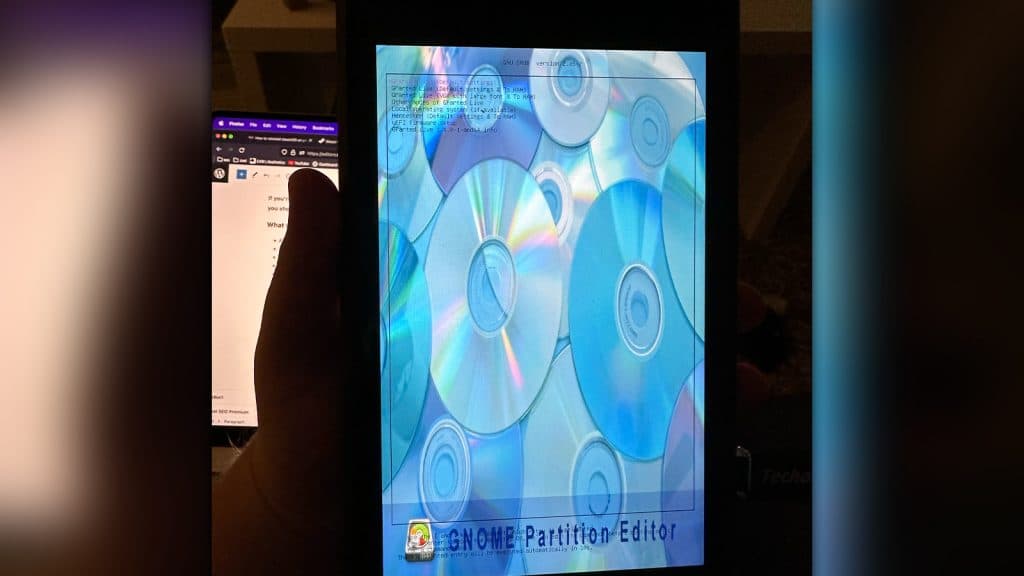
We’re going to need GParted burnt to a USB stick. Using either Rufus or Etcher, grab the ISO from GParted’s website and create a bootable USB.
GParted allows us to modify the Steam Deck’s partitions to our liking. In SteamOS, it obviously prevents us from doing such a thing while the device is on, so we need to manhandle it a little before we can dual boot.

Using the same method as before, we need to access it via the bootloader, and then it’ll spring you into a portrait view. Valve’s screen choice was originally for portrait views, and SteamOS automatically adjusts this. This is where you’ll want a mouse, rather than the trackpads – which will work. If you don’t have one, the triggers will be your left and right click respectively.
You’ll need a keyboard to access the rest of the setup settings, as well as change the MB allocation sizes. Choose the following settings:
- Don’t touch keymap
- 33 for US English
- 0 to just boot up into the GParted user interface
GParted will load up a KDE Partition Manager window automatically, where you’ll need to left-click on the drive in question, and split it with ‘Resize/Move’. A window will pop up that will let you allocate the right amount of storage.

Remember, 1000MB doesn’t equal 1GB. 1024MB equals 1GB. If you’re like me and wanted to split the drive in half between SteamOS and Windows you will need to assign 524,288MB to your device.
You can ignore the free space preceding the box, and the free space following, leaving them at zero. Then align to MiB.
Make sure you press apply. If you don’t, when you come to load Windows, it won’t have its own partition and will try to overwrite your SteamOS partition.
Press shutdown and wait for the device to completely turn off. Now we can insert the Windows USB we made.
Dual boot Windows
Again, head into the bootloader and then choose your Windows USB. Choose your newly created partition from the menu and you can begin to follow the installation process. Once completed, return to the top of this page to find the necessary instructions to get your drivers and controller working correctly.
The Steam Deck will now boot automatically into Windows when turning it on from cold, so you will need to enter the bootloader and choose SteamOS from the menu each time you want to switch.
Is Windows on the Steam Deck worth it?
In all honesty, not really. Outside of the need for playing your Xbox Game Pass games, the hassle it brings to the hardware is a little more than a headache. Plus, getting games to recognize the controller is maybe the biggest issue right now.
Not only will it force your console to boot into Windows each time you power down the device, but it can cause issues with updates to SteamOS as well. Plus, once you’re done with everything to do with Windows and maybe just want the plain old Steam Deck back, you’ll have to do a complete system format.
Valve is looking into ways to make it much easier, but it mostly comes down to software and drivers at this point.