How to install EmuDeck on Steam Deck
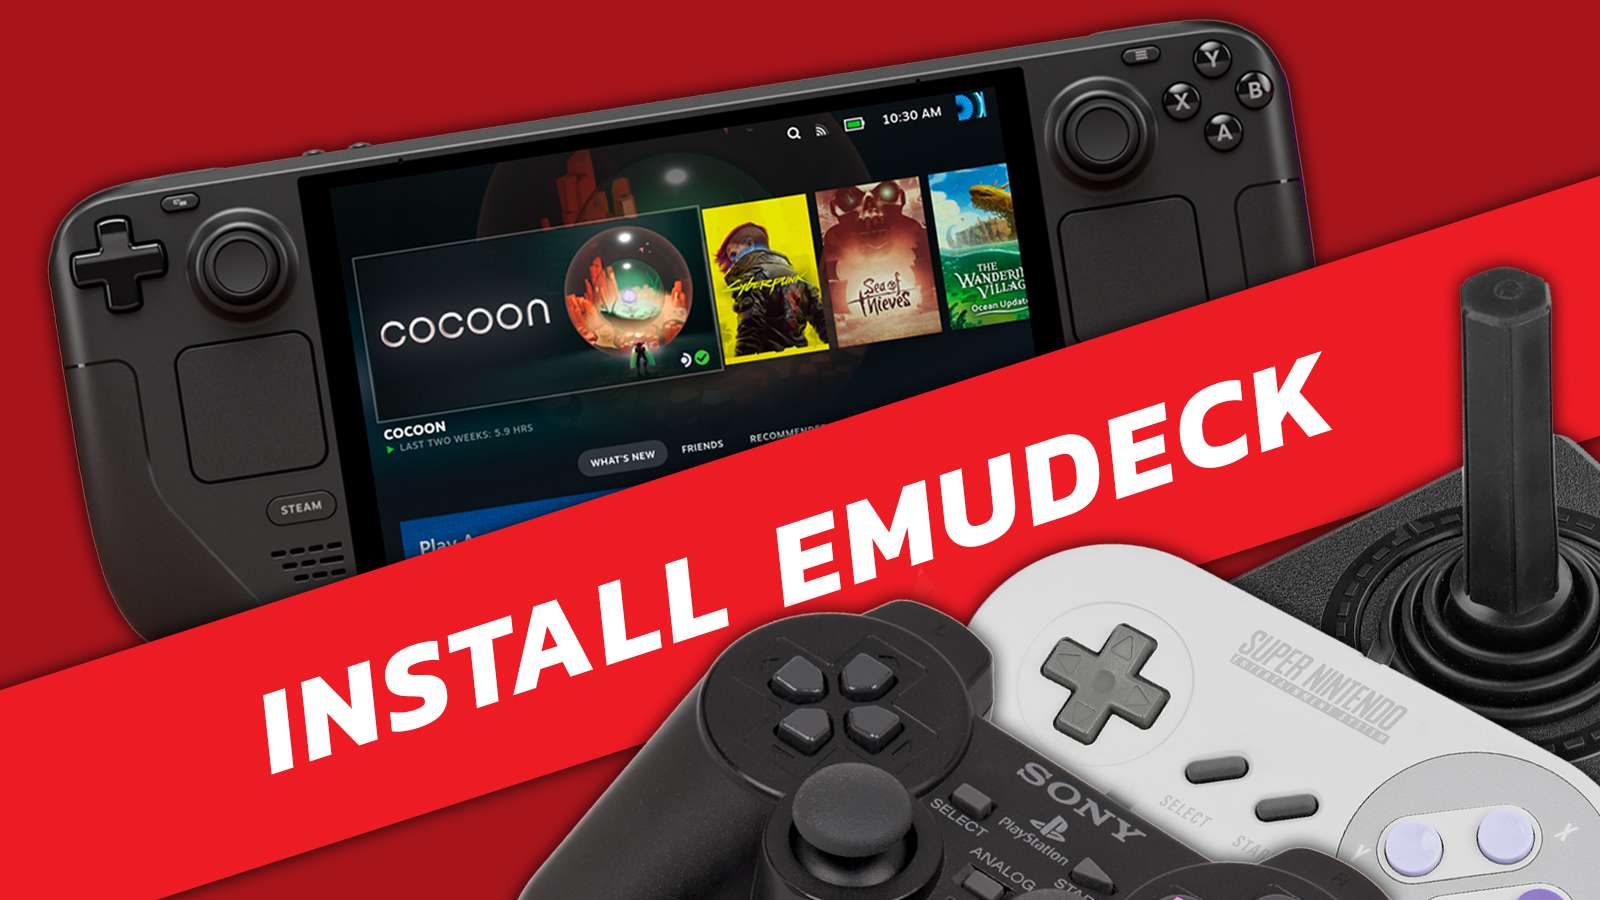
Do you want to relive the heady days of the Game Boy and Game Gear on your Steam Deck? Well, that nostalgia hit is within reach using EmuDeck, here’s how to set it up.
The Steam Deck is an amazing portable device, capable of playing your Steam library on the go and being a highly-capable desktop PC. While the handheld can play your Steam games on the go, you can also use it to play some classic retro games wherever you please.
By installing a launcher called EmuDeck on your Steam Deck, an entire universe of retro gaming can be opened up for you. EmuDeck works a little differently from other retro emulation software like RetroArch. Where RetroArch uses different Cores that are based on different console emulators, EmuDeck instead acts as a program manager for multiple separate and individual emulators.
This approach means that retro fans can be sure they are always getting the best experience possible, since EmuDeck can supply the latest updates for all your emulators, along with options that many other emulators do not supply.
How to install EmuDeck
 EmuDeck
Installing EmuDeck is much easier than when it first launched. With an actual user interface and the lack of having to see a terminal, you can have the whole thing installed within a few minutes.
To get started, either head to the website, or hit the button above, to download EmuDeck. When you open it up for the first time, it’ll ask where you want to install everything. If you plan on using an SD card, ensure you’ve formatted it to ext4 inside SteamOS’ Game Mode. Inside Desktop Mode, you’ll want to follow along with how to do it via KDE Partition Manager in our external storage guide.
Once you’ve made your choice, it’ll begin downloading and installing everything it has access to. This includes PS3, PS2, and other console emulators – even the Vita one that’s not functional.
After it’s completed, your Steam Deck will now have a vast quantity of emulators and files at your disposal. Organizing them so you can access them via SteamOS game mode requires a little bit more work.
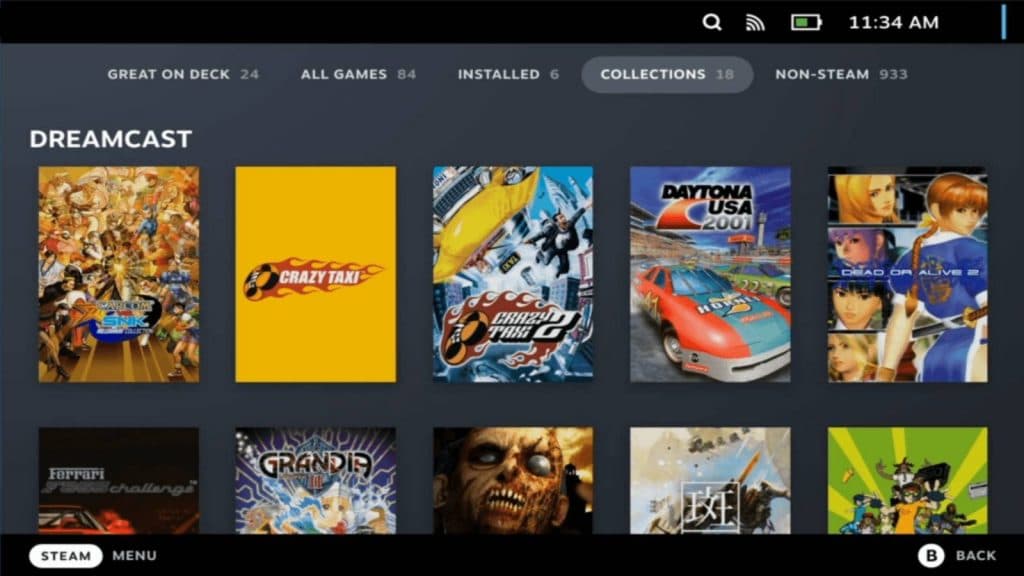
You’ll need to now run Steam Rom Manager. This will integrate your library of games into Steam itself. If you don’t want your emulators and games to appear in SteamOS, you can skip this step and simply remove any shortcuts from your Steam library. They won’t appear on the initial screen in game mode until you run them, and are neatly tucked away in the Non-Steam Apps section of SteamOS.
What is Steam ROM Manager?
This is where you’ll need to go if you intend to integrate your library with Steam Deck’s game mode. Each time you load in a new game, you’ll want to come back here to refresh the list of games available to you.
It looks daunting, but it’s mostly just knowing where you’ll be installing games. Once you’ve pointed it in a single direction, you should then keep yourself saving games to that particular location.
How to use Steam ROM Manager
Load up EmuDeck, if it isn’t open. Then on the update page, ignore it and choose ‘Tools & Stuff’. Amongst the options, just Steam ROM Manager and it’ll load up a green and black window. It’ll ask if you want to exit Steam, so just hit yes, as it makes life easier.
From here on, you’ll need to use the trackpads and triggers to activate the mouse controls, if you’ve not got an external setup with a USB-C hub or Dock.
Using the right trigger and trackpad, scroll down to find the emulator you want to configure. For instance, we’ll use DuckStation, a PS1 emulator.
Choosing a community preset will immediately fill out the information like Steam Categories, directories, and the like. What we need to instruct ROM Manager to do is where we have saved our games and emulator to.
In our case, once the file manager window appeared, we went to:
Home > Deck > Emulation > roms > PSX and the directory line looks like this:
/home/deck/Emulation/roms/psx
Of course, if you’ve decided that you’re going to keep your emulators and software elsewhere, navigate to where you’ve placed them. We’re using the EmuDeck defaults.
Pointing ROM Manager at the right place to launch your emulator, we followed this navigation path:
Home > Deck > Emulation > Tools > Launchers > duckstation.sh
Which wound up looking like this:
home/deck/emulation/tools/launchers/duckstation.sh
Again, point it to where you’ve instructed EmuDeck to install the emulators.
To get certain emulators running, you’ll need the BIOS, which can be placed anywhere and you’ll need to individually instruct the emulators themselves as to where you’re keeping them.
After this, scroll up and choose preview, and ‘generate app list’ and ‘save app list’ if you want to integrate it into Steam. If not, choose ‘remove app list’.
You can follow along with all our Steam Deck guides, including how to install Windows and the best microSD card for your money.
Do not forget to read our other guides:
Best Steam Deck Accessories | Best Steam Deck dock in 2022: Top alternatives & more | Best unverified Steam Deck games | Can you play Forspoken on Steam Deck | Best Steam Deck Alternatives | Best Steam Deck Controllers | Best Steam Deck Skins
If you click on a product link on this page we may earn a small affiliate commission.
