Best Rosaria Genshin Impact build: Artifacts, weapons, more
 HoYoverse
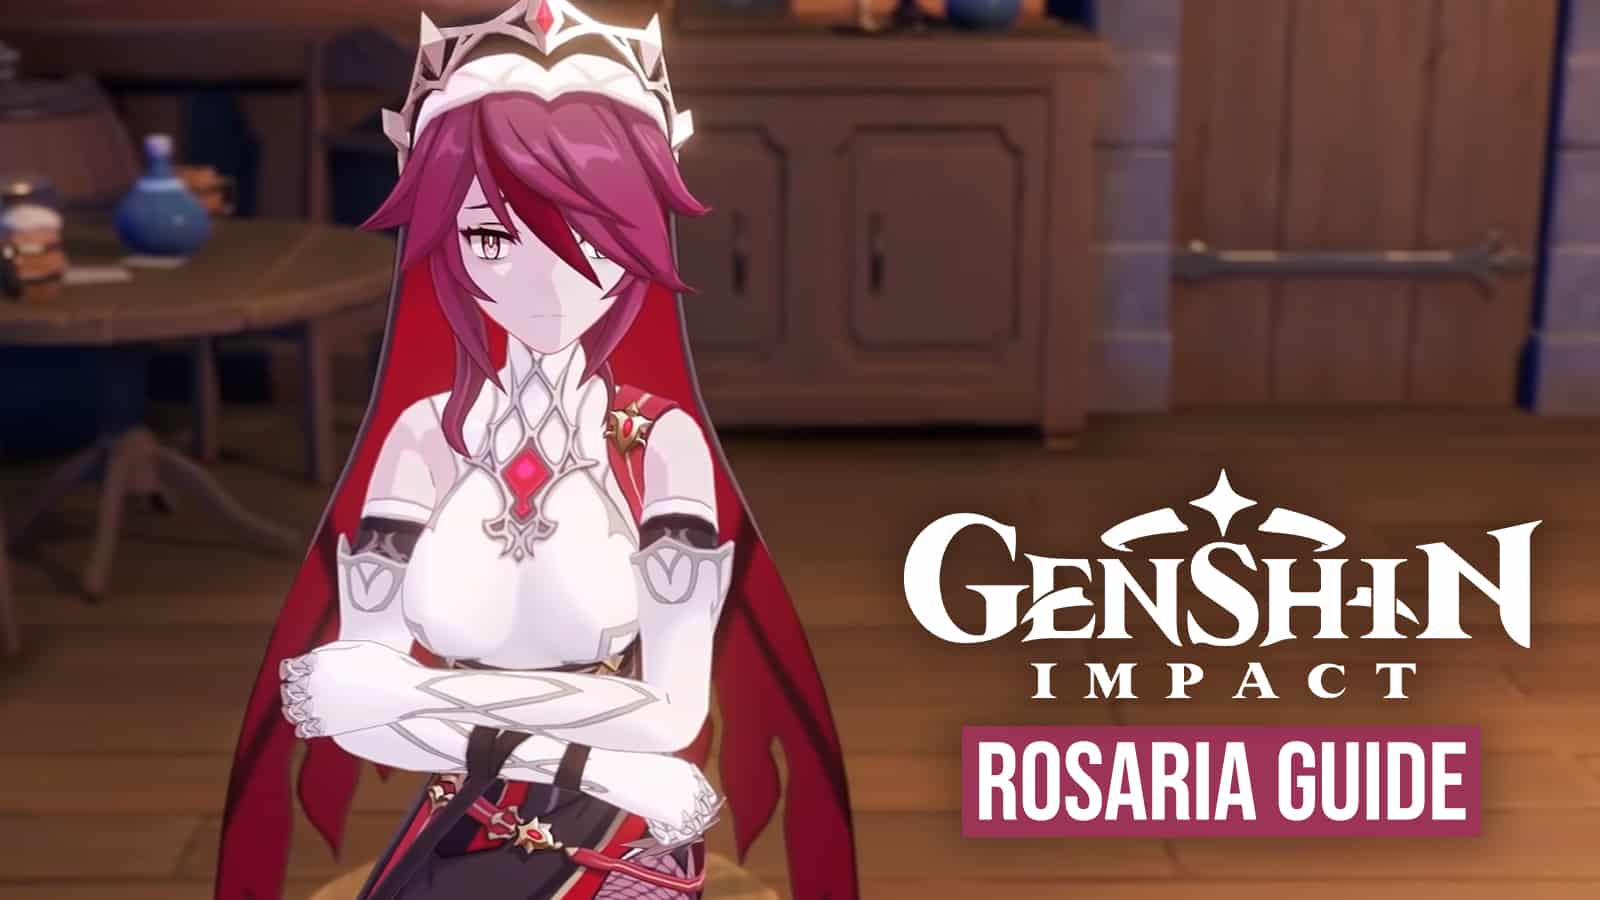
Rosaria is a niche character in Genshin Impact, but if you put the Cryo Polearm into the right team, she shines brightly. If you follow our guide with her best build, artifacts, weapons, and more, you can make the most of her rather dynamic kit.
Rosaria isn’t necessarily the most standout Genshin Impact character, both in lore and on the battlefield. However, she does a respectable job as a bit of a Swiss army knife that can bend into many different roles and do them all to a serviceable standard.
If you do want to get the most out of her, though, you’ll want to really let her shine as an Off-Field DPS or Support, abusing her lack of internal cooldowns and high Elemental Burst tick rate to get plenty of reactions off.
We’ve got the best Rosaria build in Genshin Impact right here, including the top artifacts and weapons you should prioritize.
Contents
- Rosaria abilities
- Rosaria constellations
- Best Rosaria artifacts
- Best Rosaria weapons
- Rosaria Talent Level-Up and Ascension materials
- Rosaria trailer in Genshin Impact
- Best Rosaria team comp
 HoYoverse
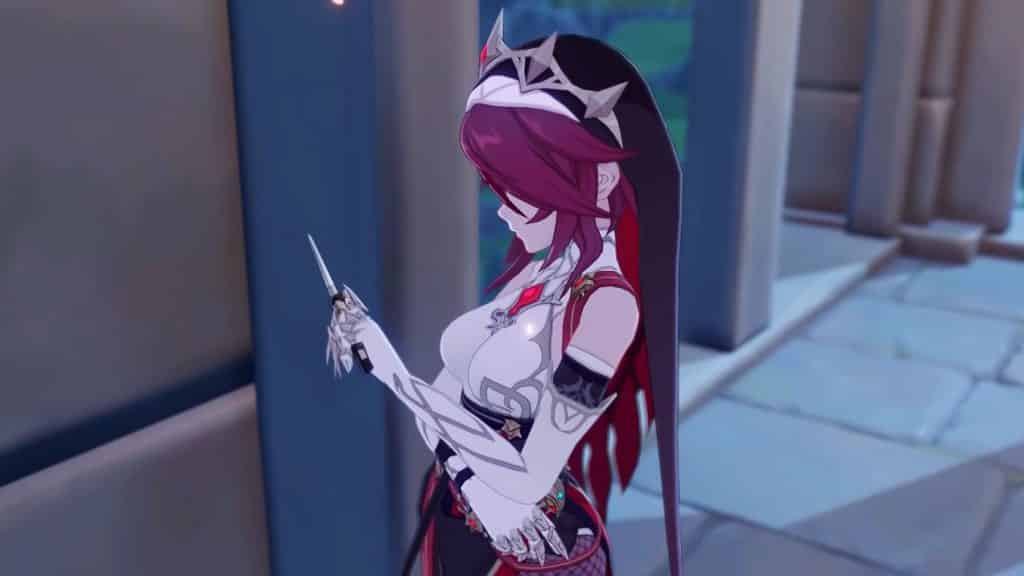
Rosaria abilities in Genshin Impact
Normal Attack: Spear of the Church
- Normal Attack: Rosaria performs up to five consecutive spear strikes.
- Charged Attack: Rosaria consumes a certain amount of Stamina to lunge forward, dealing damage to opponents along the way.
- Plunging Attack: Rosaria plunges from mid-air to strike the ground below, damaging opponents along the path and dealing AoE DMG upon impact.
There’s not much to say about Rosaria’s Normal Attacks. They’re slow and rather clunky, but if you are waiting for swap cooldowns or spacing out abilities it doesn’t hurt to throw a couple out. Just don’t build for it.
Elemental Skill: Ravaging Confession
Rosaria swiftly shifts her position to appear behind her opponent, then stabs and slashes them with her polearm, dealing Cryo DMG. However, this doesn’t work against all enemies — larger foes like Mitachurls won’t get backstabbed.
This ability is mostly used to farm particles, but across longer combats the damage stacks up. Use it to reposition in a fight to get closer to your foes before dropping your Burst and spamming a couple of attacks to maximize damage output.
Elemental Burst: Rites of Termination
Rosaria swings her weapon to slash surrounding opponents then summons a frigid Ice Lance that strikes the ground. Both actions deal Cryo DMG, and the Ice Lance will periodically release a blast of cold air that deals Cryo DMG to surrounding opponents.
This is the main part of Rosaria’s kit, giving her very solid off-field presence as a set-and-forget burst. It also has no internal cooldown on Elemental Reactions, meaning you can get some nasty combos off with each tick of damage.
 HoYoverse
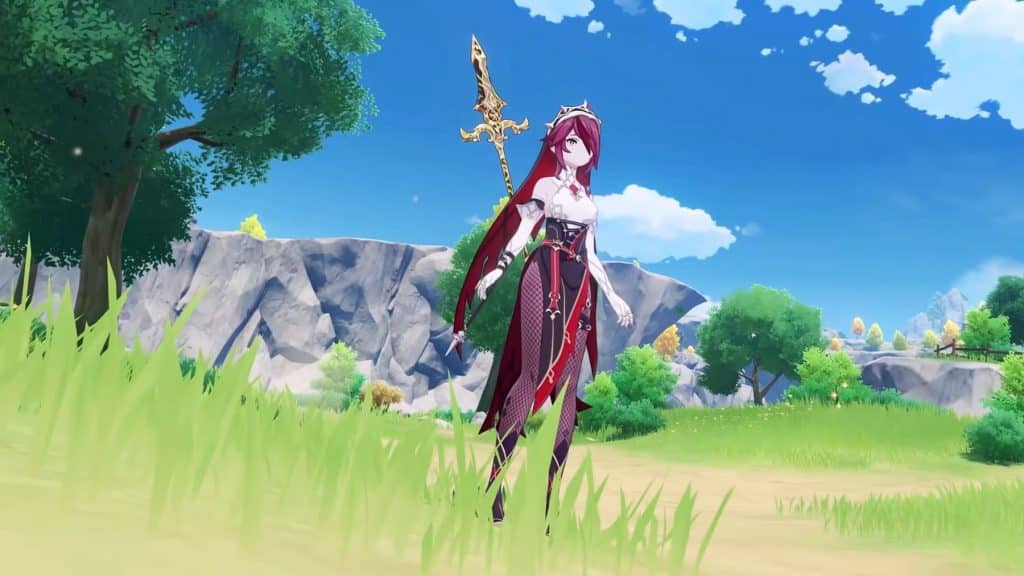
Rosaria constellations
Find multiple copies of Rosaria? You have these constellations to look forward to.
- Level 1 — Unholy Revelation: When Rosaria deals a CRIT Hit, her ATK SPD increases by 10% and her Normal Attack DMG increases by 10% for 4s.
- Level 2 — Land Without Promise: The duration of the Ice Lance created by Rites of Termination is increased by 4s.
- Level 3 — The Wages of Sin: Increases the Level of Ravaging Confession by 3. Maximum upgrade level is 15.
- Level 4 — Painful Grace: Ravaging Confession’s CRIT Hits regenerate 5 Energy for Rosaria. Can only be triggered once each time Ravaging Confession is cast.
- Level 5 — Last Rites: Increases the Level of Rites of Termination by 3. Maximum upgrade level is 15.
- Level 6 — Divine Retribution: Rites of Termination’s attack decreases opponents’ Physical RES by 20% for 10s.
Best Rosaria artifacts in Genshin Impact
Rosaria is a bit of an interesting character in Genshin Impact because she serves two very similar roles in two very distinct comps. This ultimately changes her best artifacts as those you run in a Freeze comp are different from that in a Reverse Melt one.
For Freeze, Blizzard Strayer is the only option — with as much ATK, CRIT Rate, and DMG, plus Cryo DMG you can chuck on top. Noblesse Oblige is the budget option, but just having the 4-Piece Blizzard Strayer with bad substats is way better as the bonus is too good.
For Reverse Melt, Noblesse Oblige is once again a solid option as she is a good holder for the buff, but if you really want to maximize the damage you want as much Elemental Mastery as possible plus the Lavawalker set to really let your carries shine.
You can find the full list of Rosaria’s best artifacts in Genshin Impact below.
| Artifact | Set Bonuses |
| Blizzard Strayer |
|
| Noblesse Oblige |
|
| Lavawalker |
|
Best Rosaria weapons in Genshin Impact
Let’s face it — you could just give Rosaria a five-star polearm as her weapon in Genshin Impact and call it a day. If you have the money, do that by all means. However, for players on a tight budget, there are some decent four-star options.
The standout is Wavebreaker’s Fin, which is, in all honesty, her best weapon across the board. The Elemental Burst DMG buff is insane, especially when refined. If you missed the original event, though, Dragon’s Bane actually works in Reverse Melt comps with the Pyro buff.
If you do splash out for the five-star polearm, though, go for Staff of Homa. You can find Rosaria’s best weapons in Genshin Impact below.
| Weapon | Details (R1) |
| Wavebreaker’s Fin | For every point of the entire party’s combined maximum Energy capacity, the Elemental Burst DMG of the character equipping this weapon is increased by 0.12%. A maximum of 40% increased Elemental Burst DMG can be achieved this way. |
| Staff of Homa | HP increased by 20%. Additionally, provides an ATK Bonus based on 0.8% of the wielder’s Max HP. When the wielder’s HP is less than 50%, this ATK bonus is increased by an additional 1% of Max HP. |
| Dragon’s Bane | Increases DMG against opponents affected by Hydro or Pyro by 20%. |
Rosaria Talent Level-Up and Ascension materials
Rosaria’s Talent Level-Up and Ascension materials are some of the easiest to farm for in Genshin Impact. She’s one of the few reasons to look at picking up those Valberries around Mondstadt (also great to farm these in your teapot for achievements), and she also uses the widely available Recruit’s Insignia.
For boss materials, you’ll need to slay the Cryo Regisvine and do the Childe boss fight in Liyue — easy enough.
As far as leveling up Rosaria’s talents, you want to focus on her Elemental Burst first, as it’s her primary damage and utility tool. Her Normal Attacks are pretty low damage even with investment, so look at leveling your Elemental Skill second before boosting your regular attacks.
Rosaria Talent Level-Up materials
| Talent Level-Up Materials | |||
| Talent Level-Up Materials | Teachings of Ballad x9 | Guide to Ballad x63 | Philosophies of Ballad x114 |
| Common Ascension Materials | Recruit’s Insignia x18 | Sergeant’s Insignia x66 | Lieutenant’s Insignia x93 |
| Weekly Boss Materials | Shadow of the Warrior x18 | ||
Rosaria Ascension materials
| Ascension Level | Mora Cost | Materials |
|||
| 1 | 20,000 | Shivada Jade Sliver x1 | – | Valberry x3 | Recruit’s Insignia x3 |
| 2 | 40,000 | Shivada Jade Fragment x3 | Hoarfrost Core x2 | Valberry x10 | Recruit’s Insignia x15 |
| 3 | 60,000 | Shivada Jade Fragment x6 | Hoarfrost Core x4 | Valberry x20 | Sergeant’s Insignia x12 |
| 4 | 80,000 | Shivada Jade Chunk x3 | Hoarfrost Core x8 | Valberry x30 | Sergeant’s Insignia x18 |
| 5 | 100,000 | Shivada Jade Chunk x6 | Hoarfrost Core x12 | Valberry x45 | Lieutenant’s Insignia x12 |
| 6 | 120,000 | Shivada Jade Gemstone x6 | Hoarfrost Core x20 | Valberry x60 | Lieutenant’s Insignia x24 |
Rosaria Genshin Impact trailer
Not many four-star characters in Genshin Impact have full trailers, but Rosaria does. She came into the line-up a bit later than most Mondstadt characters, and so miHoYo gave her the full treatment in her intimidatingly titled “Purger of the Shadows” showcase.
It dives into her backstory as a nun at the Church of Favonius, doing her bidding in a more secretive fashion. It also showcases some of her combos and powerful utility.
Best Rosaria team comp
 HoYoverse
Rosaria fits nicely into two team comps as we discussed earlier: Freeze and Reverse Melt. Both really revolve around her Elemental Burst and making the most of the reactions on offer, and there’s some crossover between the two in terms of character synergies.
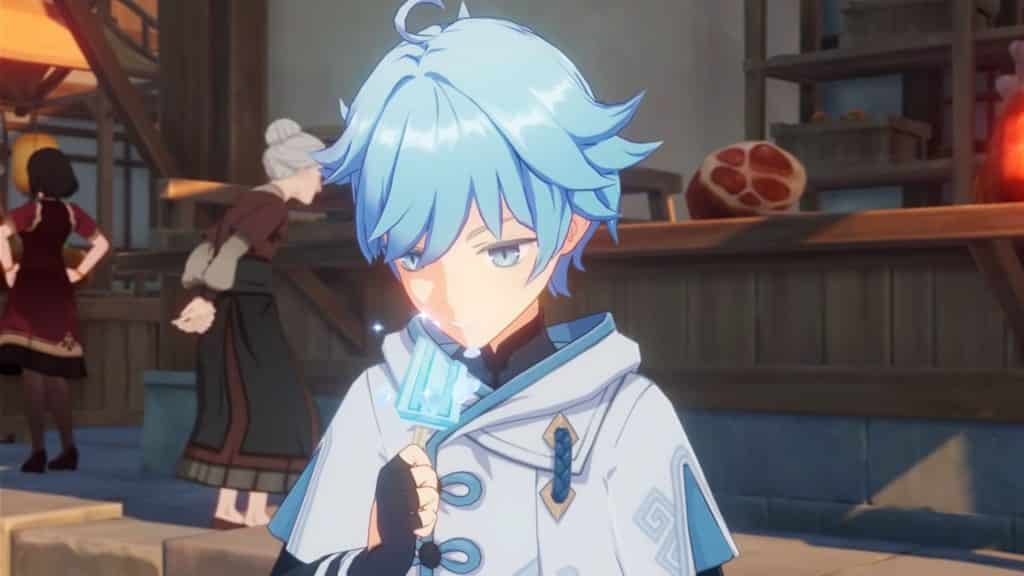
Chongyun is the big standout for Cryo Resonance — which amplifies Rosaria’s effectiveness thanks to bonus CRIT Rate — as well as his resistance shredding abilities. Another support worth mentioning is the classic pick of Bennett, who is the superior of the four-star supports out of him and Xingqiu to run alongside Rosaria.
However, given Rosaria isn’t likely to be your main DPS and rather an off-field DPS or support option, you need some actual damage. That’s where Ganyu, Kokomi, Mona, Kazuha, Xiangling, or even Klee come in. They will dish out the damage for you (Ganyu, Mona, Xiangling, and Klee especially), or provide you with a nice mix of utility and damage for a well-rounded team (Kokomi and Kazuha).
If you aim for Freeze, you need the Hydro in there with Mona or Kokomi plus Anemo (Kazuha, Jean, or Sucrose). For Reverse Melt, you need the Pyro Resonance with Bennett plus one — fourth slot is a flex for either Cryo or Anemo.
Need more allies to pair Rosaria with? Check out our other Genshin Impact character guides below:
Best Albedo build | Best Aloy build | Best Ayaka build | Best Barbara build | Best Beidou build | Best Bennett build | Best Childe build | Best Chongyun build | Best Diona build | Best Eula build | Best Ganyu build | Best Heizou build | Best Hu Tao build | Best Itto build | Best Jean build | Best Kazuha build | Best Keqing build | Best Klee build | Best Kokomi build | Best Kuki Shinobu build | Best Mona build | Best Qiqi build | Best Raiden Shogun build | Best Shenhe build | Best Sucrose build | Best Venti build | Best Xiangling build | Best Xiao build | Best Xingqiu build | Best Yae Miko build | Best Yelan build | Best Yoimiya build | Best Yun Jin build | Best Zhongli build
