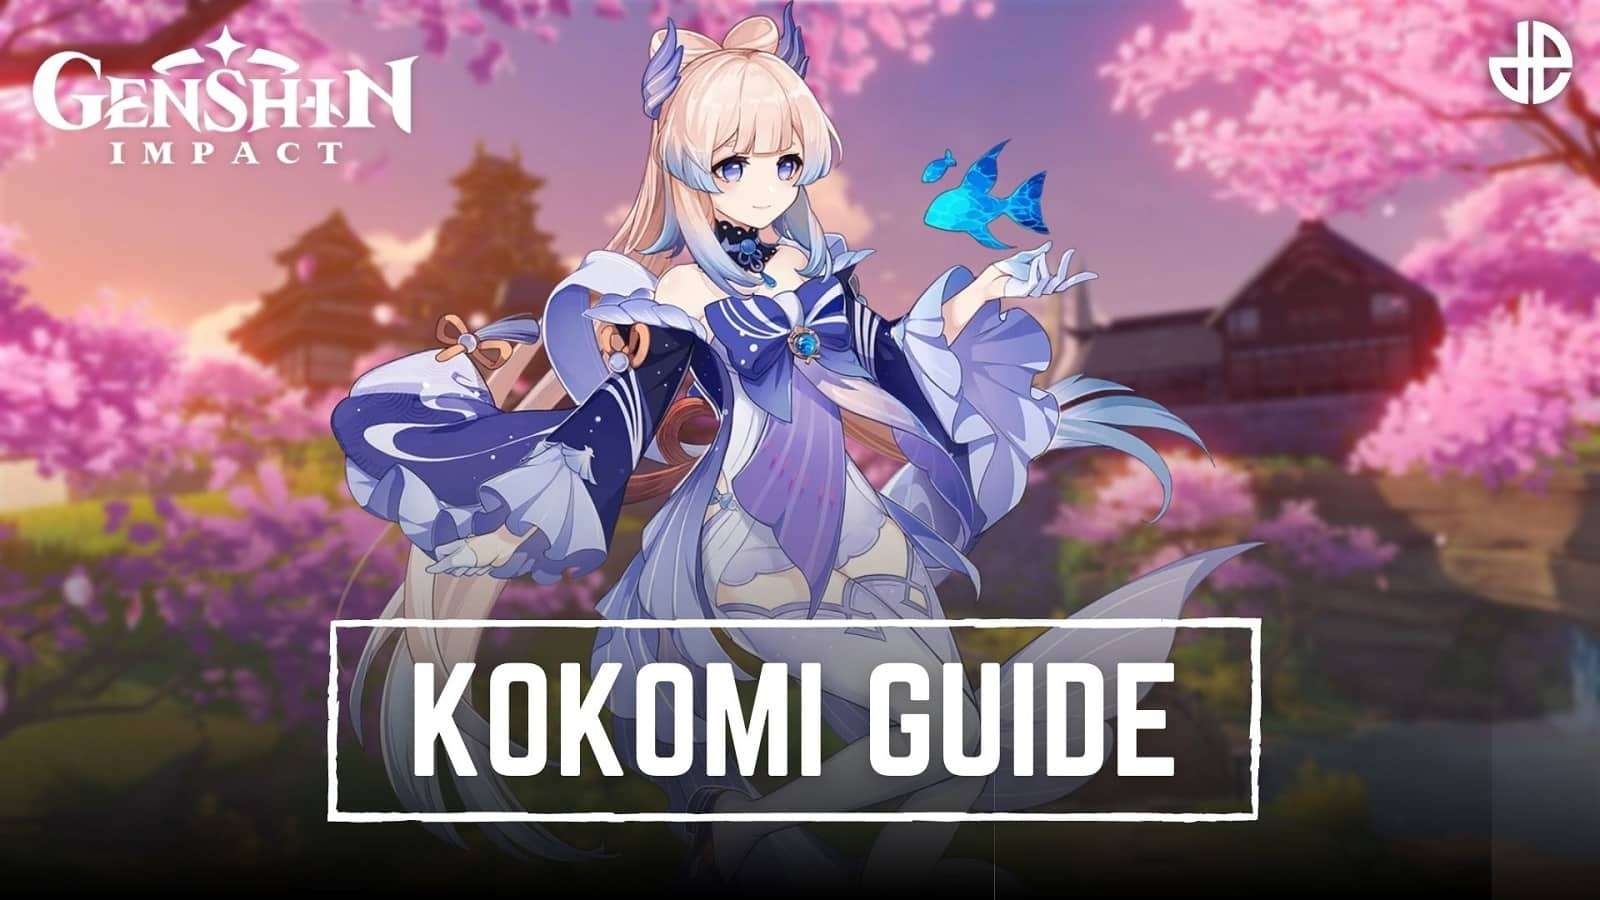
Best Kokomi Genshin Impact build: Artifacts, weapons, more
 miHoYo
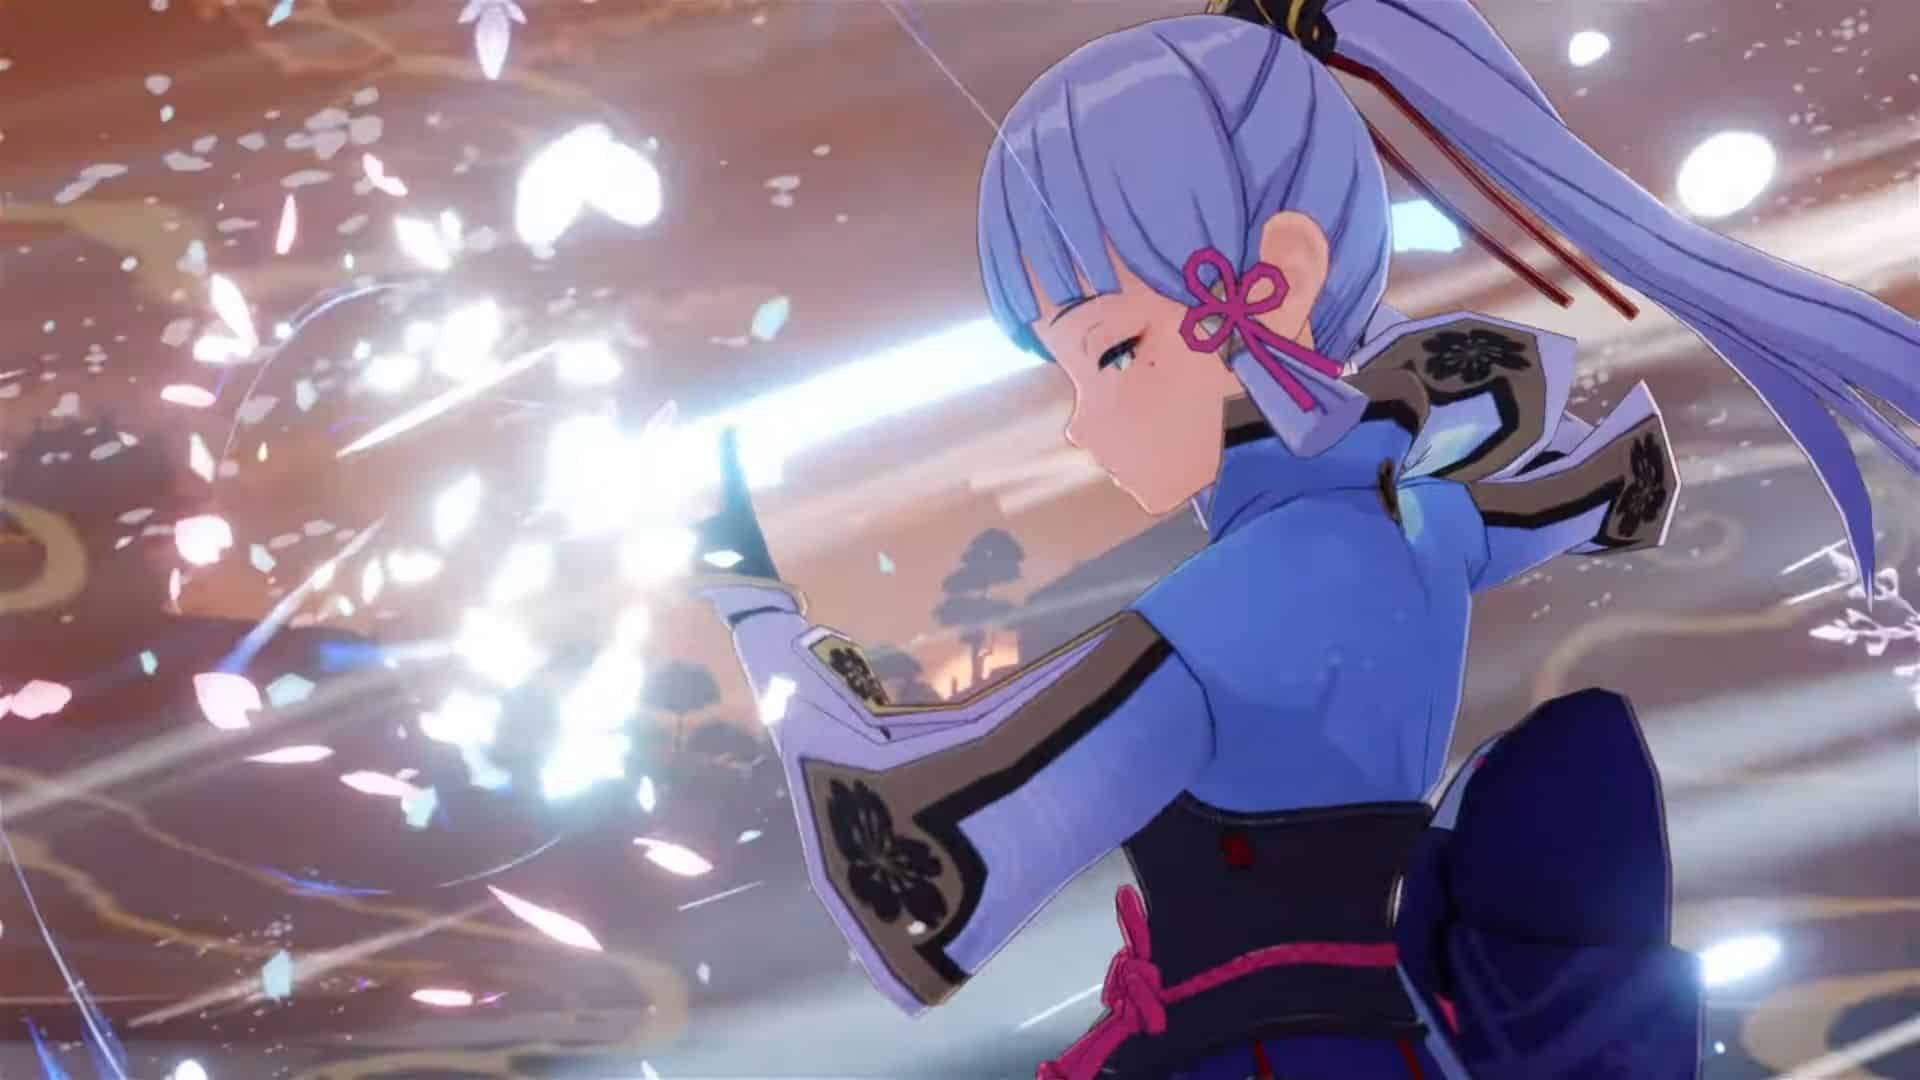
Sangonomiya Kokomi is one of the best healers in Genshin Impact, but what are the best Artifacts, weapons, and team comps you should be using?
As the leader of Genshin Impact’s Sangonomiya Resistance, Kokomi is well-versed in the art of war. In fact, the 5-star Hydro Catalyst is highly revered for her ability to keep her allies safe from harm’s way, providing them with game-changing heals that can turn the tide of even the fiercest of fights.
The Divine Priestess of Watatsumi Island is no stranger to conflict, and she will stop at nothing to oppose Baal’s Vision Hunt Decree.
Whether you’re running Kokomi as your main DPS or high-damage support, you’ll want to kit her out with the game’s best Artifacts and weapons.
Contents
- Kokomi abilities
- Kokomi Constellations
- Best Kokomi Artifacts
- Best Kokomi weapon in Genshin Impact
- Kokomi Talent Level-Up and Ascension materials
- Best Kokomi team comp
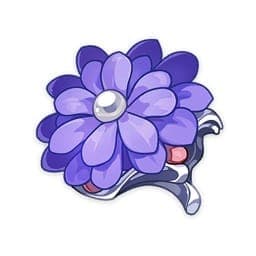
Kokomi abilities in Genshin Impact
 HoYoverse
Normal Attack: The Shape of Water
- Normal Attack: Kokomi performs three consecutive ranged attacks that take on the form of fish, dealing Hydro DMG to any foes that get caught.
- Charged Attack: Kokomi consumes some of her stamina and unleashes an AoE blast of hydro directly in front of her.
- Plunging Attack: While airborne Kokomi plunges towards the ground, dealing AoE Hyrdro damage to all nearby enemies upon impact.
Kokomi Elemental Skill: Kurage’s Oath
Kokomi summons Bake-Kurage, which heals all her allies and deals Hydro damage to all enemies within range.
The damage dealt is based around Kokomi’s max health, meaning you’ll want to increase this five-star support’s HP if you wish to deal huge amounts of burst.
Kokomi Elemental Burst: Nereids Ascension
Kokomi Summons the mighty Watatsumi, dealing huge amounts of Hydro damage to all surrounding enemies. Kokomi’s Normal, Charged, and Elemental Skill deals more damage based on her maximum HP.
If that wasn’t enough, the five-star Catalyst user can also heal nearby allies when any Normal or Charged attacks hit enemies.
Kokomi Constellations
Lucky enough to get multiple copies of Kokomi? Then you have some great constellation buffs to look forward to.
- Level 1 — At Water’s Edge: While donning the Ceremonial Garment created by Nereid’s Ascension, Kokomi’s last Normal Attack will unleash a swimming fish that deals 30% of her Max HP as Hydro DMG.
- Level 2 — The Clouds Like Waves Rippling: Sangonomiya Kokomi gains Healing Bonuses when allied characters have 50% or less HP.
- Level 3 — The Moon, A Ship O’er the Seas: Increases the Level of Nereid’s Ascension by 3. Maximum upgrade level is 15.
- Level 4 — The Moon Overlooks the Waters: While donning the Ceremonial Garment created by Nereid’s Ascension, Kokomi’s Normal Attack SPD is increased by 10%, and Normal Attacks that hit opponents will restore 0.8 Energy for her. This effect can occur once every 0.2s.
- Level 5 — All Streams Flow to the Sea: Increases the Level of Kurage’s Oath by 3. Maximum upgrade level is 15.
- Level 6 — Sango Isshin: While donning the Ceremonial Garment created by Nereid’s Ascension, Kokomi gains a 40% Hydro DMG Bonus for 4s after her Normal and Charged Attacks heal a character with 80% or more HP.
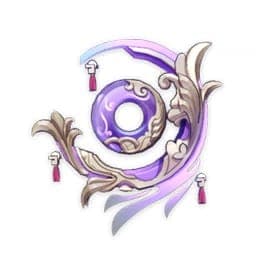
Best Kokomi Artifacts in Genshin Impact
 miHoYo
The best Kokomi builds are those that utilize Artifacts that increase her Hydro damage, HP, and healing potential. Therefore, we recommend using the 4-piece Ocean-Hued Clam set to increase her healing effectiveness by 15%, in addition to dealing 90% of HP as DMG after restoring the health of a party member.
You could also run the 4-piece Tenacity of the Millelith set to transform Kokomi into a Hydro Support. However, you will have to focus on boosting her Energy Recharge to allow her to use her Elemental Burst more often.
Lastly, you could run the 4-piece Heart of Depth to increase her Hydro DMG, but we recommend the other options over using this Artifact set.


Best Kokomi weapon in Genshin Impact
Kokomi specializes as a Catalyst character, which enables her to bombard her enemies with some incredibly devastating ranged Hydro attacks. The best weapon for Kokomi is the 5-star Catalyst Everlasting Moonglow to improve her Healing Bonus, Normal Attack DMG, and Energy Regeneration.
Another option is running the 4-star weapon Prototype Amber to allow her Elemental Burst to regenerate energy and HP. Lastly, the 3-star Catalyst Thrilling Tales of Dragon Slayers is actually a great choice if you want Kokomi to increase a character’s ATK.
Kokomi Talent Level-Up and Ascension materials
While weapons and artifacts will help increase Kokomi’s damage and healing, you’ll need to level up her talents and ascend her if you wish to truly maximize the Divine Priestess’s potential.
Kokomi’s materials are located around Inazuma, which means you’ll likely have the majority of these items if you’ve been playing through all the new content. You need to fight lots of Specters to farm Spectral Husks, while the Hellfire Butterfly drop comes from the Lv. 70+ Narukami Island: Tenshukaku.
As Kokomi excels at healing her allies, you’ll want to max out her Kurage’s Oath Talent first. Once you’ve maxed her Elemental Skill, we then recommend leveling up her Elemental Burst and Normal Attack. Of course, you can switch this if you wish to make her your main/sub-DPS.
Talent Level-Up Materials
| Talent Level-Up Materials | |||
| Talent Level-Up Materials | Teachings of Transience x9 | Guide to Transience x63 | Philosophies of Transience x114 |
| Common Ascension Materials | Spectral Husk x18 | Spectral Heart x66 | Spectral Nucleus x93 |
| Weekly Boss Materials | Hellfire Butterfly x18 | ||
Ascension Materials
Best Kokomi team comp
 miHoYo
If you want to run Kokomi as a support, then you want to focus on creating a Freeze team with Cryo reactions. We recommend using either Ayaka or Ganyu paired alongside Shenhe to take advantage of Kokomi’s Hydro application.
The added Cryo Resonance bonus also raises the CRIT Rate against foes that are Frozen or affected by Cryo by 15%. This will enable you to quickly chew through all your foes in the blink of an eye.
Having an Anemo character like Kazuha or Venti is a great way to sweep enemies off their feet, enabling you to freeze all clustered enemies.
Alternatively, you could run Kokomi on a Bloom team with Nilou, Collei, and Nahida. You could have a couple of replacements for this team, such as Yelan for Nilou and Raiden Shogun for Collei.
So, there you have it, everything you need to know about building Kokomi in Genshin Impact. Make sure you check out our other guides:
Best Albedo build | Best Aloy build | Best Ayaka build | Best Barbara build | Best Childe build | Best Eula build | Best Ganyu build | Best Hu Tao build | Best Itto build | Best Jean build | Best Kazuha build | Best Keqing build | Best Klee build | Best Kokomi build | Best Mona build | Best Qiqi build | Best Raiden Shogun build | Best Shenhe build | Best Venti build | Best Xiao build | Best Yoimiya build | Best Yun Jin build | Best Zhongli build