How to complete The Tower of Zot dungeon in FFXIV Endwalker: All encounters, bosses, & how to start
 Square Enix
Here’s all you need to start and beat The Tower of Zot dungeon in Final Fantasy XIV’s latest Endwalker expansion.
Final Fantasy XIV Endwalker is here, and with the arrival of The Final Days, the Warrior of Light embarks on a journey that marks the climax of the current story arc, which began in A Realm Reborn.
One of the many adventures players can undertake in this expansion is exploring the Dungeon “The Tower of Zot”, and we’re here to help guide you through this dangerous place.
Contents
FFXIV Endwalker: How To Unlock Tower of Zot Dungeon
To unlock this dungeon, you must complete the following Main Scenario Quest:
In the Dark of the Tower
- Quest Giver: Krile
- Location: Old Sharlayan – Main Hall
- Level: 81
FFXIV Endwalker: Tower of Zot Dungeon Objectives
- Arrive at Ingenuity’s Ingress
- Clear Ingenuity’s Ingress
- Arrive at Prosperity’s Promise
- Clear Prosperity’s Promise
- Arrive at Wisdom’s Ward
- Defeat the Magus Sisters
The Tower of Zot presents three areas called “Ingenuity’s Ingress”, “Prosperity’s Promise”, and “Wisdom’s Ward”. These will feature several minor enemies that you will have to kill on your way through them, and at the end of each zone, a boss battle will happen.
- Read more: Is Final Fantasy XIV free to play?
Tower of Zot guide
The Tower of Zot Fight #1 – Minduruva
 Square Enix
As you arrive at the end of Ingenuity’s Ingress, Minduruva will be waiting for you in its fighting arena. The movements she will use in this fight are the following:
- Manusya Bio: This is a Tankbuster attack, which means it’ll target the Tank of the party and they must take it alone, as any other Role Class near will likely die. It will inflict a high damage-over-time poison and should be removed immediately by the Healer.
- Manusya Blizzard III: Minduruva will shoot twelve conal AoE attacks from the center of her position, all across the arena. You must stand between the AoEs to successfully avoid this attack.
- Manusya Fire III: This is a “donut” AoE that can only be avoided by positioning yourself at a close distance from the boss.
- Manusya Thunder III: Minduruva will spawn several AoE attacks on the frontal, back, right and left sides of its position. These will move across the arena right to the edge, so move away or position yourself in an inter-cardinal point relative to Minduruva until the attack ends.
- Manusya Bio III: The boss will shoot an AoE that covers the entire arena, except a space between Minduruva and one of the arena walls. You must move quickly to the safe space to avoid being hit.
Minduruva will alternate between normal and singular versions of all these elemental spells, with the latter being aimed specifically at the Tank of the party. She will also use Transmute versions of her spells, which consist of marking a location and firing an orb at it. Once the orb reaches its destination, it will trigger the spell.
- Dhrupad: This attack will target all the non-Tank players, inflicting damage-over-time, and it’ll be used after every Transmute spell cast, after which Minduruva will also cast various spells and Transmuted spells in quick succession. Keep close attention to which spell is being Transmuted to re-position yourself accordingly. This process will repeat until Minduruva is defeated.
The Tower of Zot Fight #2 – Sanduruva
As you arrive at the end of Prosperity’s Promise, Sanduruva will be waiting for you in its fighting arena. The movements she will use in this fight are the following:
- Isitva Siddhi: This is a tankbuster attack, so be sure to distance yourself if you’re the Tank, or move away from the Tank if you’re not.
- Prapti Siddhi: Sanduruva shoots a line AoE at each player, one at a time, so be sure to move out of the marker to successfully avoid it.
- Manusya Berserk: Sanduruva will cast five orbs across the arena, and once she’s done casting they will explode in large AoEs. There will be an empty space in the arena for you to move in and avoid the AoEs, and you must be fast at reaching it. Keep in mind that, if any party member gets hit by this attack, they will take great damage and be inflicted with the Berserk debuff, which makes the character lose control and attack the boss continuously, potentially being hit by the next attack due to the player’s inability to move.
- Prakamya Siddhi: A heavy damaging AoE, move out to successfully avoid it.
- Manusya Stop: Sanduruva will teleport back to the center of the arena to use this move. This attack will freeze all the party members, one and a time, only for her to cast Prapti Siddhi right then, after which players will be unfrozen. To avoid wiping out under this attack sequence you must spread out around Sanduruva to not stack damage, and the Healer has to mitigate and heal after each hit.
- Manusya Confuse: Sanduruva will teleport out of the arena, and then spawn five orbs, which will be transformed into Sanduruva clones. These will explode after a set time, inflicting Berserk on any player hit, and to find a safe zone you must identify the real Sanduruva, which will be the one not performing an Emote. Once you identified the real one, run to the wall behind her and you will be safe.
All these mechanics will repeat until Sanduruva is defeated.
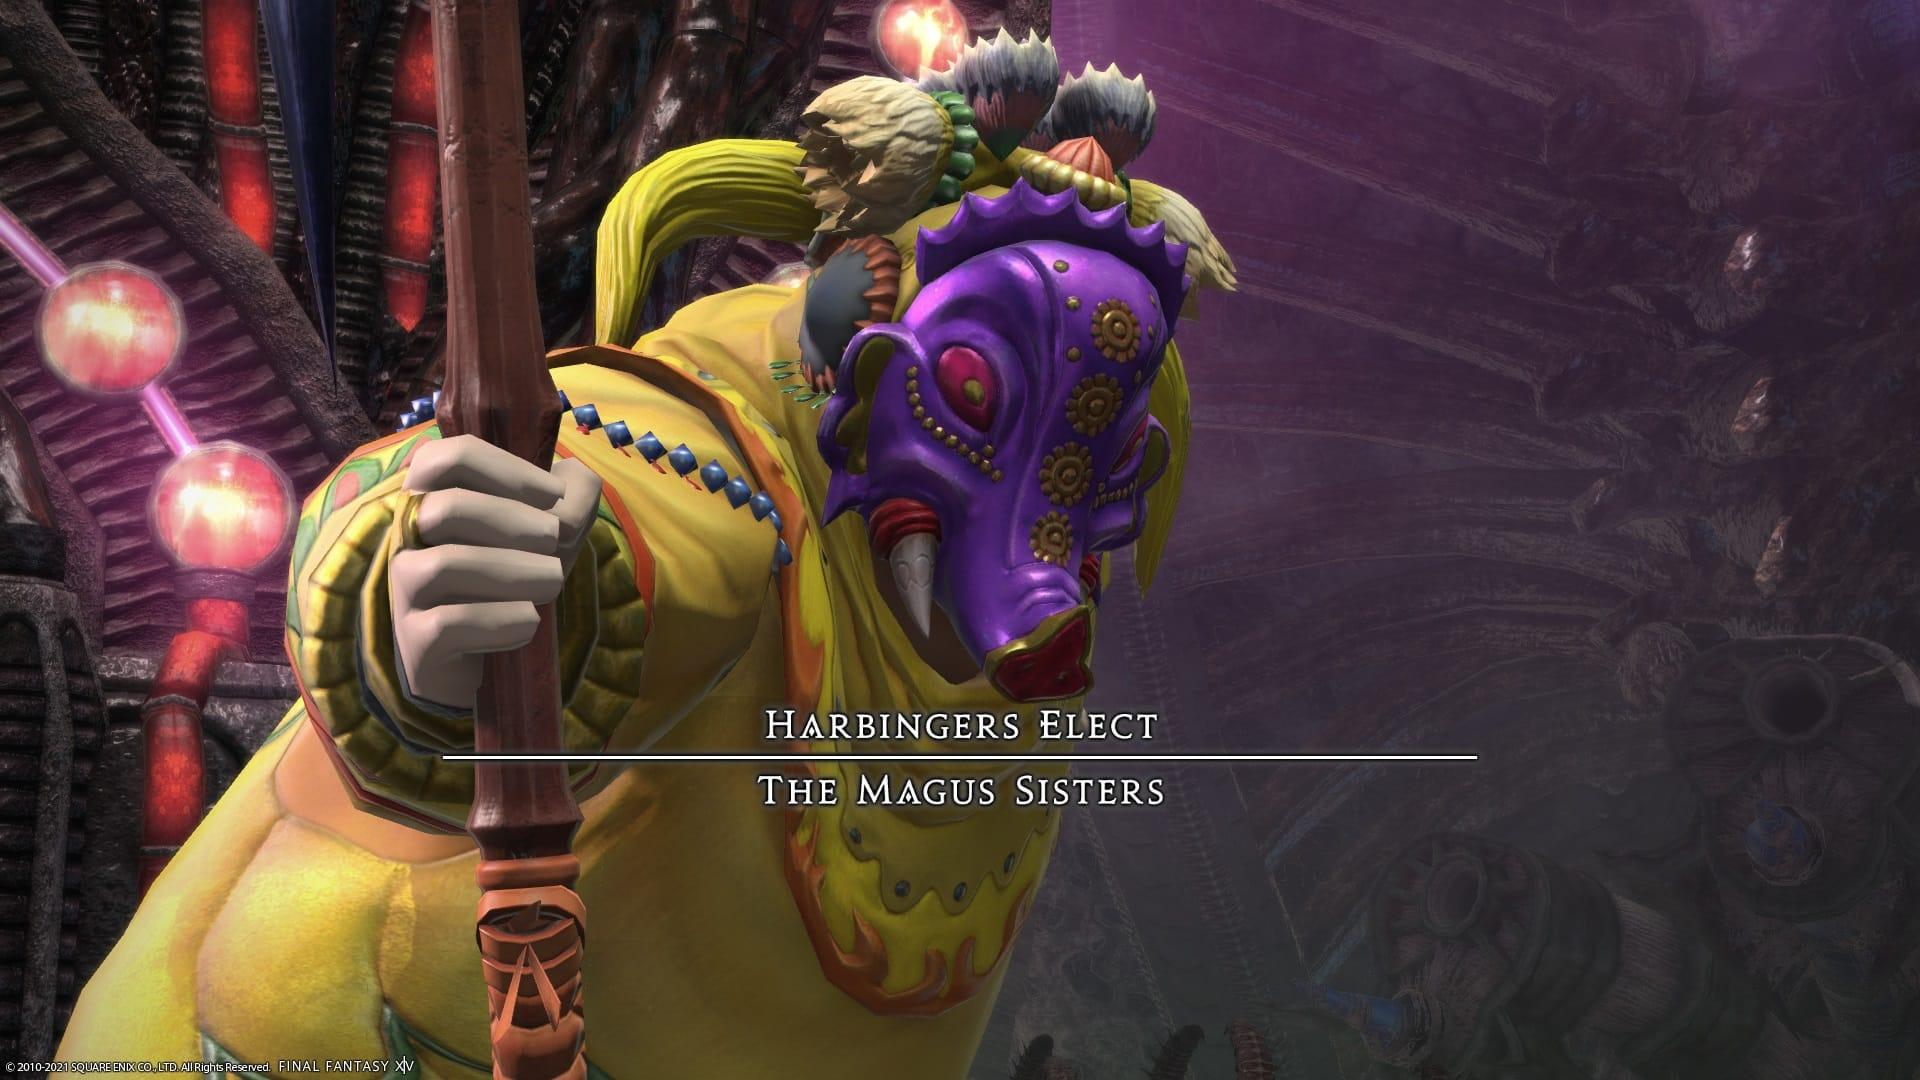
The Tower of Zot Boss Battle – Harbingers Elect: Cinduruva/The Magus Sisters
 Square Enix
As you arrive at the end of Wisdom’s Ward, Cinduruva will be waiting for you in her fighting arena. The movements she will use in this fight are the following:
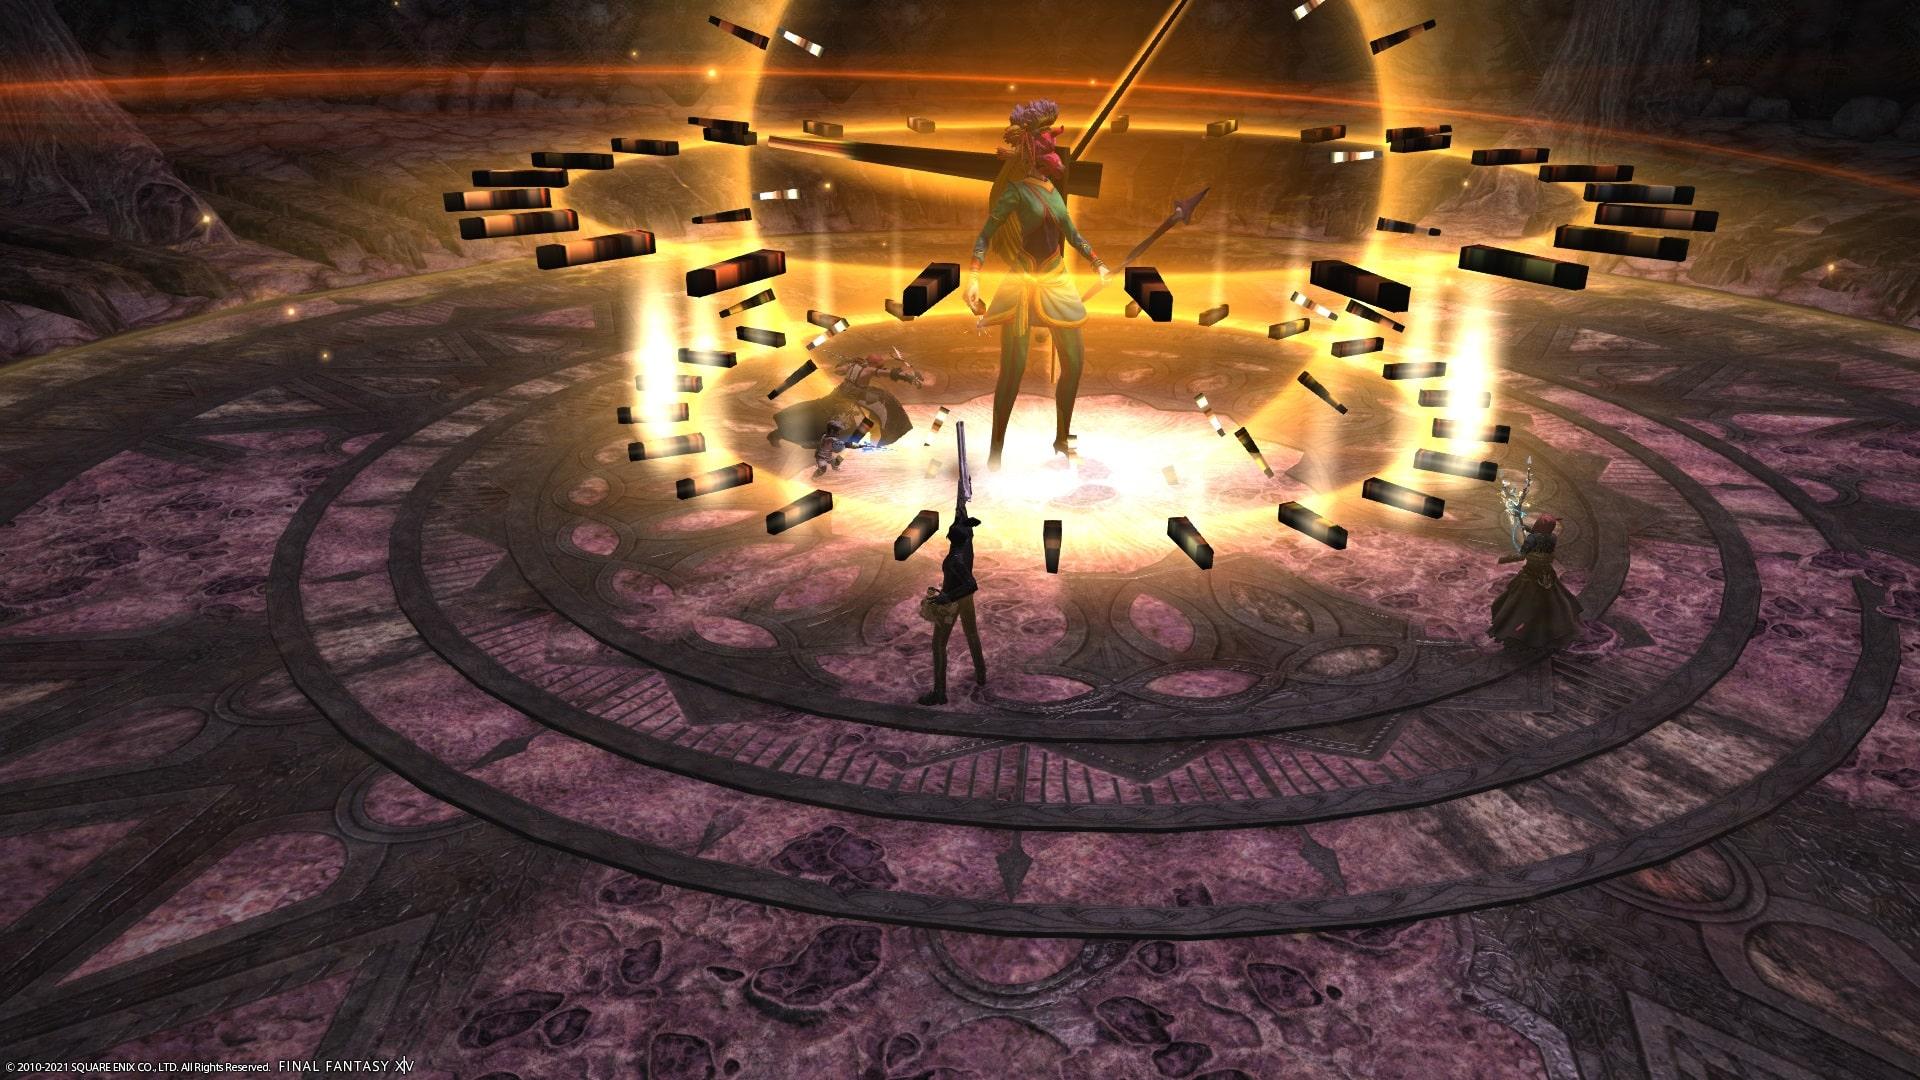
- Samsara: A room-wide AoE, you just can mitigate and heal through it, since there is no way to avoid it. After this attack, both Minduruva and Sanduruva will join shortly after and use Delta Attack.
- Delta Attack: Minduruva is the one casting it, Sanduruva will boost it and cause line AoEs to spawn, and Cinduruva makes the spell spawn from the position of all the three sisters. This spell has three variants that can be determined by the text box that shows up:
“Glacial ice, entomb our foes!” – Blizzard III: Various cone AoEs that you must avoid, moving fast between them while also keeping your eye on possible proximity markers that will drop glaciers across the arena. - “Thunderous tempest, smite our foes!” – Thunder III: Each sister will shoot a cross-shaped Thunder AoE that can vary in size. One of the party members will receive a stack marker and you must group together to mitigate damage when it drops.
- “Insatiable flame, consume our foes!” – Fire III: Two donut AoEs will appear in succession across the arena, along with large line AoEs. The first donut AoE will be always at the center, but it’ll be covered by a line AoE shortly after the attack, so you must be fast and move out to successfully avoid it. All of the party members will also be marked with AoEs that will explode after the second donut AoE, so you must group up in the safe zone but spread out quickly to avoid stacking damage.
Between each Delta Attack, the Magus Sisters will employ their skills on the players. Be sure to mitigate, heal, and move quickly to avoid high amounts of damage. It is recommended to focus on the three sisters one by one, since attacking them aimlessly will only make the fight last longer. After you defeat each one, the dungeon will be finished!
This article was written by Santi Leguiza.
For more on Final Fantasy XIV, be sure to check out more of our content at Dexerto.
All FFXIV Expansions | FFXIV Winter Event 2021 | FFXIV Endwalker Giant Aetherlouse guide | FFXIV Endwalker Northern Herring guide