How to complete the Tower of Babil dungeon in FFXIV Endwalker: All encounters, bosses, & how to start
 Square Enix
Wondering how to complete the Tower of Babil in FFXIV Endwalker? Here’s a walkthrough of how to unlock it, as well as how to turn the tides of every encounter and boss.
Final Fantasy XIV Endwalker narrates the adventures of the Warrior of Light through the apocalyptic event known as The Final Days, the conclusion of a story arc that began in A Realm Reborn.
As you progress through Garlemald and witness the consequences of war, you must infiltrate inside a Dungeon known as “The Tower of Babil,” and we’re here to help guide you through this dangerous place.
Contents
 Square Enix
FFXIV Endwalker: How To Unlock Tower of Babil Dungeon
To unlock this dungeon, you must complete the following Main Scenario Quest:
Gateway of the Gods
- Quest Giver: Lucia
- Location: Camp Broken Glass (14.0, 29.5)
- Level: 83
FFXIV Endwalker: Tower of Babil Dungeon Objectives
Once you’ve entered the dungeon, you’ll be presented with these six objectives to clear along the way:
- Arrive at Magitek Servicing
- Clear Magitek Servicing
- Arrive at Martial Conditioning
- Clear Martial Conditioning
- Arrive at the Iron Womb
- Defeat Anima
The Tower of Babil presents three areas called “Magitek Servicing,” “Martial Conditioning,” and “Iron Womb.” These will feature several minor enemies that you will have to defeat on your way through, and at the end of each zone, a boss battle will ensue.
FFXIV Endwalker: Tower of Babil Guide
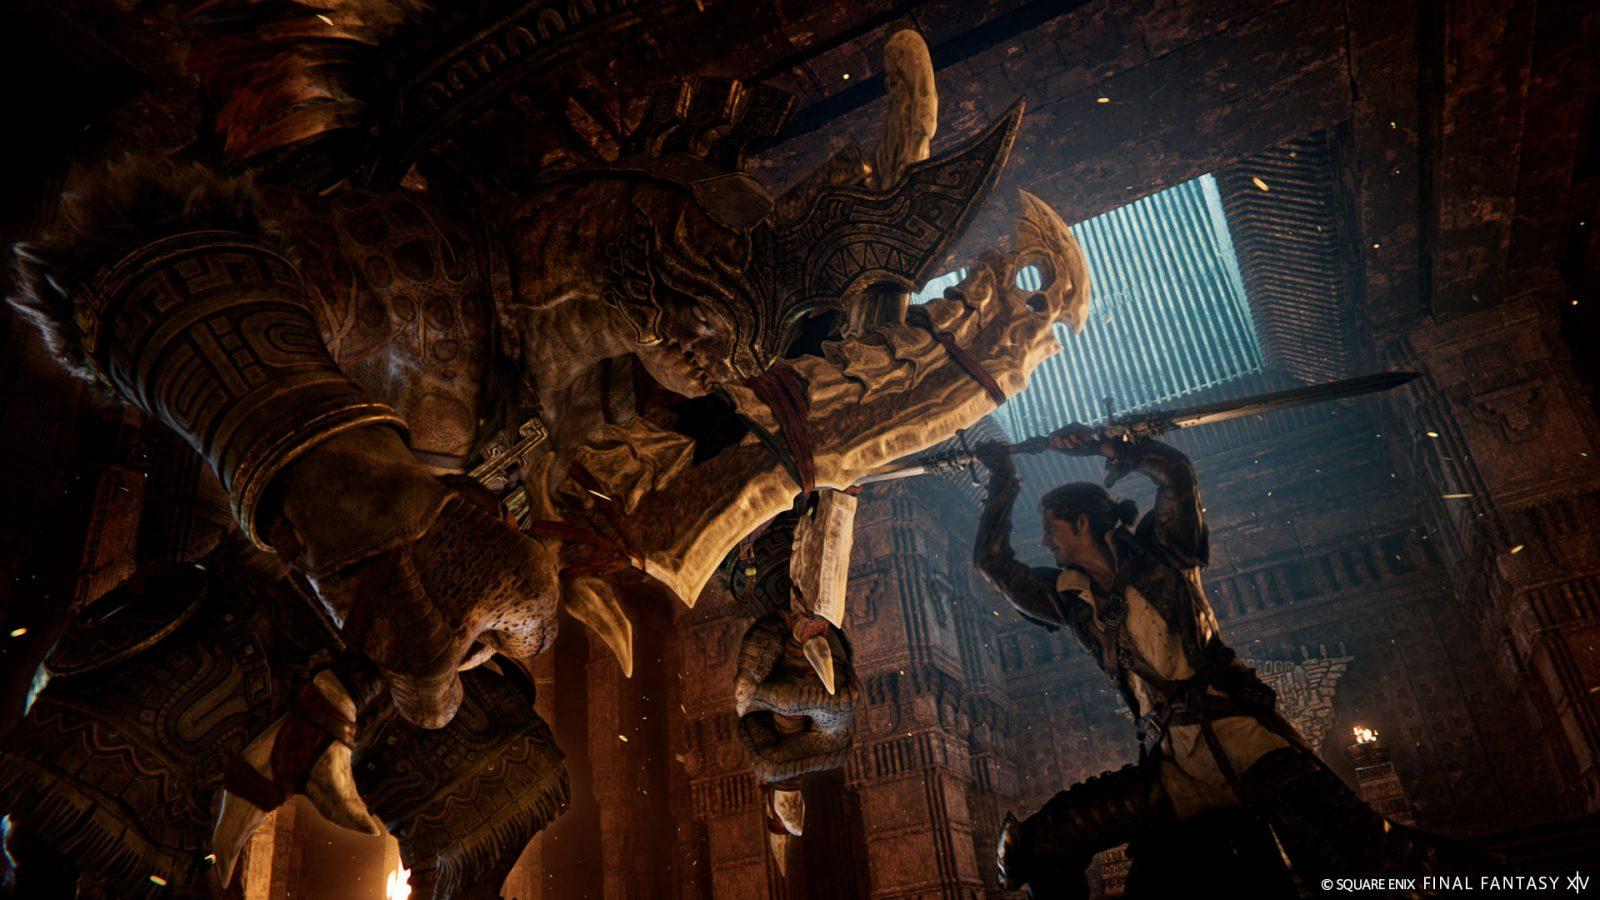
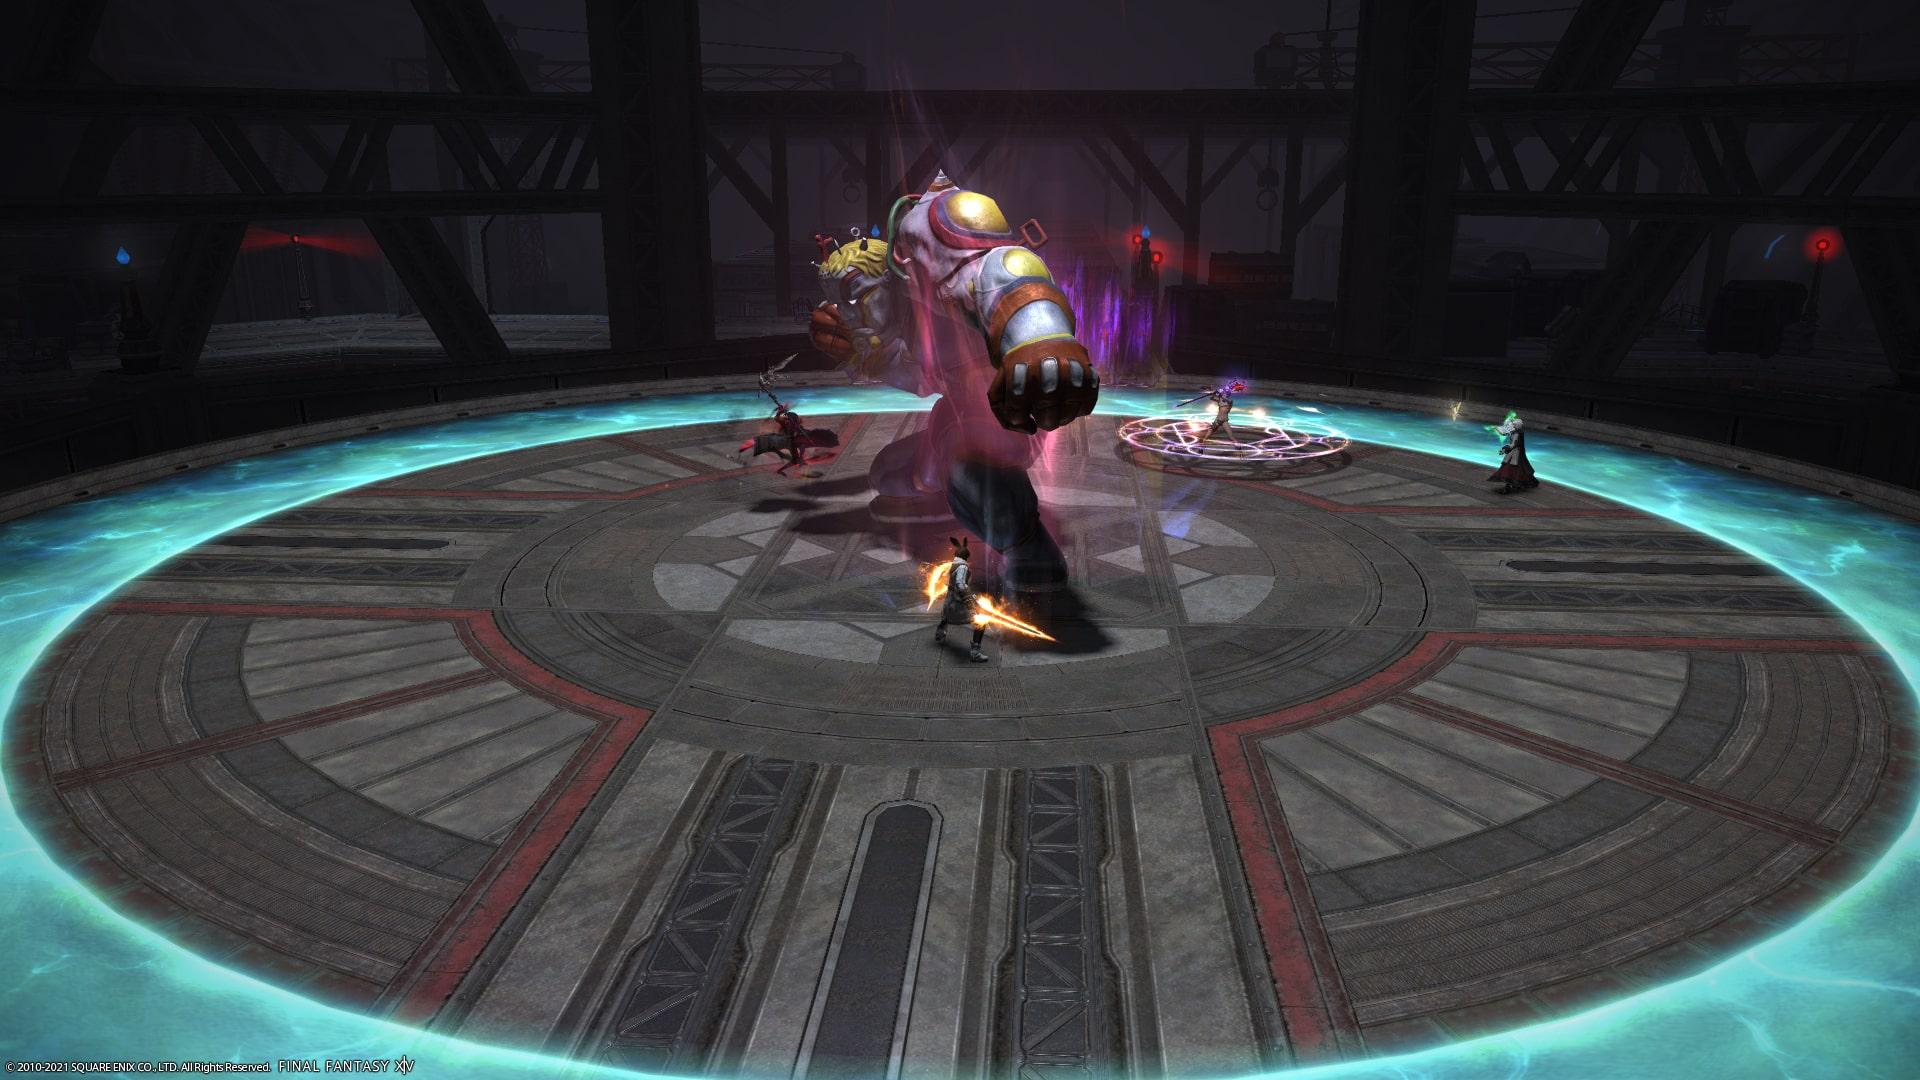
The Tower of Babil Fight #1 – Barnabas
 Square Enix
As you arrive at the end of Magitek Servicing, Barnabas will be waiting for you in its fighting arena. The movements he will use in this fight are the following:
- Ground and Pound: This attack is a line AoE with a delayed marker that will target a random party member.
- Dynamic Pound: Barnabas moves to the north side of the arena, after which a line AoE will spawn across it, displaying a polarity in it while giving a polarity to each party member. If your Polarity matches the one on the AoE, you have to move as far as you can from it. If they oppose, you must move as close to the edge of the AoE as you can. When the attack finishes casting, players will be stunned, while also being pushed/pulled towards the AoE, which will trigger shortly after.
- Shocking Force: This is a stack marker assigned to a random player, and the entire party must group up together to mitigate the damage.
- Dynamic Scrapline: Barnabas and the party members receive a Polarity and are tethered together. When the attack finishes casting, players will be stunned, while also being pushed/pulled towards the AoE in relation to their Polarity and Barnabas. He will also use a point-blank AoE that inflicts heavy damage and knocks you back, so failing this mechanic has dire consequences.
- Thundercall: Barnabas spawns three electric orbs around the arena and summons a point-blank AoE. You must stand inside any of the safe spaces away from him and between the orbs before they explode, or you will be inflicted with heavy damage and knocked back.
The Tower of Babil Fight #2 – Lugae
As you arrive at the end of Martial Conditioning, Lugae will be waiting for you in its fighting arena. The movements he will use in this fight are the following:
- Thermal Suppression: A room-wide AoE, you just can mitigate and heal through it, since there is no way to avoid it.
- Magitek Missle: Two party members are targeted for AoEs, and they must move out of the way to successfully avoid them.
- Magitek Ray: Lugae shoots a line AoE in the direction of a random party member. He will then move back to the center of the arena and the two plates will become active, and he will use one of two abilities at random (during both of these possible attacks, Lugae will shoot various AoE attacks that you must avoid by moving around the arena):
- Magitek Chakram: Several Chakrams will spawn outside the arena. You have to step on the purple plate to debuff yourself with Minimum, so the chakrams just pass over you without hitting.
- Downpour: The arena will fill with water, and you will be debuffed with Heavy and Breathless, which will stack and kill you after eight stacks. To avoid this, you have to step on the green plate, which will turn you into a Toad.
- Magitek Explosion: Three huge-sized bombs will drop on the arena after this attack is cast, and will explode after a while in cross-line AoEs that will extend across the arena. Keep your eyes on where they land and quickly move to a safe zone before they do.
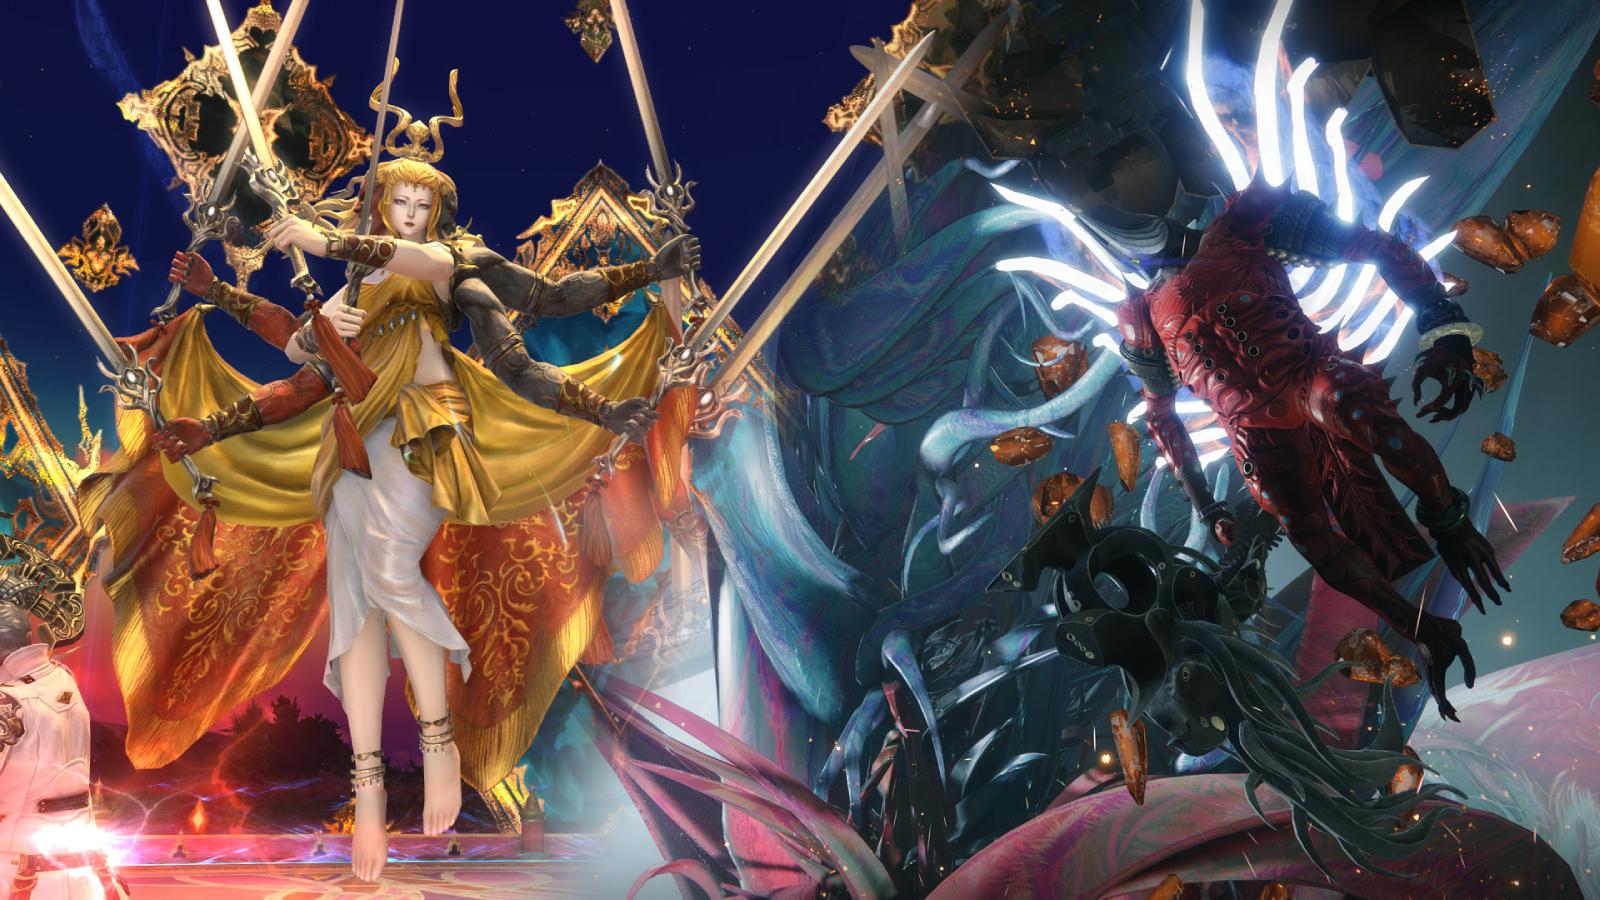
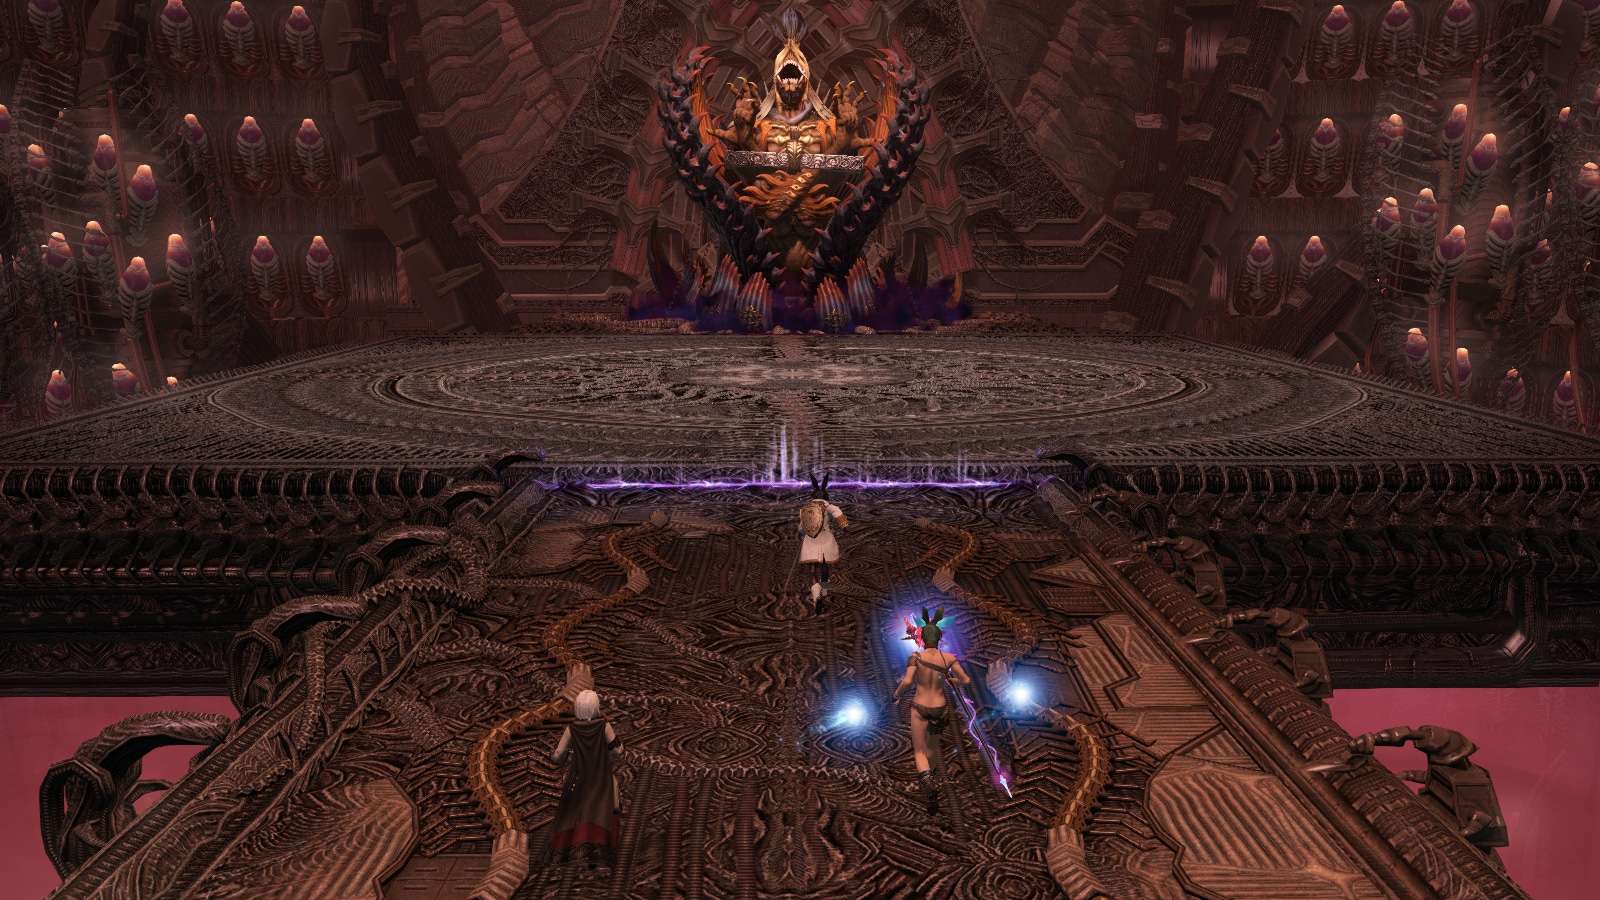
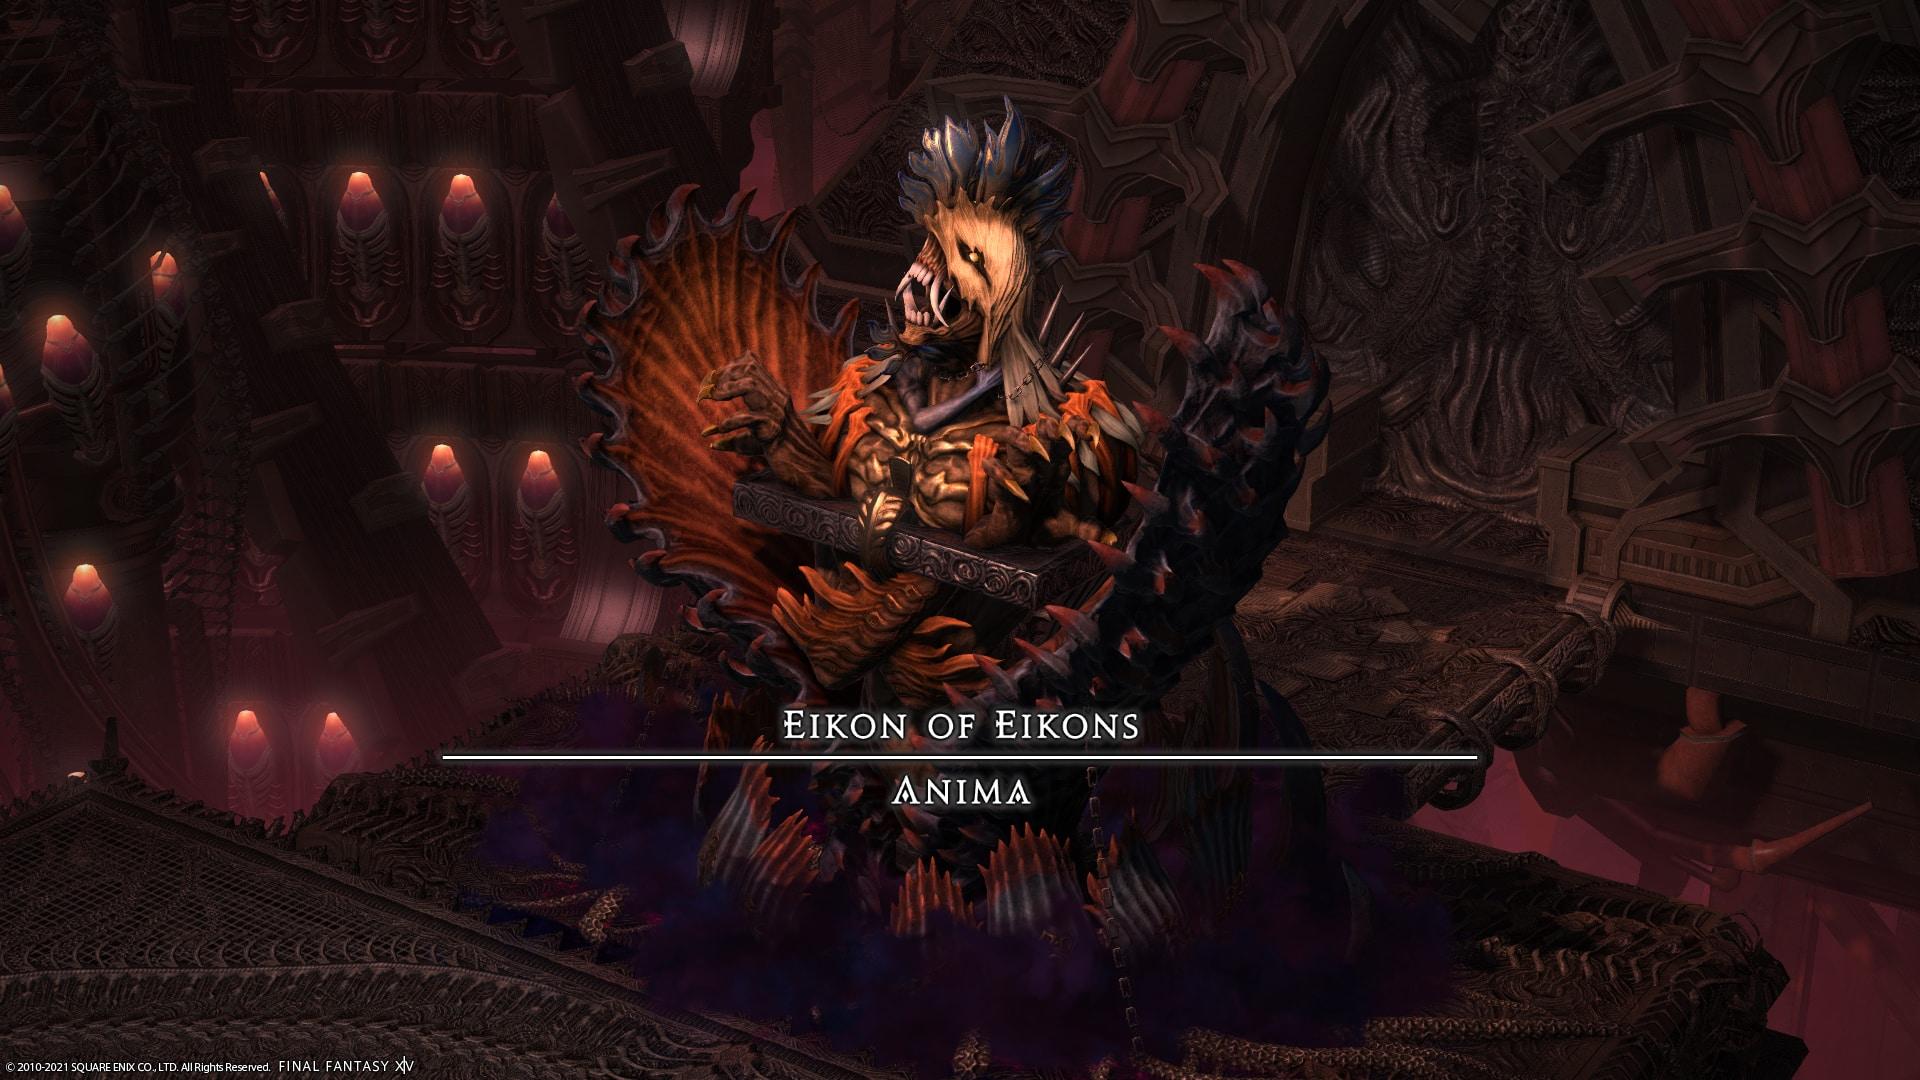
The Tower of Babil Boss Battle – Eikon of Eikons: Anima
 Square Enix
As you arrive at the end of the Iron Womb, Anima will be waiting for you in its fighting arena. The movements he will use in this fight are the following:
- Lunar Nail: Several Lunar Nails will drop on the edges and center of the arena, and will tether to one another. Any quadrant that has tethers on all four sides will be filled by an AoE, and you must move any of the safe, uncompleted quadrants to avoid.
- Phantom Pain: This is the name of the attack that Animal will cast to trigger the AoE from Lunar Nail.
- Mega Graviton: A room-wide AoE, you just can mitigate and heal through it, since there is no way to avoid it. This will spawn a Mega-Graviton in each corner of the room.
- Pater Patriae: This is a line AoE attack down the center of the room.
- Aetherial Pull: Each Mega-Graviton that spawns will tether to a different party member, and you must run to the opposite side of the arena until the tether changes its shape. Pater Patriae will be triggered, and players will be pulled towards their Mega-Graviton. If you don’t move far enough, this attack sequence will inflict heavy damage and give you a Vulnerability Up stack.
- Boundless Pain: Once Anima finishes casting this attack, all the party members will be pulled into the center of the arena, and an AoE will spawn, continuously hitting players and expanding in size. You must quickly run to the corners of the arena to escape, using Sprint if necessary, since this AoE deals heavy damage per second.
- Imperatum: The party will be pulled into the floor, to face the lower half of Anima. A Chaos gauge will then start to fill, and if the group fails to defeat the lower half before it fills, Oblivion will later cause a party wipe.
- Obliviating Claw: Two groups of shadowy claws will pop up on the east and west sides of the arena, and then move across the arena dealing heavy damage. You must keep in mind which side is spawning first and then stand in the gap between claws, quickly running out of the way before the second set of claws moves across the arena.
- Erupting Pain: Two random party members will be marked with Following AoEs. Whoever gets these markers should place them on the east and west sides of the arena, and start running to opposite sides without crossing over each other.
- Oblivion: If the group defeats the lower half of Anima before the Chaos gauge fills, this attack will inflict little to no damage and take the party back to the upper half, where Anima will loop its attacks until it’s defeated. If you failed to defeat the lower half in time, the party will be wiped here.
This article was written by Santi Leguiza.
So that’s our rundown of how to topple the Tower of Babil in FFXIV. Looking to become the greatest Warrior of Light Eorzea has ever seen? Be sure to check out FFXIV Endwalker guides:
How to access FFXIV Online | How to level up fast in FFXIV Online | How to unlock Dancer | How to unlock the Red Mage in FFXIV Online | FFXIV Online Eureka Guide | FFXIV Glamour Guide | FFXIV Online hairstyles guide | FFXIV Northern Herring Guide | FFXIV Giant Aetherlouse Guide