How to get the Destiny 2 Lightfall Vexcalibur Glaive exotic: NODE.OVRD.AVALON Exotic Mission guide
 Bungie
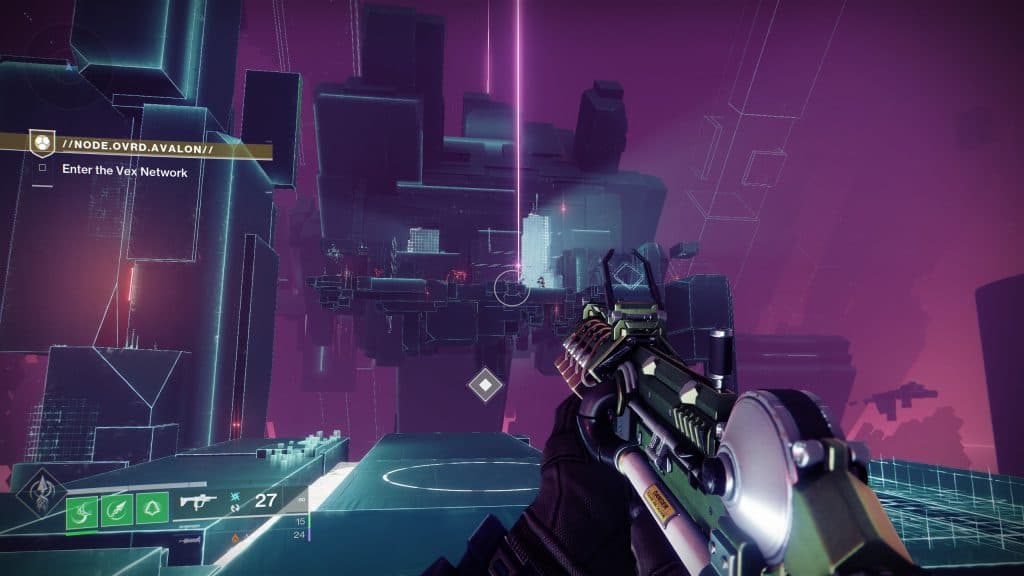
Destiny 2’s newest secret mission for Season of the Defiance was just released into the game, here’s how to complete NODE.OVRD.AVALON and grab a new Vexcalibur Glaive exotic in Lightfall.
Destiny’s Lightfall has come with a whole bunch of content for Guardians to enjoy, from a new legendary campaign to a new location and subclass, Destiny 2 has a fair amount of new content coming in.
Bungie has had some trouble with Lightfall, however, with the campaign being not too well received by the community, as well as some bugs coming in and plaguing the game. Though devs aren’t backing down and have now thrown in a brand new secret mission as a part of Season of the Defiance.
This secret mission requires players to track down various nodes in the Gulch on EDZ, and then take down a rather familiar foe in order to reap the rewards. Here’s how to complete NODE.OVRD.AVALON and get your hands on the surprise Vexcalibur Glaive exotic.
Contents
- Step 1: The Gulch – Collecting Vex Nodes
- Step 2: Entering the Labyrinth
- Step 3: Vex Network Access Codes
- Step 4: Node.Ovrd.Avalon miniboss guide
- Step 5: Defeating Brakion
- Claiming your reward: Vexcalibur
Destiny 2: Node.Ovrd.Avalon Guide – The Gulch
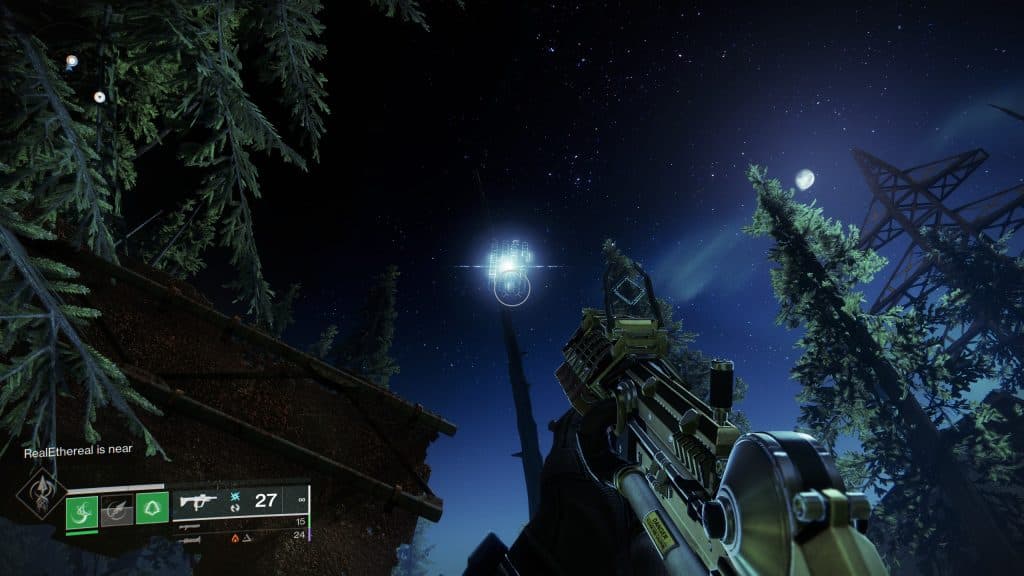
The quest can be started by just hopping into the Gulch on EDZ, from there you’ll find several of these Vex nodes that can be picked up by being close by to them. There are 6 of these nodes in total, and they’ll need to be picked up within 30 seconds of one another. However, if you fail it’s not a problem, as the nodes will respawn again if need be. The nodes also emit a small beeping noise, meaning you can locate them with sound as well. With that being said, here are the locations for every node.
One node can be found under the bridge.
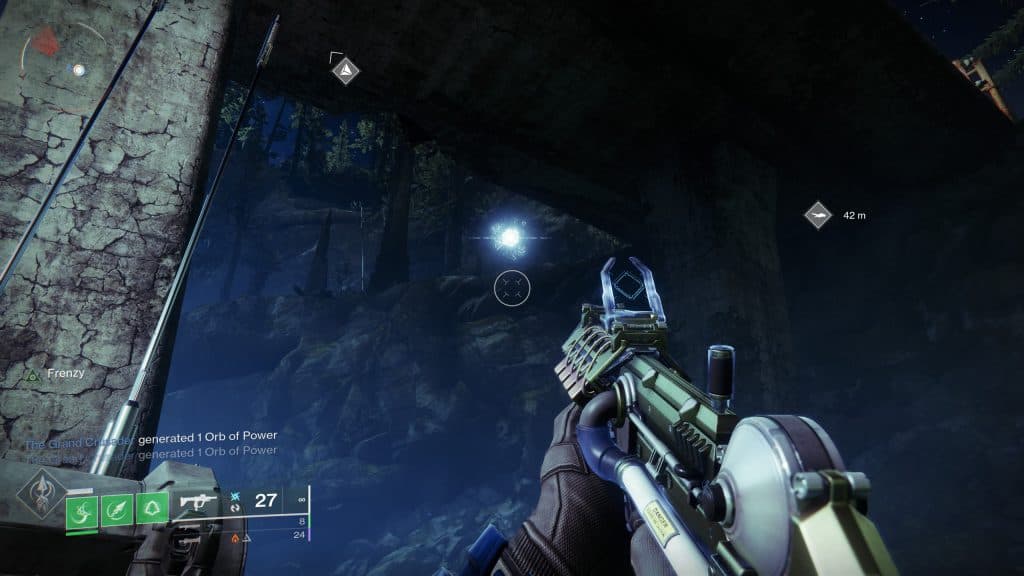 Bungie
Another can be found at the small cabal camp near where you spawn in.
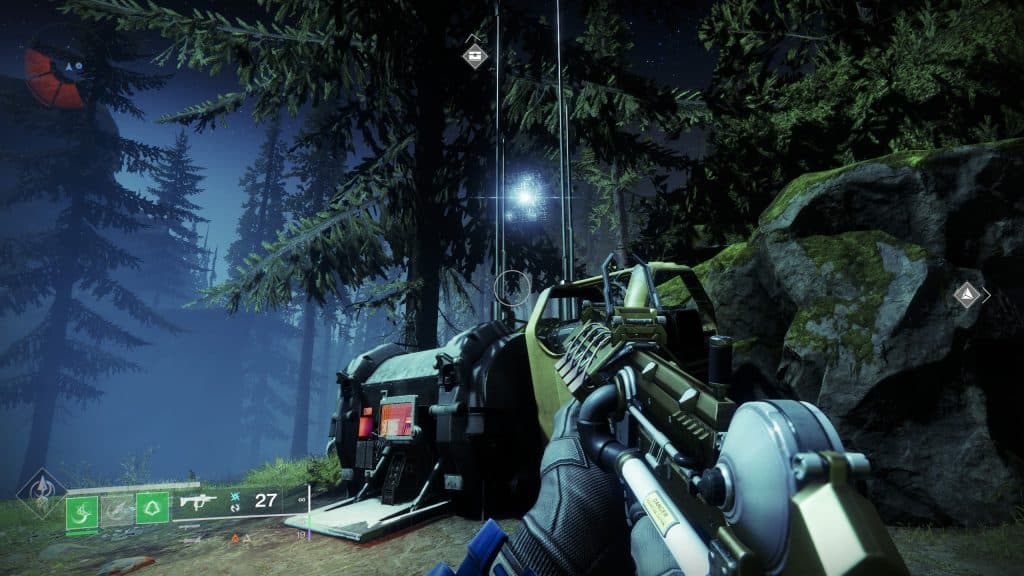 Bungie
The third node can be found right in the middle of the lake of the Gulch.
 Bungie
The fourth is near two trees, it can be seen from the location of the third node.
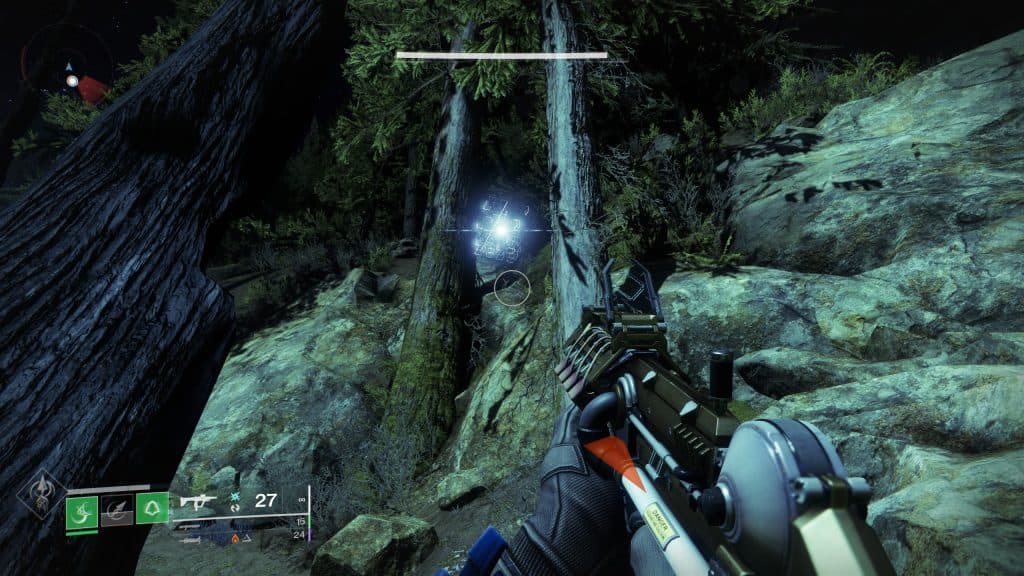 Bungie
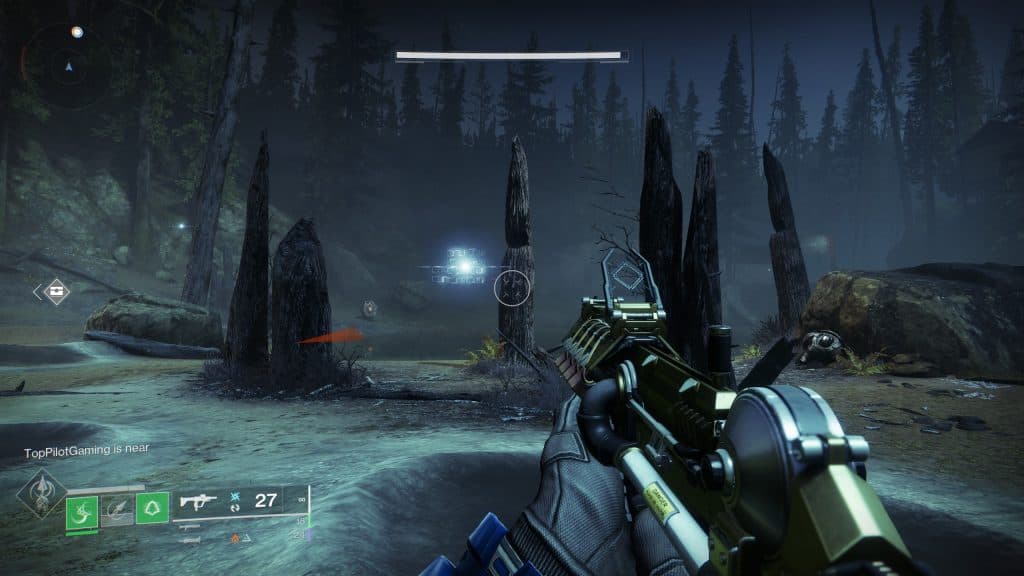
The second last node is in between the two parts of a broken down sign.
 Bungie
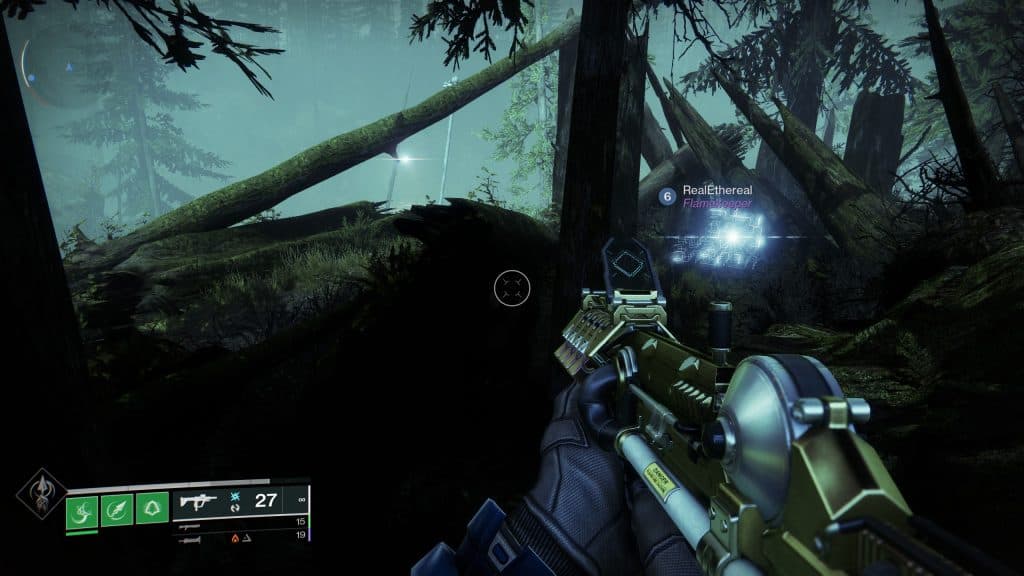
The final node is found behind a fallen tree up on the East side of the Gulch.
 Bungie
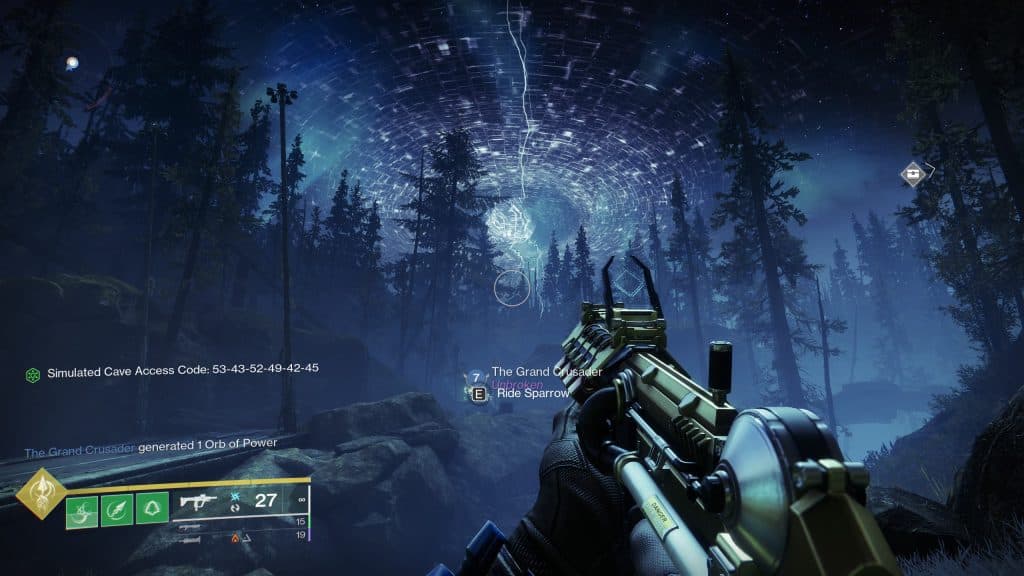
It’s important to note that you don’t need to collect any of these in order, so feel free to find a way that best works for you. From there you’ll have the completed cave access code, meaning you’ll be able to enter into a cave on the Gulch. You’ll be able to tell which cave by looking at the huge Vex storm above it.
 Bungie
Destiny 2: Node.Ovrd.Avalon Guide – Inside the Cave and Labyrinth
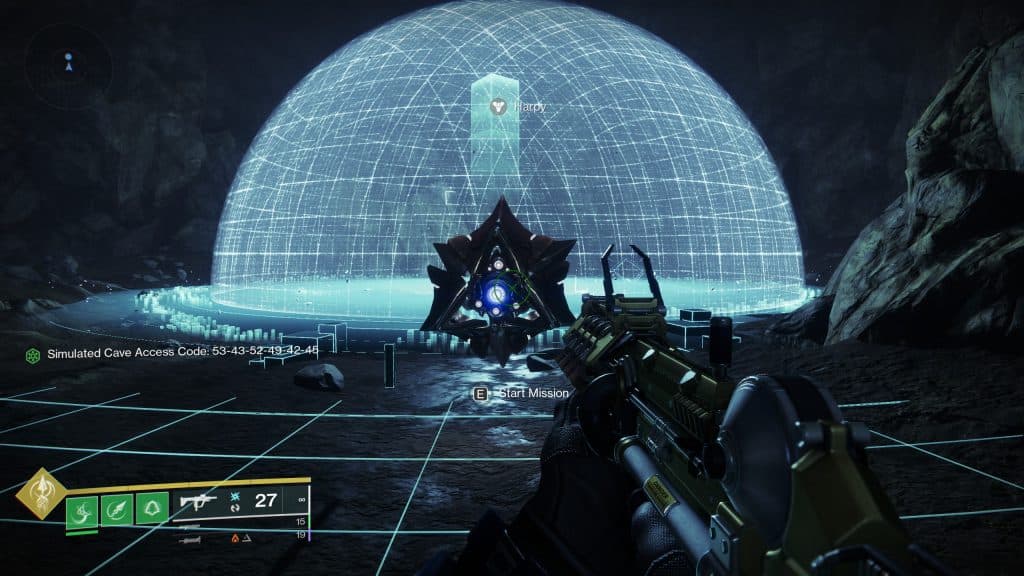
Once you’re inside the cave, you’ll meet a friendly Harpy. This Harpy will prompt you with Start Mission, allowing you to partake in Node.Ovrd.Avalon.
 Bungie
You’ll be spawned into a large room where you’ll need to traverse through a labyrinth, you’ll need to head through this labyrinth by entering through cracks in the wall or by dropping down chasms. Make sure to look around the room carefully, as the pathway can be pretty hidden.
A good rule of thumb is to continue following where the enemies are spawning, so using your radar can be handy in this situation.
Once you’ve completed the labyrinth and passed through, you’ll need to drop down into a circle hold. This drops you directly into the next zone, which is where the real combat will being.
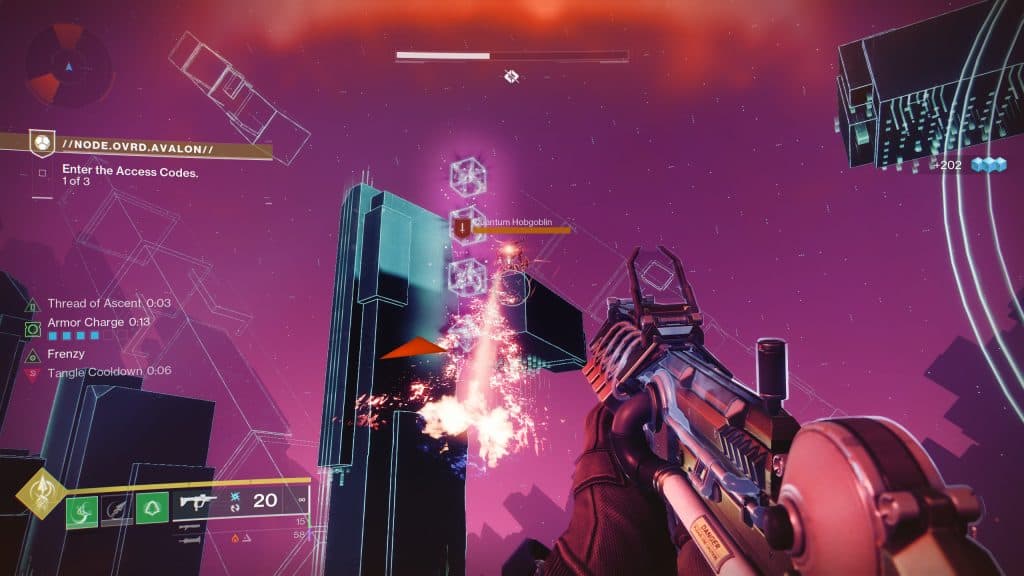
Destiny 2: Node.Ovrd.Avalon Guide – The Vex Network Access Codes
 Bungie
This is where the real mission begins, as you’ll be taking down waves of Vex and entering in Vex access codes via destroying the shapes around the middle construct. You’ll need to destroy the shapes in the correct order, however, which is shown on various walls throughout the arena.
Destroying the incorrect shape will cause the player to fail, and they’ll need to start from the beginning of the sequence once again. The shapes frequently shift in and out, meaning that players should look to only shoot one shape at a time.
There are three shapes in total, Square, Diamond, and Triangle. From Dexerto’s testing, however, Triangle never appeared out of these shapes, meaning the pattern may only be Squares and Diamonds.
 Bungie
Waves of Vex will continually spawn in while you’re trying to enter in the access code, these don’t have to be cleared out to continue into the next area, however, they do deal a good amount of damage and can wipe you out. It’s recommended you prioritize the hobgoblins first, as they deal the most damage. Bring an AD clear weapon for this part of the fight, as the wave of ADs will be the main thing preventing you from proceeding.
Players will need to repeat this process again in the second room as well, before fully proceeding from this area.
Destiny 2: Node.Ovrd.Avalon Guide – Miniboss
After a fair amount of traversal and jumping puzzles, players will come face-to-face with the first boss of the area. This boss has it’s own set of mechanics players will need to complete in order to clear the fight correctly.
Players must collect purple motes from headless Goblins that spawn in the arena. They’ll need to dunk these motes into the central construct before the timer on the screen runs out. Once the timer runs out all enemies and players on the map will be wiped out. Dunking the motes into the construct creates a safe zone for players to jump into, allowing them to avoid the wipe mechanic.
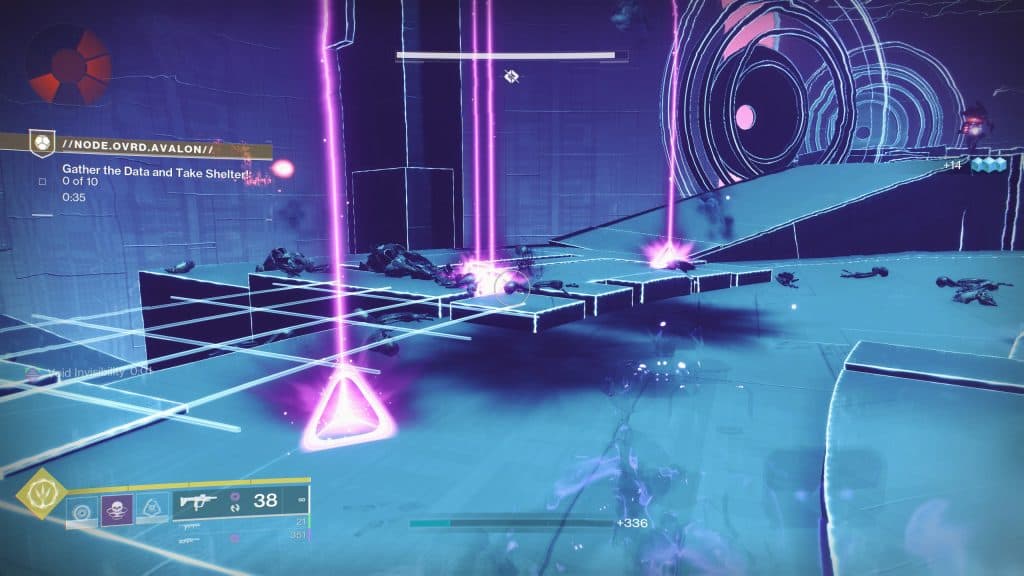 Bungie
Rinse this process until the boss becomes vulnerable, DPS the boss down until it retreats once again.
From here it’s again a rinse-and-repeat process, clear out ADs, grab the motes and dunk into the construct. After a few more runs the boss will become vulnerable again, from here you’ll be able to take it out using whatever DPS is necessary.
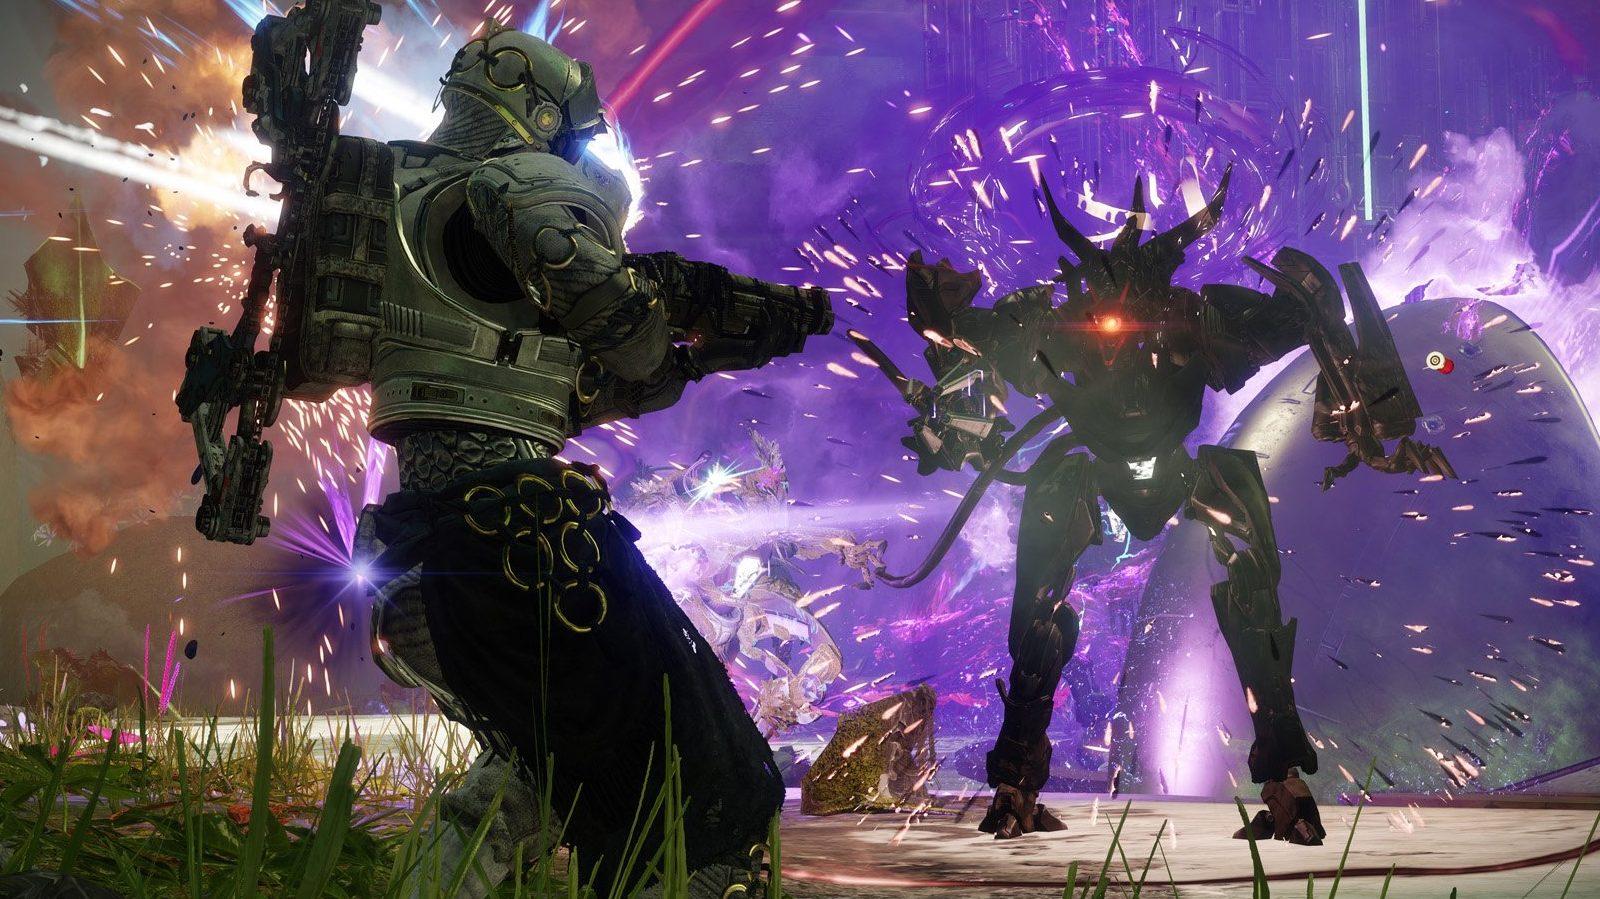
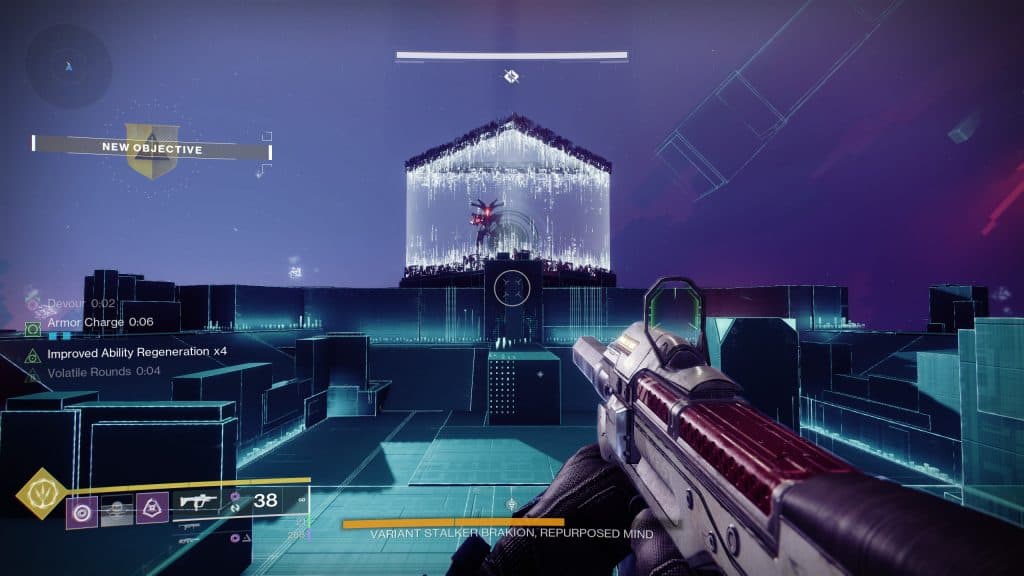
Destiny 2: Node.Ovrd.Avalon Guide – Brakion
Keen-eyed Destiny players may have seen a certain Asher Mir lurking around the area, in a similar fashion to his appearance in Partition: Hard Reset.
You’ll be traversing through this area whilst following around his echoes, and eventually, you’ll end up at the final boss encounter, Variant Stalker Brakion, Repurposed Mind.
Veteran Destiny players may remember this boss as the strike boss from The Pyramidion from Vanilla Destiny 2.
 Bungie
Brakion Phase 1
Brakion has 3 phases in total, the first phase is the most reminiscent of his strike form, Brakion will wield a sniper, and throw out fire at the player. Players will need to simply DPS him down, whilst avoiding the ADs he spawns in and his sniper/ fire. Once two-thirds health, Brakion will teleport away, and players will enter a Vex teleporter to reach the next arena.
Brakion Phase 2
The second phase sees players complete the access code mechanic, in which players will need to defeat all the Vex around Brakion. From there a construct will form in the center of the arena, players will need to look at either side of the arena for the password to the construct. They can be found in a triangle on either the left or right side of the map.
Entering in this access code correctly will break Brakion’s barrier, allowing the player to go ham and DPS Brakion for 30 seconds. Rinse and repeat these steps until Brakion hits his third phase.
 Bungie
Brakion Phase 3
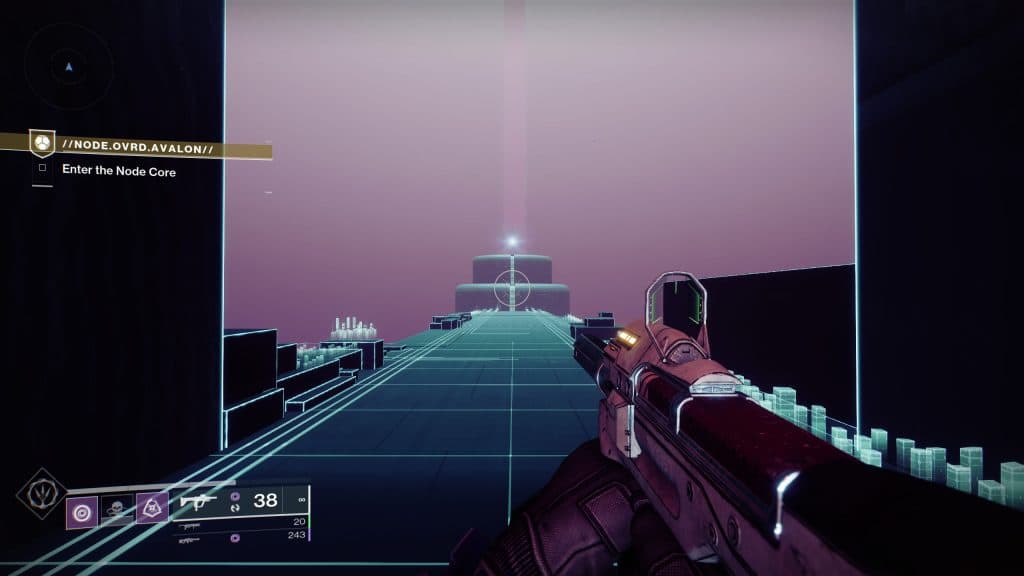
Once Brakion reaches one-third health, he will teleport away once again and open up a Vex teleporter for the final arena.
The final arena is similar to the first, with no actual mechanics needing to be performed. Simply DPS Brakion until it eventually falls, and you’ll be rewarded with the exotic mission The Variable.
Destiny 2: Node.Ovrd.Avalon Guide – Rewards
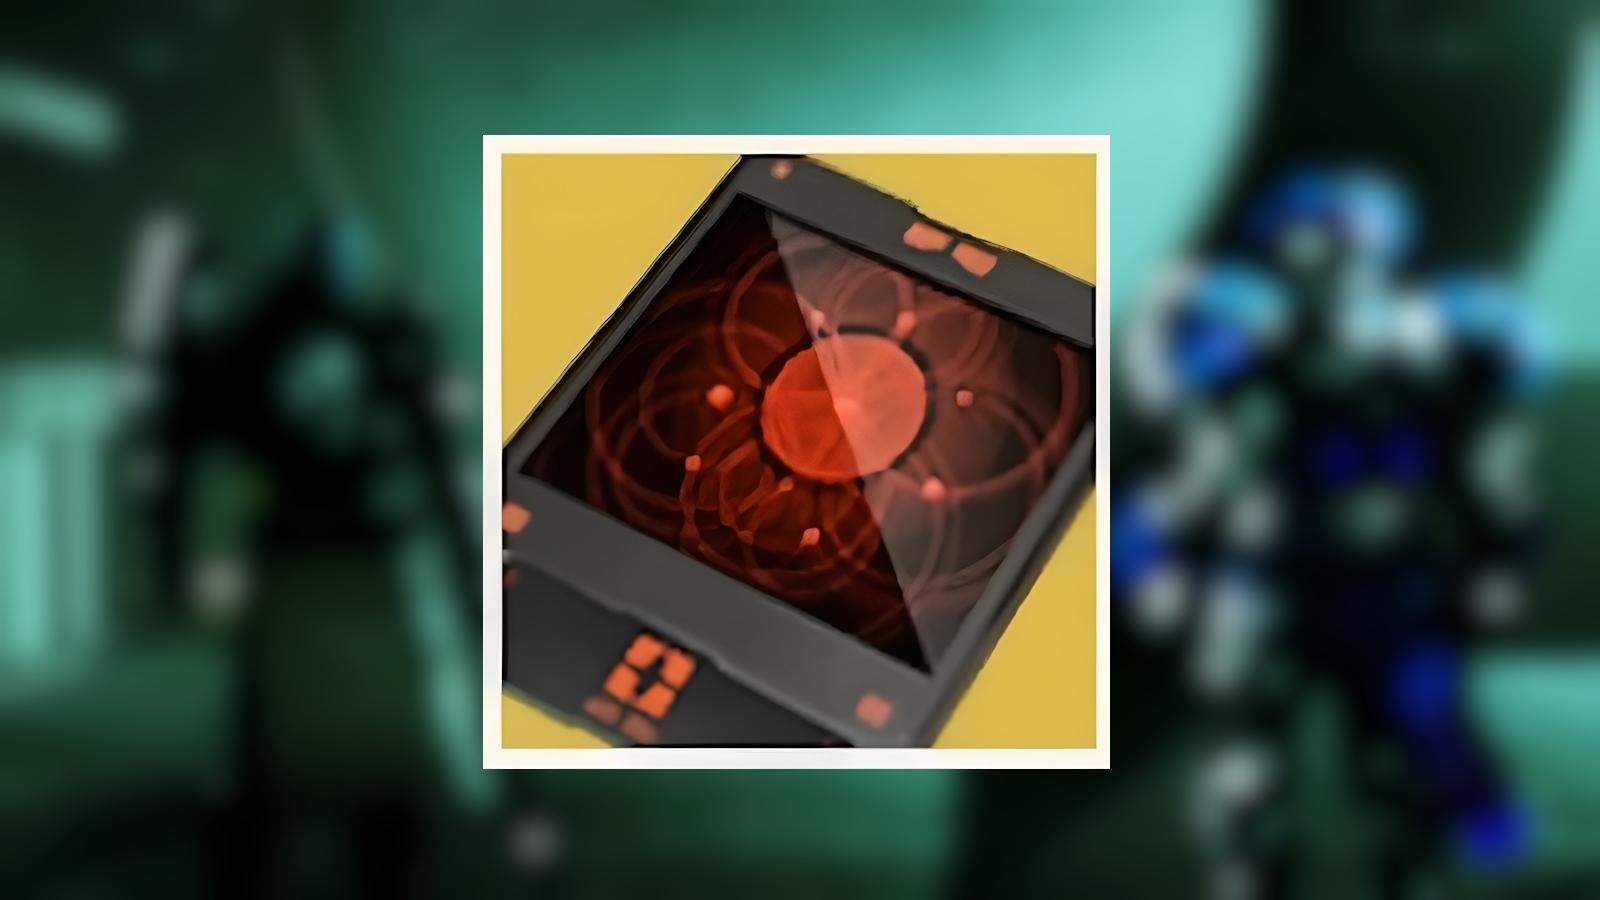
The Variable will instruct the Guardian to head to the H.E.L.M, and speak at the war table. This will grant you the exotic Vexcalibur.
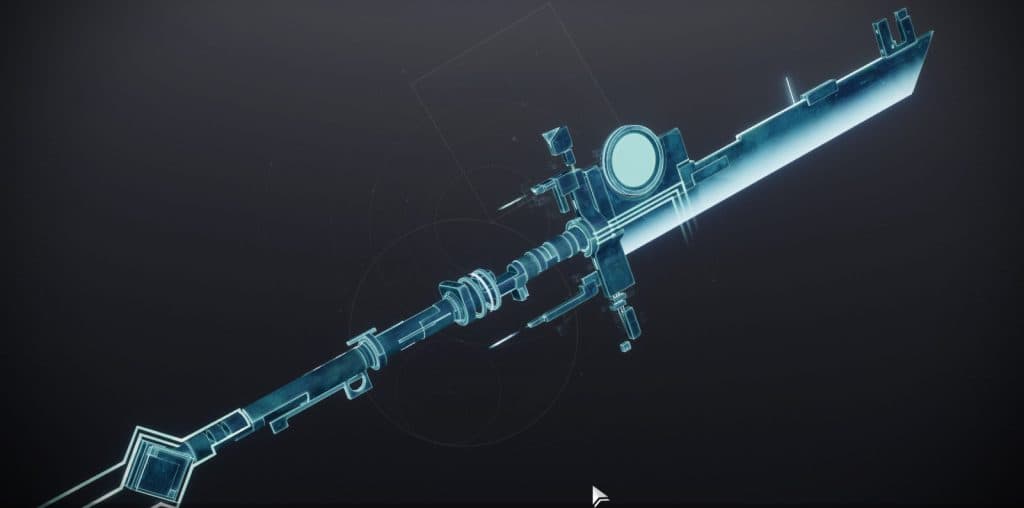 Bungie
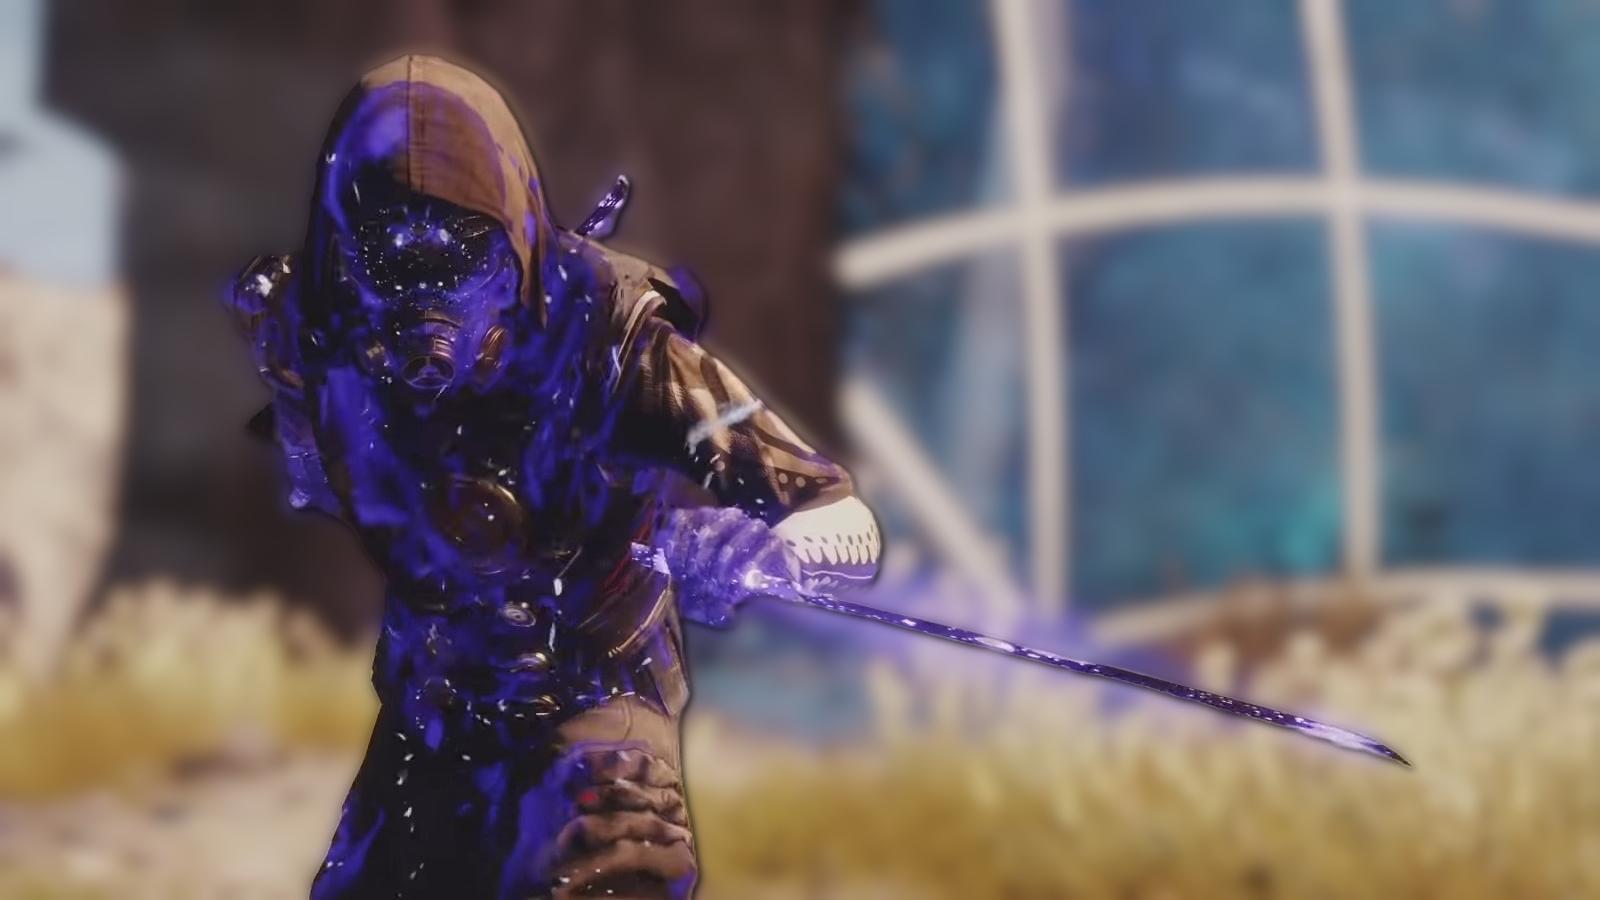
Vexcalibur is a Void Exotic Glaive that revolves around powering an Overshield through its attacks.
Blocking with Vexcalibur grants you and your allies an overshield, this overshield can be extended and refreshed with melee attacks via the weapon. Vexcalibur also fires a spread of projectiles, allowing it to charge its shield at a faster rate.
Destiny 2: Node.Ovrd.Avalon Guide – Tips and Tricks
Node.Ovrd.Avalon is not a simple mission and requires a decent amount from the player. This is even more true if you’re running it solo. For those who are struggling with completion, it’s recommended you run it with a fireteam for higher odds of completion.
However, if you’re looking to complete it solo, ensure you have a decent build idea coming through. You’ll want a lot of AD clear, and a good DPS weapon from long range. Linear Fusion Rifles aren’t awful here, as Brakion’s critical spot is pretty large, making for easy high-damage output.
Subclass wise Void is a good option here. You can pick up Volatile Flow from the Seasonal Artifact for AD clear and using the fragment Echo of Starvation can assist greatly.