Battlefield 2042 Hazard Zone explained: Phases, Tactical Upgrades, more
 Electronic Arts
Battlefield 2042 Hazard Zone has finally been revealed and we’ve got the full rundown on how the new squad-based mode works. From an explanation of each Phase to the full list of Tactical Upgrades, here’s everything there is to know.
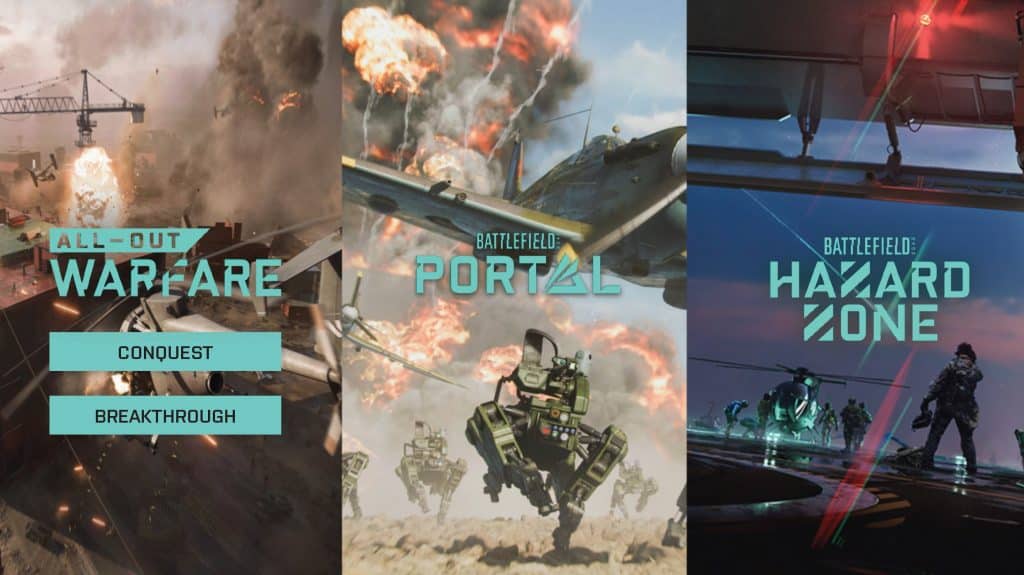
Hazard Zone has finally been revealed as the full Battlefield 2042 package is now in place. What started with All Out Warfare was soon followed up by Portal, and now, Hazard Zone is here to complete the trio of multiplayer modes available at launch.
It’s a distinct experience just like the others, with unique objectives and gameplay mechanics. Hazard Zone is sure to push your squad to its limits, but we’ve got the early rundown to keep you ahead of the pack.
Here’s a complete overview of how Hazard Zone works in Battlefield 2042.
How Hazard Zone works in Battlefield 2042
 Electronic Arts
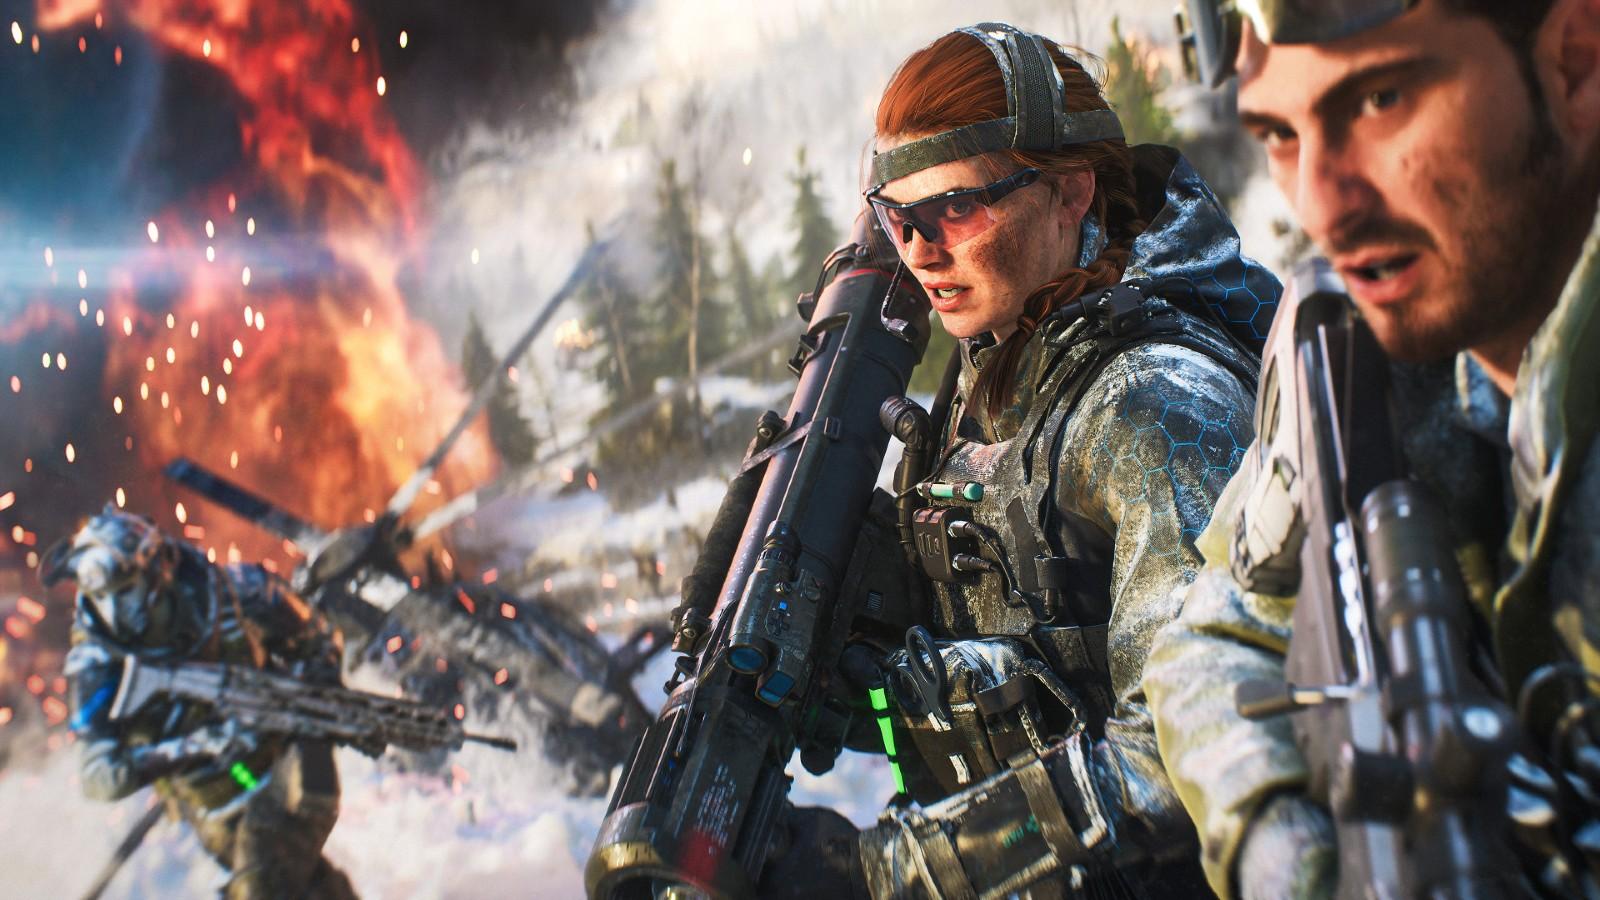
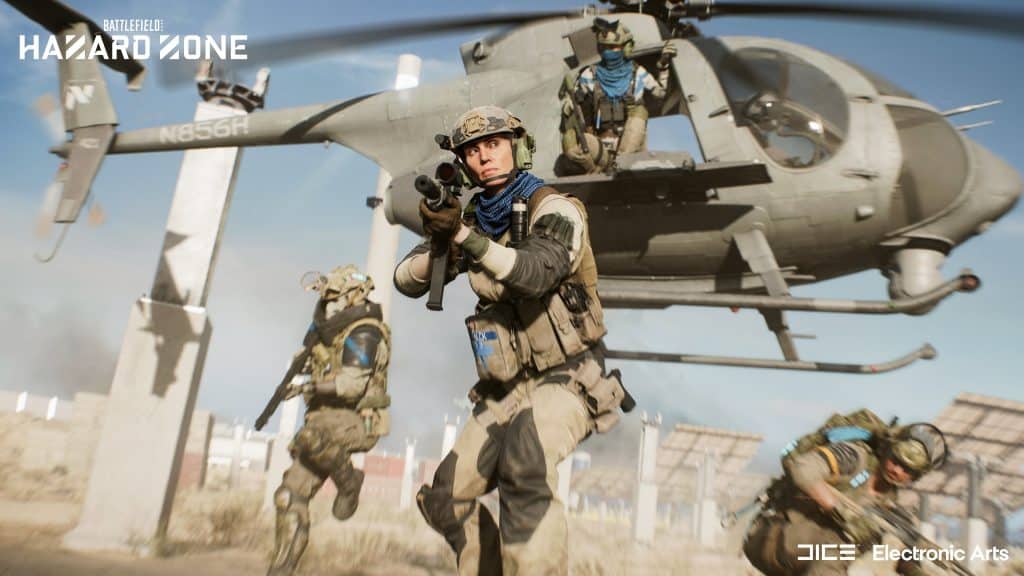
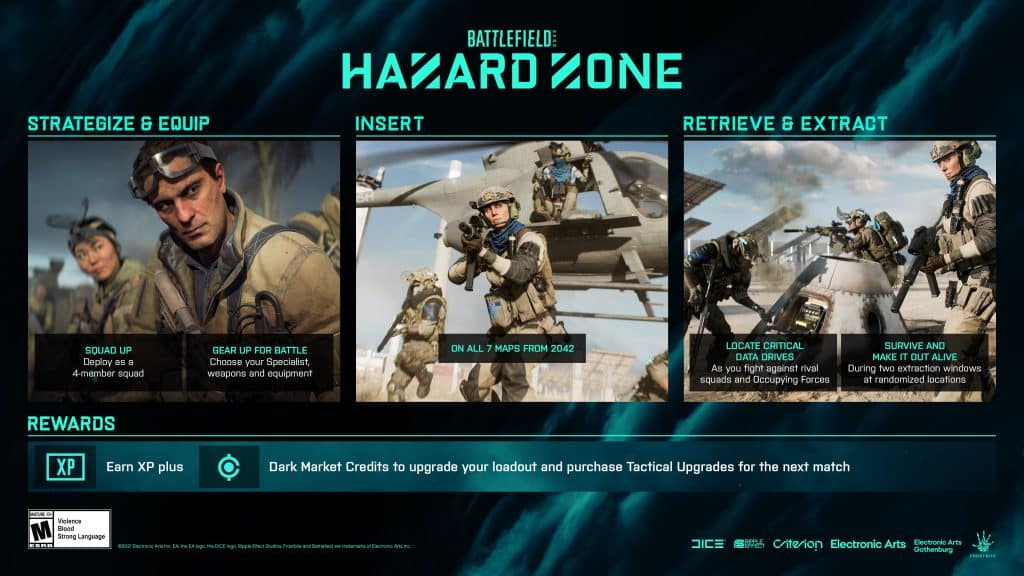
At its core, Hazard Zone is all about retrieving Data Drives. Squads of four are dropping into a map and their top priority is to locate these Data Drives hidden throughout. Once you’ve collected your fill, your team then needs to extract from the map or else the Data Drives won’t count.
It’s an intense mode where every action needs to be considered. With teams all battling for the same Data Drives and pushing the same extraction points, only a handful can come out on top.
To keep things simple, Hazard Zone is best explained when broken down into five phases.
Hazard Zone Phase 1 – ‘Strategize & Equip’
Before your squad drops into the map, first comes the planning phase in Hazard Zone. During this initial window, teams will have the chance to form their strategy, pick their Specialists, and purchase the right equipment.
Depending on the map, your drop spot, and your overall intentions, you’ll be mixing up your tactics a great deal. This early phase gives you ample time to lock in the right equipment for the fight ahead.
Dark Market Credits can be put to use during this phase. Currency you’ve earned from previous rounds can now be exchanged for various tools. Be it Tactical Upgrades for stat boosts or just different weapons and equipment, here’s where you can stock up before each round.
Hazard Zone Phase 2 – ‘Insert’
 Electronic Arts
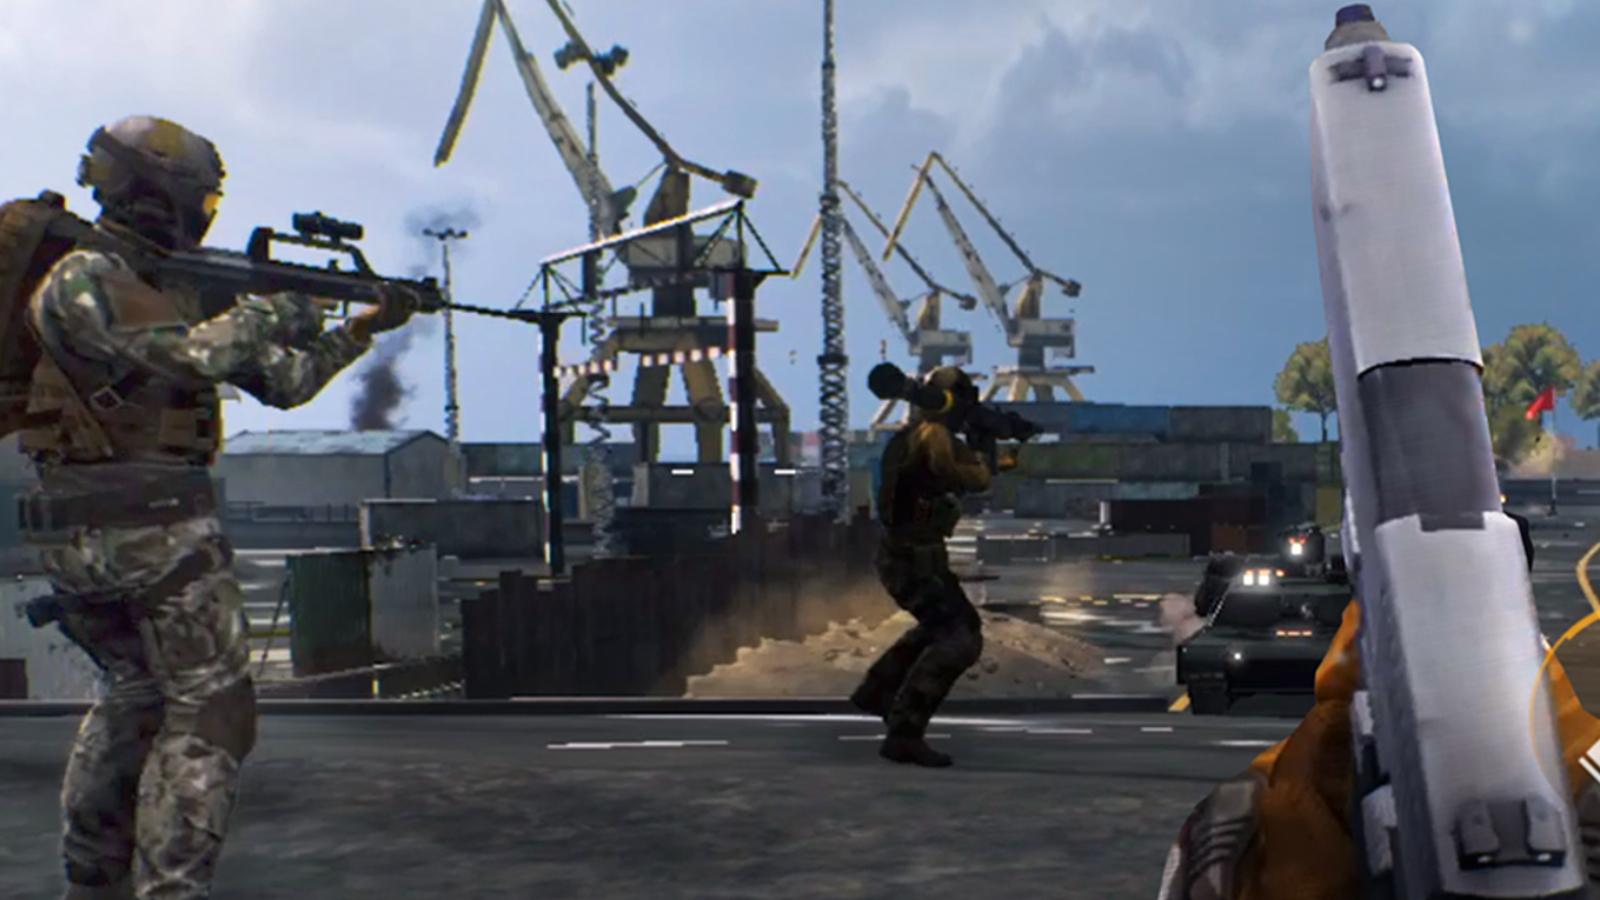
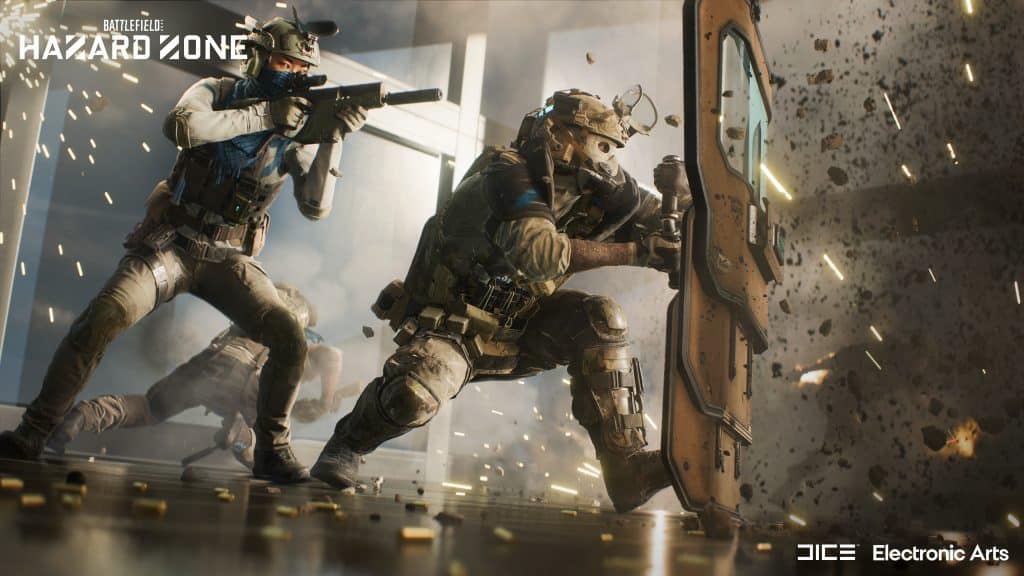
Phase 2 is when the action really gets underway in Hazard Zone. Your team will be automatically be assigned a drop-off location, so it’s your job to scout the area and track down any hidden Data Drives.
Given the scope of every map in Battlefield 2042, these drop spots should be spaced out so that you don’t encounter any teams right away. Instead, you’ll need to press forward closer together to come in contact with enemy squads.
Hazard Zone Phase 3 – ‘Retrieval’
It’s absolutely essential that at least one player on your team has an Intel Scanner equipped. This piece of equipment is exclusive to Hazard Zone and all but mandator to help find Data Drives.
This should be your top priority during the Retrieval phase. Have one player scanning the environment to find Data Drives, while all others protect them.
Once you’ve found an objective, keep together and head in to collect it. Just keep in mind that various Data Drives will crash into the map throughout the round as well, so if you miss the initial drops, there will always be a chance to come back.
Moreover, if a member of your team happens to go down, it’s not the end of the world.
Players can be respawned in two ways during Hazard Zone. First via the Squad Reinforcement Tactical Upgrade, and second through Reinforcement Uplinks found around each map.
Hazard Zone Phase 4 – ‘First Extraction’
 Electronic Arts
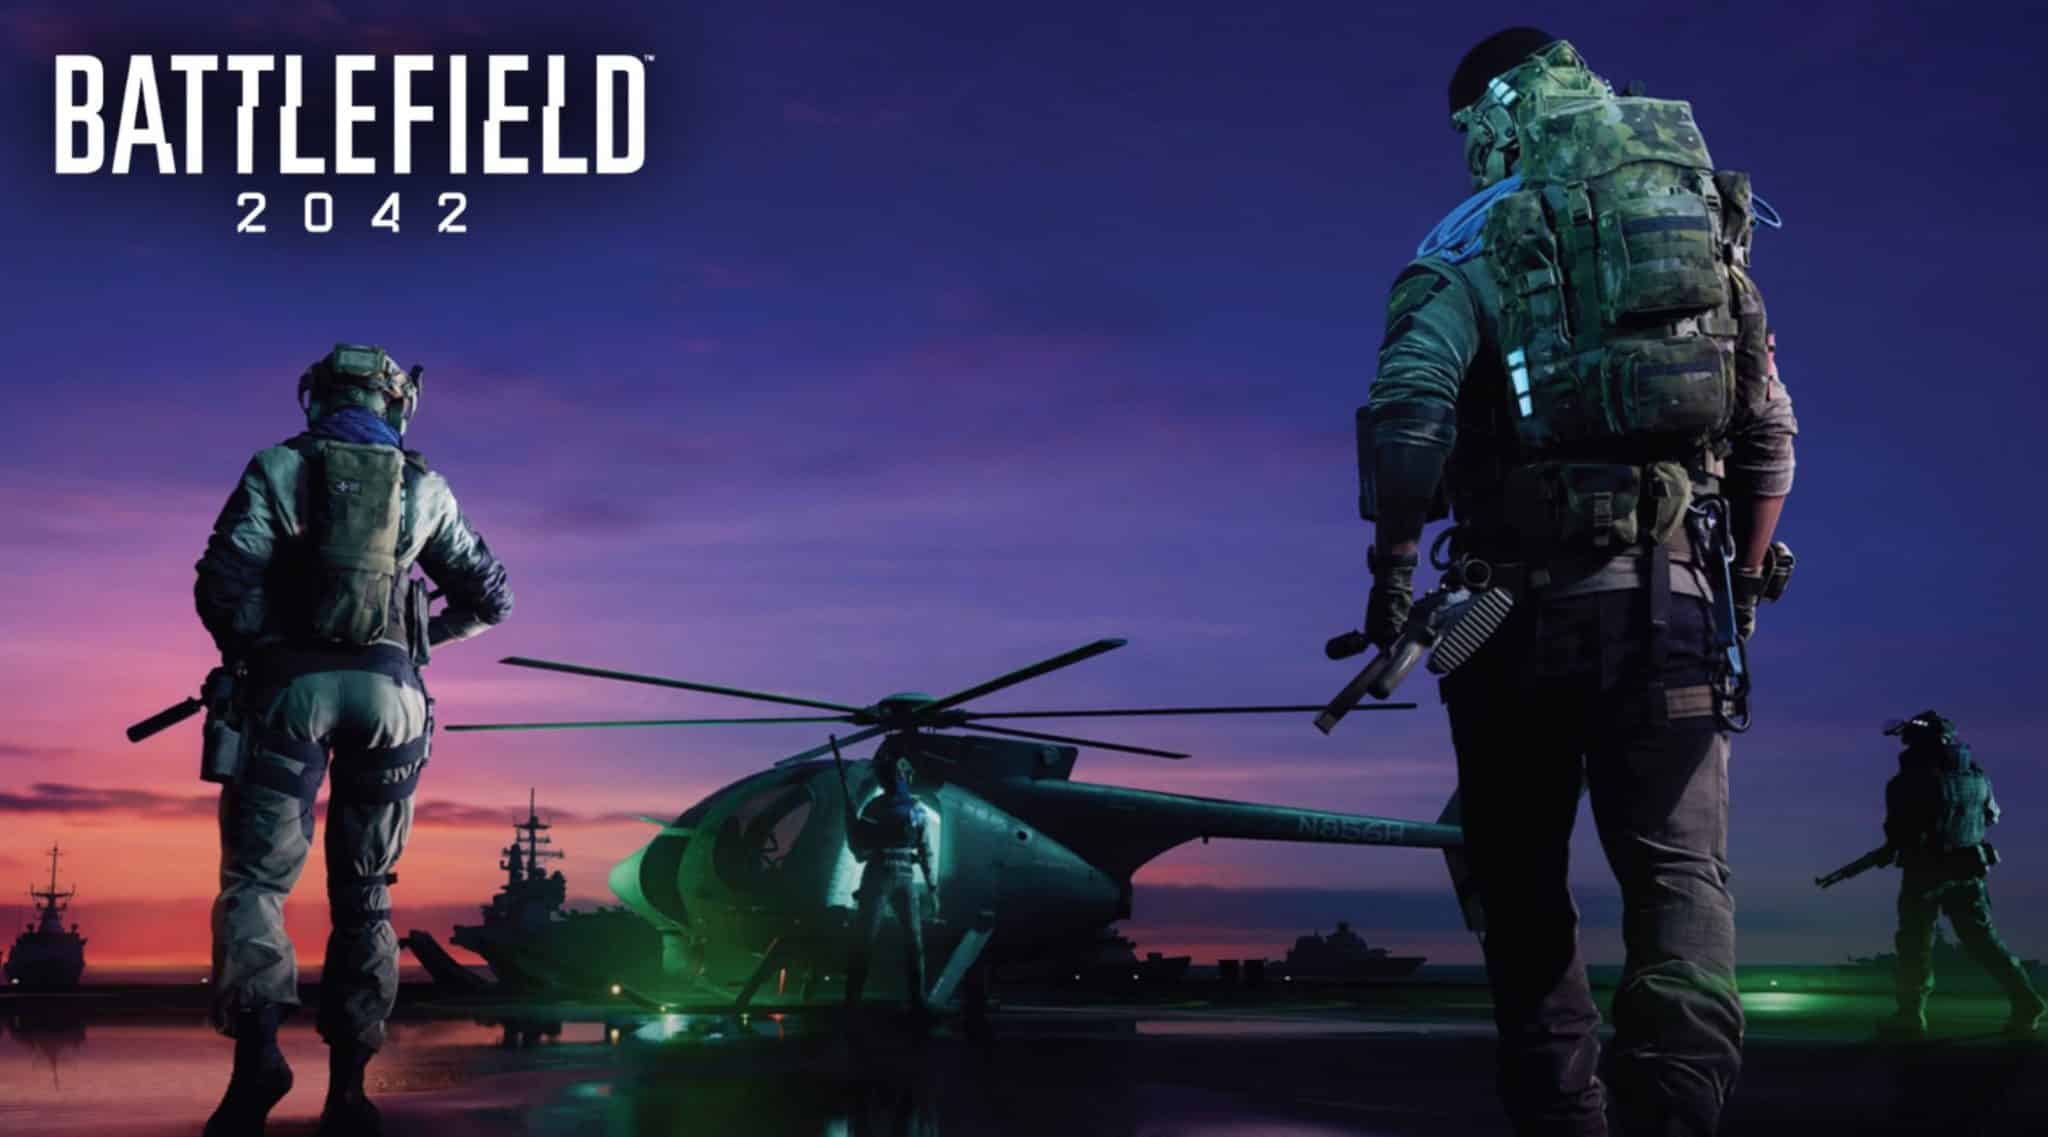
With Data Drives now retrieved, your job changes. Now, all sights should be on extracting to actually claim the objectives. If you fail to extract, none of your Data Drives will count.
There are two intervals in which your squad can extract during Hazard Zone. The first appears just a few minutes into the game at a random location.
Secure the area, have your team hop onto the helicopter, and you’ll be well on your way to a successful run in Hazard Zone.
Hazard Zone Phase 5 – ‘Last Extraction’
If you prefer to gamble, hoard even more Data Drives, and wait for the final extraction, you’ve got one last change towards the end of a match. The second helicopter swoops in between the 10-12 minute mark and serves as the only remaining escape.
Missed the first extraction? This is now your only opportunity to escape with any of your Data Drives.
Only one player from your team needs to make it out alive, but the more you can squeeze on, the better your odds will be of winning.
What are Dark Market Credits in Battlefield 2042?
 Electronic Arts
So what are you actually competing for in Battlefield 2042 Hazard Zone? Dark Market Credits are what’s at stake.
Retrieving Data Drives and extracting with them in hand will award your squad a good amount of Dark Market Credits. This is an exclusive currency only usable in Hazard Zone.
Before your next match begins, this currency will be available for you and your team. In Phase 1, Dark Market Credits can be exchanged for a wide array of upgrades and equipment.
This is where you purchase better weapons, gadgets, and even Tactical Upgrades (more on that below).
So every successful run in Hazard Zone will have your team overflowing with Dark Market Credits to then use for upgrades in the next run. It’s an endless cycle as you push for wins and constantly upgrade your loadouts.
Hazard Zone maps & lobby size
 Electronic Arts
Hazard Zone is confirmed to work with every All Out Warfare map already announced for Battlefield 2042.
Though it is worth mentioning that Hazard Zone doesn’t play out on the full-sized layouts. Instead, each All Out Warfare map will be sectioned off slightly to accommodate a much smaller lobby size in Hazard Zone.
With seven maps set to go at launch, this means every new map can be played across both All Out Warfare modes and Hazard Zone.
If you’re on a PC, PS5, or Xbox Series S | X, you’ll be dropping into Hazard Zone with 32 players in the lobby. Meanwhile, if you happen to be on a PS4 or Xbox One, your lobby size will be limited to 24 players instead.
Specialist restrictions in Hazard Zone
Before you drop into Hazard Zone, it’s worth noting that restrictions are in place for Specialists. Unlike All Out Warfare and Portal, Hazard Zone only allows for one of each Specialist.
This means all four players in your squad must fill a different role. You can’t have three of the same Support Specialist running around, for instance.
As a result, building the composition of your team is extremely important. You’ll want to balance everything so that you have a good mix of both aggressive and defensive capabilities.
Every Tactical Upgrade in Battlefield 2042’s Hazard Zone
 Electronic Arts
Tactical Upgrades are essential in Hazard Zone as they provide major boosts you can’t get anywhere else.
These can be purchased during Phase 1 with Dark Market Credits your squad earned previously. Each provides a unique boost with some being far more powerful than others.
- Read More: Is Battlefield 2042 cross-platform?
Below is the full list of every Tactical Upgrade available in Hazard Zone at launch:
- Starting Armor: Start with +20 armor.
- Negotiated Bounty 1: 50% additional credit for kills on Occupying Forces.
- Squad Reinforcement: Reinforcement Uplink that can bring back killed squadmates. Can only be used once.
- Quickdraw Holster: Switch weapons 15% faster.
- Data Storage: Data Drive carry capacity increased by +2.
- Loadout Insurance: Should you fall in battle, reimburses 50% of Loadout and Tactical Upgrade costs.
- Biometric Scanning: Spot enemies for 50% longer.
- Faster Healing I: Heal 20% faster.
- Faster Healing II: Heal 50% faster.
- Ammo Increase I: Additional +1 magazine for primary weapon.
- Ammo Increase II: Additional +2 magazines for primary weapon.
- Throwable Increase I: Increase carried Throwables by +1.
- Throwable Increase II: Increase carried Throwables by +2.
- Insider Information: Reveal Data Capsule drop locations 30 seconds before they land.
- Table Deal: 100% additional credits rewards for extracted Data Drives.
So that’s all there is to know about Hazard Zone in Battlefield 2042.
- Read More: All Battlefield 2042 vehicles
Be sure to brush up on every mode available at launch before Battlefield 2042 arrives on November 19.